
I’ve made thread loopers in the traditional way by hand. But usually when I get to the stage of making the looper it means I’ve nearly finished whatever I’m making and I want a quicker way to do it. That’s when the machine stitched looper comes in. I also find it stronger than the more conventional way.
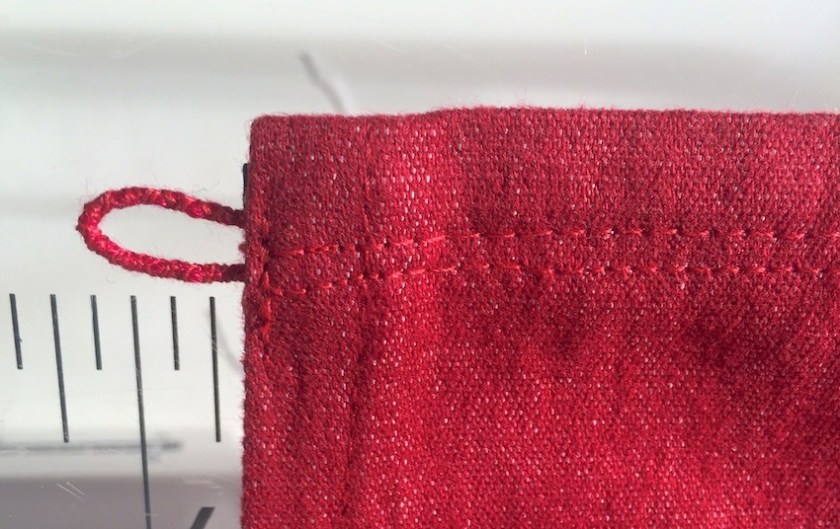
Here’s a hand stitched one I made when I attended the GBSB Sewing With Silk class. This was the first hand stitched one I’d ever done and wasn’t too neat and also a bit too big.
My next attempt was much neater, but just as time consuming:
When I made my recent colour blocked dress I went back to my favourite lazy way and used the machine and had it done in about 2 minutes!
Here’s how…..
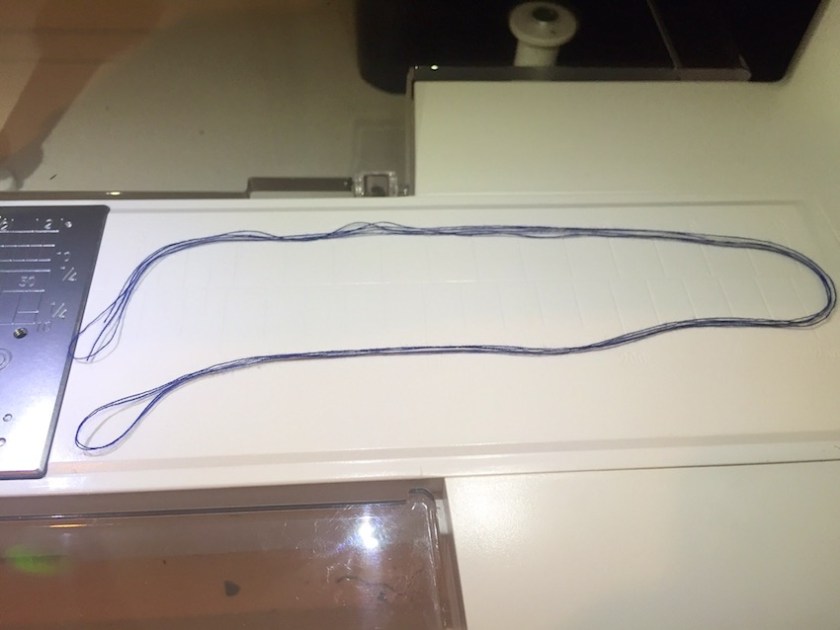
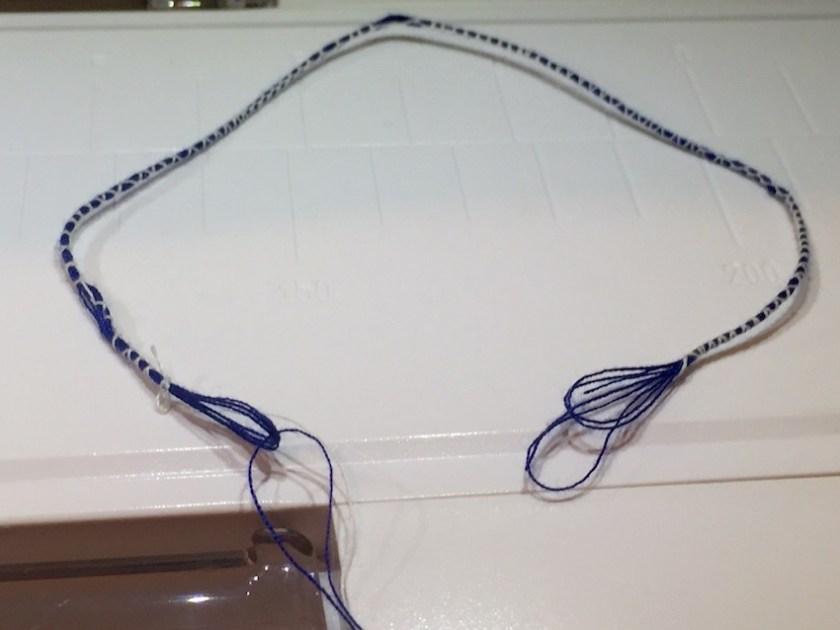
Take a long length of matching (or contrasting!) thread and fold it in half, then twice more so you will have 8 strands of thread:
Set your machine to the widest zig zag stitch. The stitch length doesn’t matter as you’ll be pulling the threads through not the feed dogs.
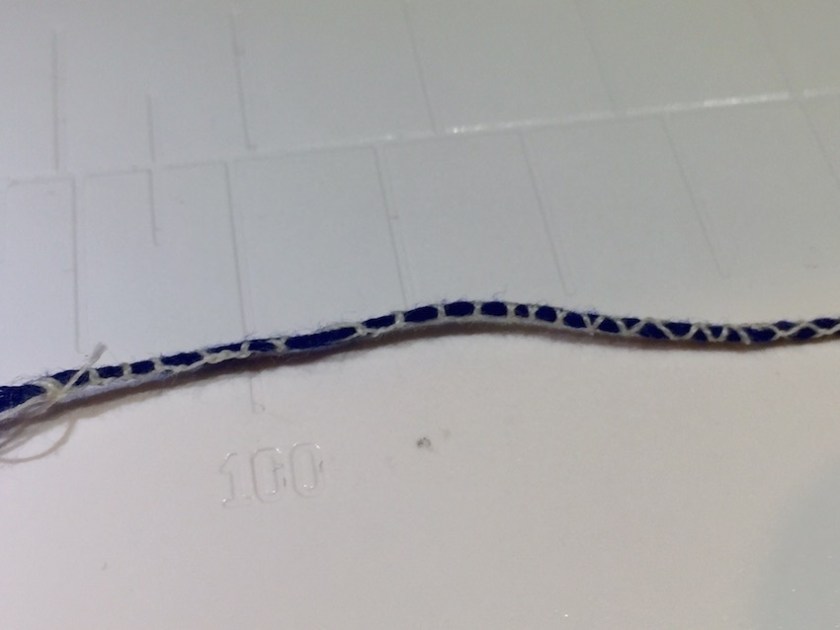
The idea is to stitch over the strands of thread with a zig zag which binds them all together.
The thread needs to be held taught and fed through evenly.
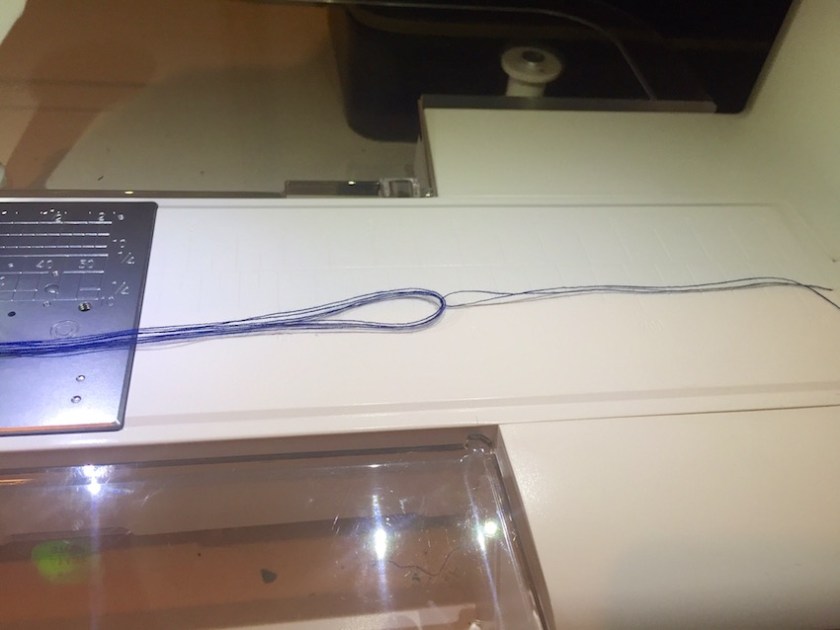
So you can start near the end of the thread without fear of catching your fingers take a length of thread about 6-8 inches and loop it through one end:
Position the thread under the presser foot. The thread you can see below is the 2 strands that I looped through. The 8 threads just peak out from the presser foot – too close to hold with your fingers!
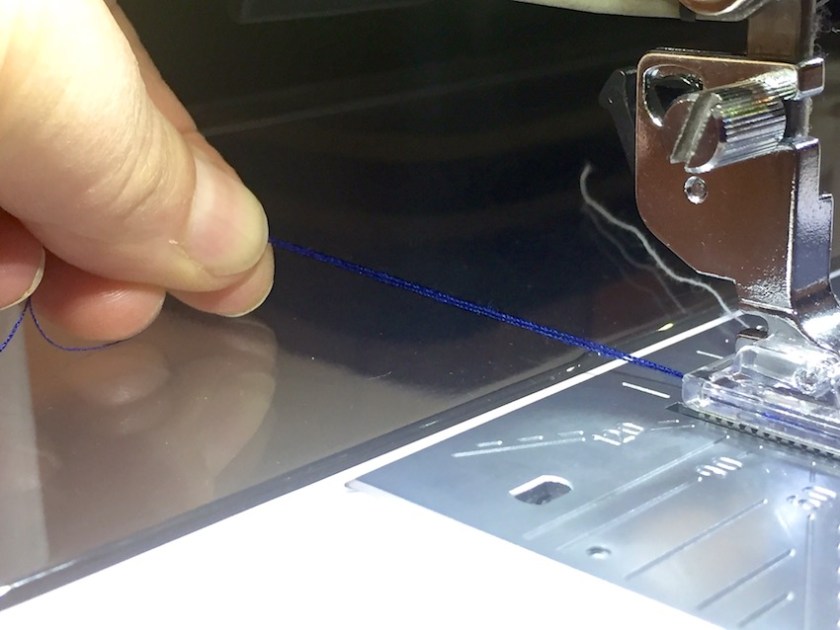
Keep the threads taught – pulling from the back and front.
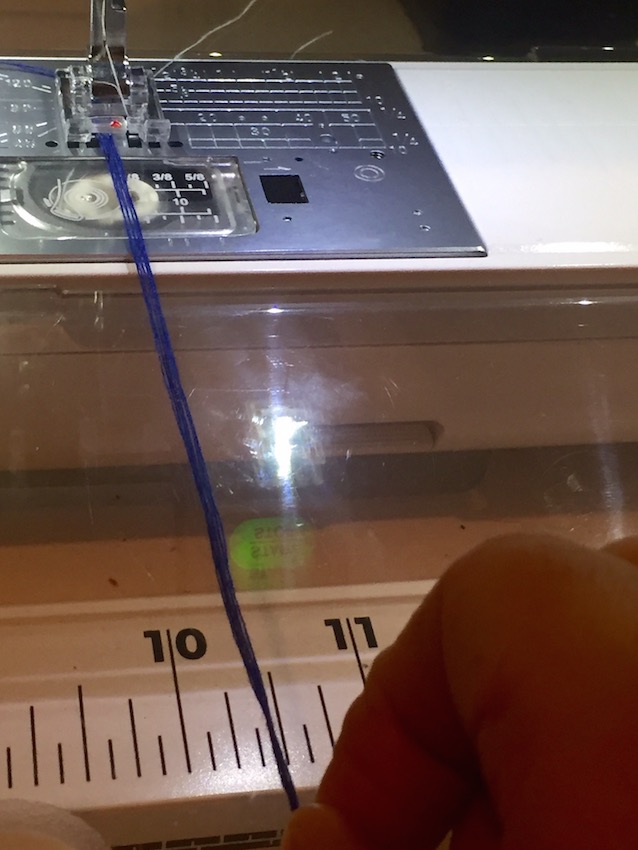
Off you go……..Stitch away! If feels strange that the needle is disappearing into nothing, but just feed the threads steadily through until you run out of thread.

I’ve used 2 contrasting colours so you can see the different effects where I fed it through faster or slower.
You should find a piece that’s good enough to use. If your stitches are a bit sparse and you’ve run it through to fast, don’t worry – you can run it through again and stitch over it.
Voila!

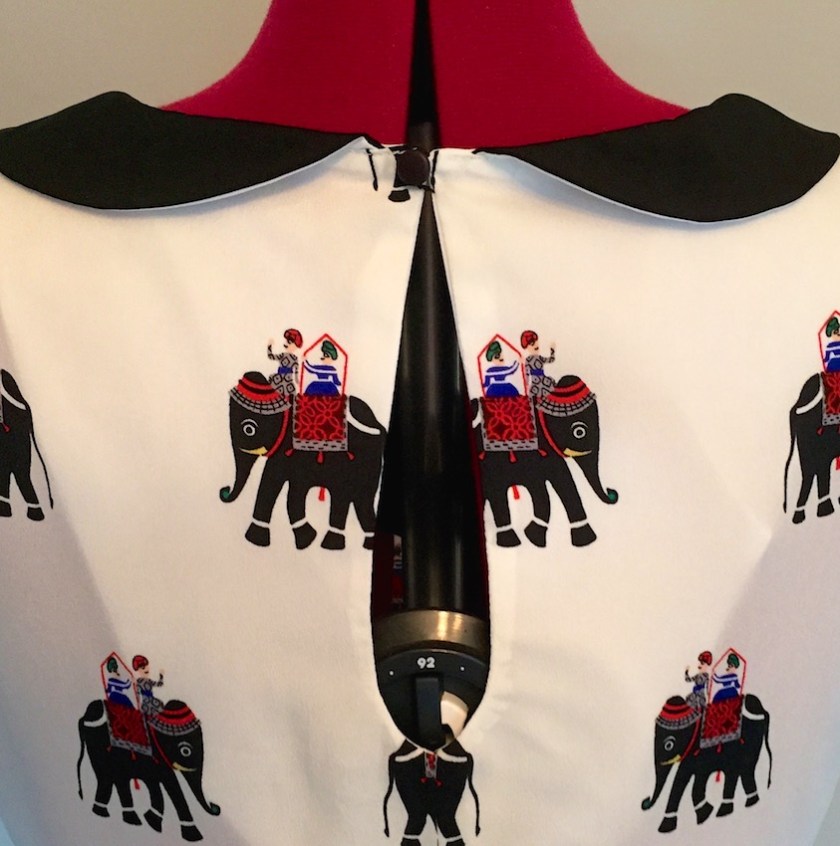
I find these super easy to make but they can be tricky to attach to your garment depending what you’re using it for and on the type of fabric.
For my recent denim dress I stitched it to the bias binding I was using to finish the neckline. As I don’t like anything coming unstitched I got carried away and went over it quite a few times!
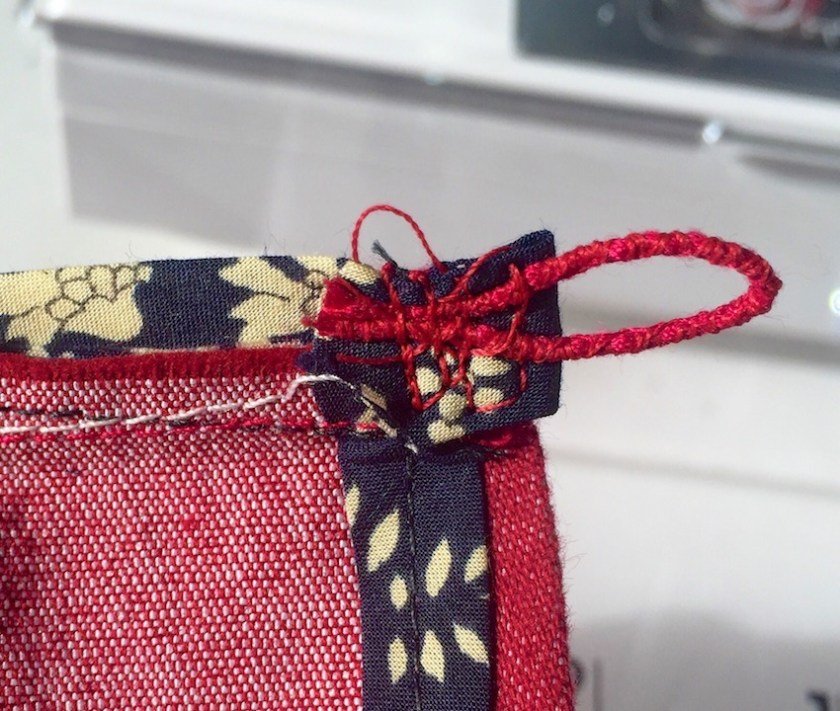
Then I stitched the bias trim in place.
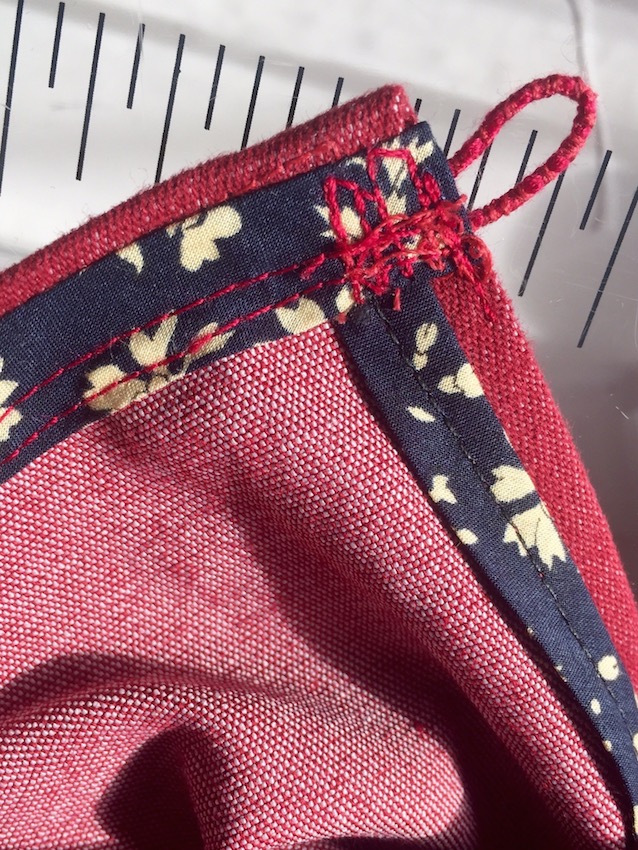
It doesn’t look too neat on the inside on the outside it is!
Another way to attach it would be to use a needle with a large eye and thread it through. This might prove to be too thick with some fabric, in which case you could experiment with using less threads.
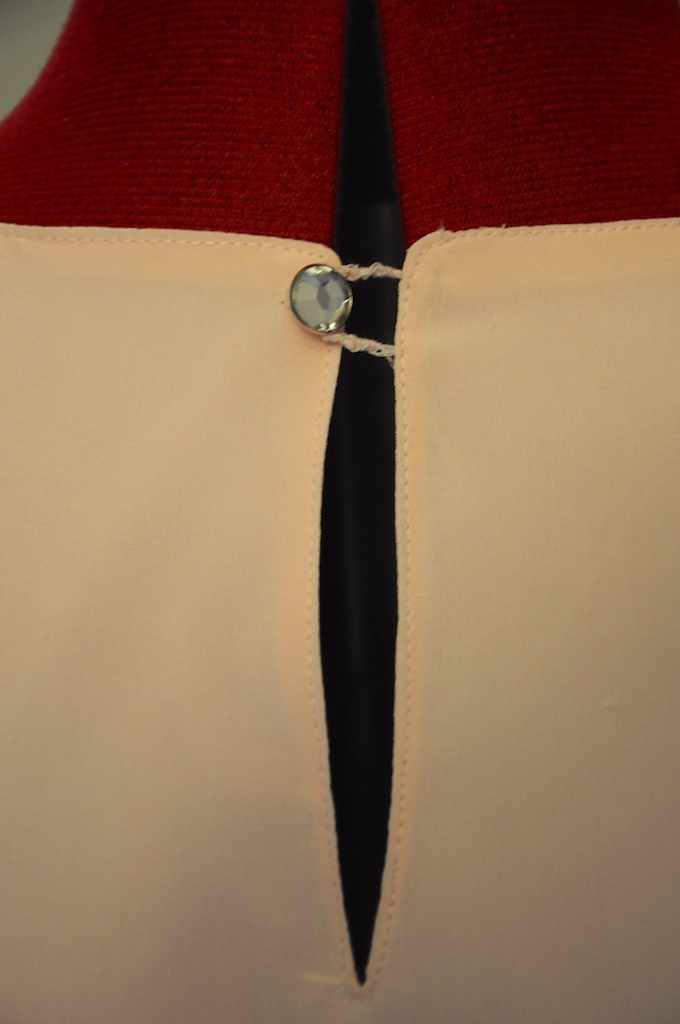
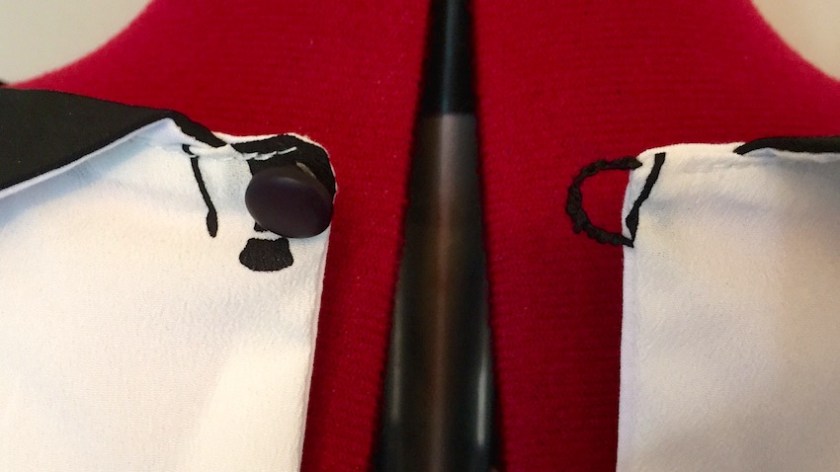
Other uses for these quick little thread loopers are belt loops and also if you add a press stud they’d make good bra strap stays.
Hope you find this mini tutorial useful and if you know of any other uses for them please tell!!

Wow! That’s brilliant, I’ll have to try that 🙂
Let us know how you get on 😃
Great. Need to try that. Instead of making your loop wide, you can make it flat and longer and it holds the button better!
I’ll try that, thanks 😃
Oh, I LOVE this method, Ali – THANK YOU ! ! ! 🌟 🌟 🌟
I’ve several lined RTW skirts, bought before I found my machine (Bernie), with now just partially attached lower hem stays.
Is that what you call those little thread ties that keep the lining from riding up or around to the back whilst you’re cavorting around in the skirt? Have wanted to replace them for ages, but didn’t quite know how. This will work perfectly & not come unraveled as my hand-made ones sometimes do. 😳
Fab! You’ll be able to make a long length of them and just trim off a bit as needed! Yay!! More time for coffee and chocolate! 🙂
Just my thinking! Visited a quilting shop yesterday & saw the nicest 2 cottons in just your browns/blacks colours… but came away with something a bit more Springy. But I might go back… they gave me a fabric punch card… 😉 Oh! She doesn’t have a long arm quilting machine in the shop after all. But there’s another store . . . hehehehe! Better get going to the grocer’s…
Why buy food when you can buy fabric! 🙂
Lol! 😀
Fab idea, looks great!
Thanks! And it’s probably even easier in real life than I’ve shown it 🙂
That’s so clever! Thank you.
You’re welcome! 🙂
Thanks for sharing this tip 🙂 I always avoid making these little loops but I might actually try it now!
They’re great if you plan ahead so they can be inserted during construction – whereas the other ones can be added at the end a lot easier. 🙂
Great tip, I’ll be giving it a try😃
Hope it comes in useful for you 😀
You are a genius, fab idea! Thx!!! Nee xxx
I can’t take all the credit, I’ve done it for yonks but someone must once have shown me, pre internet days! xx
Must have a go at this, never come across this method before. I’ve always done these loops by hand. Actually my brain is whirring with variations on this theme! Thank you – I appreciate the time it takes to do a tutorial like this!
You’re welcome! It’s good to share tips – being self taught and not had any proper lesson until last year I like to give a bit back 🙂
Will definitely give it a go, looks magic!
It is! 😃
That’s brilliant!
Yup – A definite time saver! 🙂
I never realised you could use your machine for something like this – and it works so well! Thank you 😊
Wow that’s a cool trick!
Yup, It’s lots of uses too and so quick! 🙂
Ah! I never knew they could be made with a machine! I’ve always done mine by hand. Thanks.
It’s so quick. I avoided making them until I learnt how to do this 😃
That’s a neat little trick! Although I must admit, I cheat big time and use a child’s hair elastic if I need to make a button loop. 😄
That’s a good idea too! 🙂
Thank you! This is amazing. I have never made a thread looper frankly because I’m too lazy to do much hand sewing and like you near the end I just want to be done (which is why I hate hemming). This is a great trick and I will now try to add some belt loops to few dresses.
It’s fab! I’m too lazy too, and in too much of a hurry to get finished. Glad you found it useful! 😃
Pingback: Save all your kisses for me…. Simplicity 1783 | T H I M B E R L I N A