

Pump bags… Party Bags…. Could even be made as a smaller version for a bridesmaid in pink….. They’re the good old draw string bag!
I was asked by my bestie if I would make some party bags for her son’s 7th birthday party. They needed to be big enough to put a small Easter in, and a few other little goodies.
‘Course I will’ I heard myself saying before I’d asked how many. 30? ….’yeah, no worries’ (T-H-I-R-T-Y……my brain was shouting…..!) …oh well. In for a penny in for a pound!
So here’s how I made them. A little tutorial so to speak. This could be useful if your making 1, a hundred and 1, or any number in between. The secret is to be organised and do it in bite size stages
I started with 5 metres of a stable Jersey knit (cotton, or any fabric t that presses well will do). It turned out there was 6 metres, and I did need the extra metre!
I planned to make mine 10″ wide and 12″ long. They turned out 11 x 13 as I was generous with my seam allowances.
I also had elasticated cord and toggles. We allowanced 75 cm per bag. Sorry for the use of imperial and metric – I’m bi-metric! (A bit like bi-lingual but not as clever!).


To manage the fabric fold it long ways into half then half again. I then cut strips with my rotary cutters 15″ and ended up with 14 strips that were the full width of the fabric.


From each strip I cut off 28cm which left 122cm. I then cut each of the 122cm strips in half which was to be become one bag – the easiest way I found to do thing was to fold it in half then slice off close to the fold with the rotary cutter.


Each piece was folded in half, right sides together ready to sew.
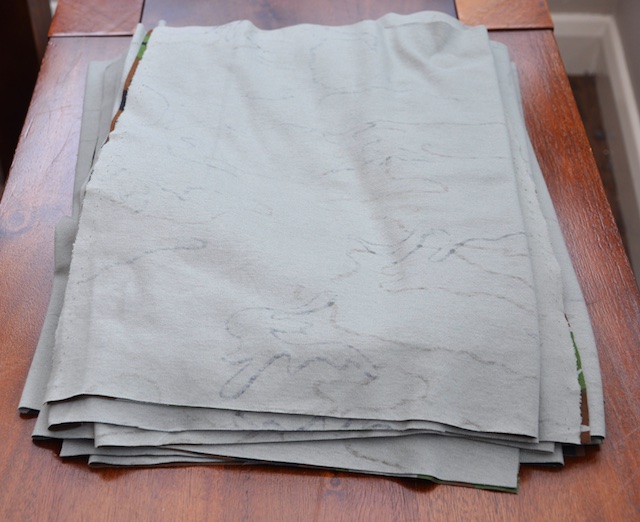
After each was sewn, a new neat pile was made – this part was the worst – it was so boring and took about 1 hour 15 minutes!

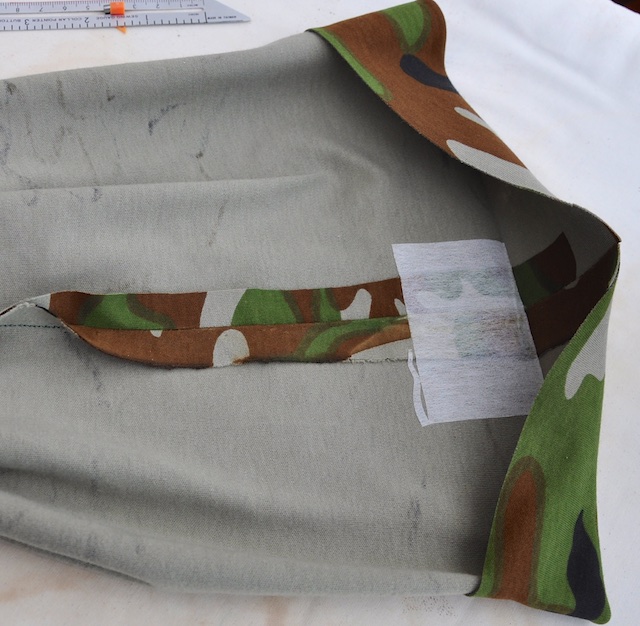
Press open just the top few inches of the bag and add a small piece of iron on interfacing – this is where the button holes will be stitched.My interfacing was 2 inches at the narrowest part and I applied it 2 inches below the top of the bag – this made folding the top over and pressing easier.
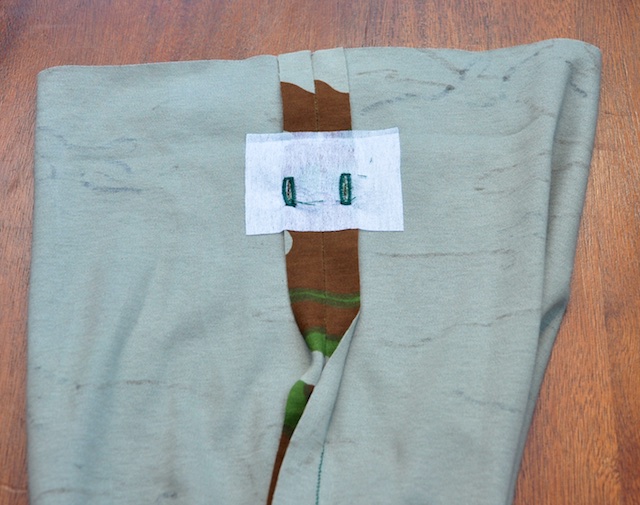
Mark 2 dots where you will place your botton holes. Mine were 1/2 inch from the seam.

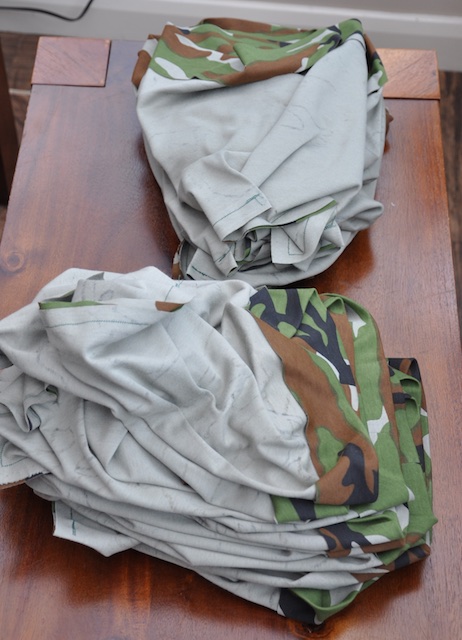
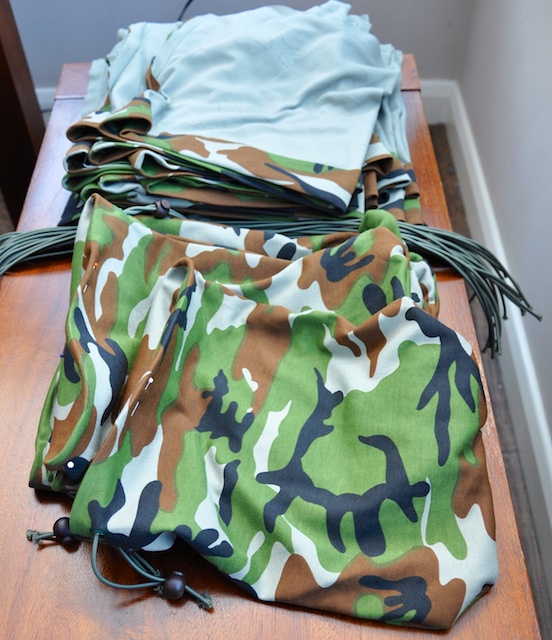
Below are the 30 bags all pressed, interfaced and awaiting buttons holes.

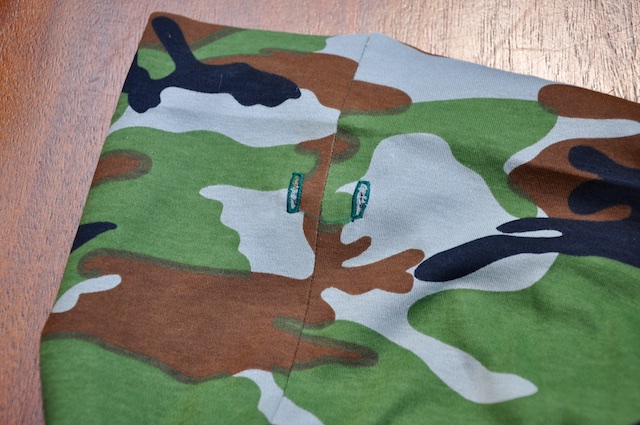
Onces all the button holes have been added they’re ready for the cord to be added BEFORE sewing the top of the bag down.

Add the cord, inserting it through the button holes and pin it in 3 places to ensure it doesn’t get in the way of the next part.


Stitch just below the button holes making sure the corn is out of the way. Add the toggles or tie a knot in the cord before this stage to make sure the corn doesn’t disappear!

Sew all the way round and tah-dah……. finished!! No need to mess around threading the cord after!

Me after a very long day……nearly finished!

Charlie – the birthday boy – thinks they make good hats too!!

Hope you find this helpful if your planning on making pump bags!

Oh, my goodness, thirty?! That sounds like some undertaking. They look good though 🙂
it was an undertaking, but my lovely friend is also a fabulous decorator so there was method in my madness!!
Sounds like a smart move and a lovely thing to do for a friend, as well.
I like your style! And what’s 30 small (ish) bags to a whole house? 😉
Bartering services is a good thing, but 30 bags is a very big thing!
There’s not many friends who I could spend a whole day sewing for! Initially I said how about I make you a frock and you come and decorate, but as she rides horses and plays golf she doesn’t have much need for a frock!
Wow what a lot of work and a bunch of lucky kids 😉
The kids loved them, even the girls! Harrison has taken his skiing and keeping his ski gloves and goggles in his.
Gosh 30! Good job!
Phew! Thanks!
Wow I hope the boys like them after all your hard work – I’m sure they do!! They’re fab! I need to get cracking with my daughter’s totes – I’ve cut out the IKEA fabric lol! 10×12″ (I think) funnily enough the same size as your bags! I may make A (not multiples!) drawstring bag like this in the future 🙂
They loved them, and so did the mums. Not sure the teachers will if they take them to school, they won’t know who’s is who’s! 😀
They’re great, and will be useful for years to come too, I like that!
They turned out better than I thought. When I get over the shock I might make some out of denim for home, then they’ll be unisex as I’m sure we’ll all find them useful!
Great tutorial – looks like the production line was extremely efficient. The perfect gift for little boys:)
Wow 30! Looks like a great project though. I’m very impressed!
Blimey, that is a lot of bags! They look amazing though and what a great idea!
I should’ve made us all a shopping bag for yesterday while I was at it! They’d have had to be a lot bigger tho – especially for you & Katharine, lol 😀
Haha that’s a good idea! I’d have needed 2 or 3! Katherine would have needed 10! She got some amazing bargains though!
Pingback: Lekala 5963 with a touch of Liberty | T H I M B E R L I N A