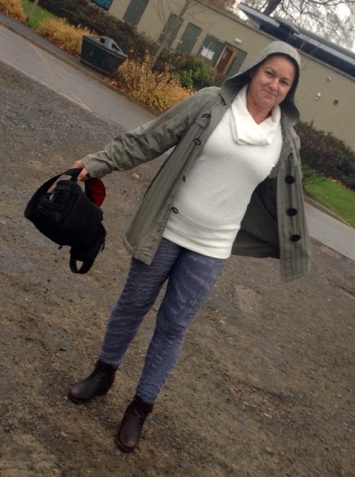
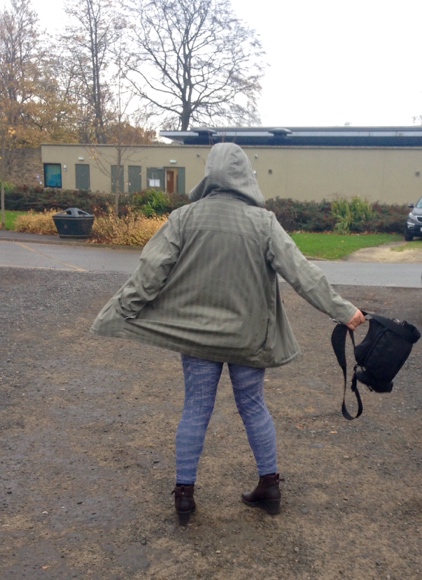
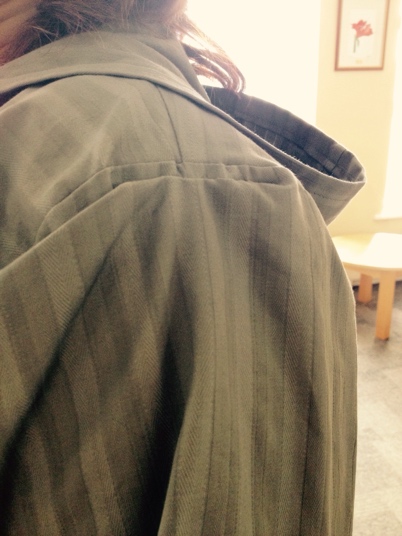
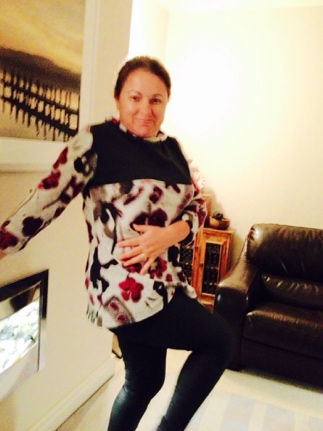
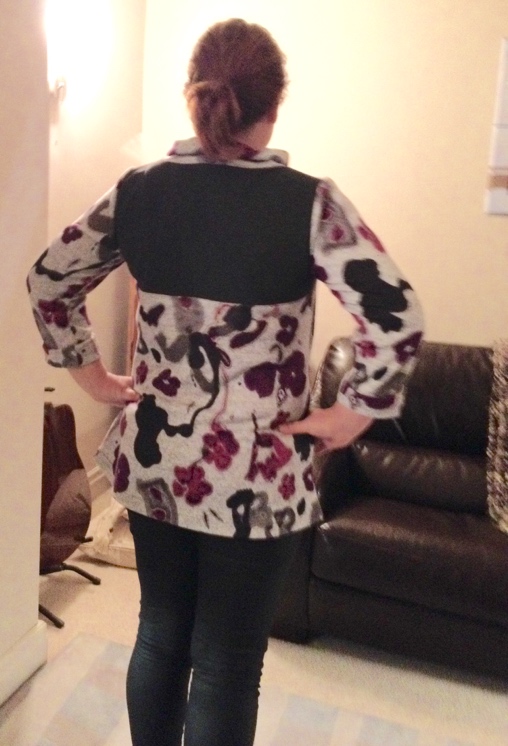
I think we all have made at least 1 Coco.
But have you made a stripy one?
STRIPES

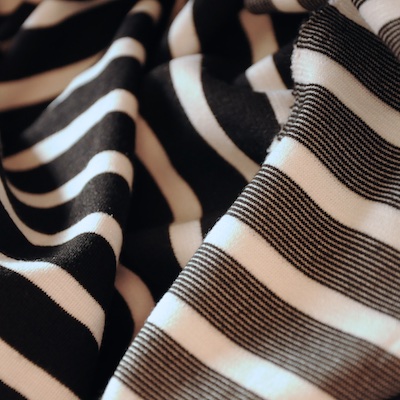
Stripes – Dilema! Do I choose the right or the wrong side?!
STABILISERS

My husband has bought himself a new toy. Stabilisers which turn his bike into a go no where bike. Thought I might use it as a prop in my photo shoot! Trouble is, he’s 6′ 3″ so I had a bit of trouble getting my leg over!
SAGGINESS

I’ve made a few Cocos, but all with the funnel neck. Looking back they all have this excess fabric above my bust but the funnel neck detracts from it and it’s not so obvious.
I bought this gorgeously soft ponte roma knit from Fabworks down Dewsbury. (if you’re local to me you’ll know we don’t say in Dewsbury, we go down Dewsbury…) I think it was £5 per metre and I splashed out and bought 2m. Initially I thought I might make another Coco dress, or another Victoria Blazer, but yesterday I needed a top to go with my new jeans (first clothing bought since 2013!!! I joined the RTW Fast in 2014). This is a slight sidetrack from the intended post, but I NEEDED some jeans. I didn’t dash out on the 1st January for a crazy shopping spree, I do still to try and make everything I wear. But I don’t have a pair of jeans that fit me, and there’s only so many Espresso Leggings a girl can wear.
Back to the stripes and Fabworks. Don’t be put off by their website. You can’t buy anything on it. But if you are in the area do call in. And take a flask and sandwiches – you could spend all day there. Oh, and wear a warm coat. It’s in a mill, and can be a bit chilly! I’m not on commission. Just sharing the Sewing Shop love!
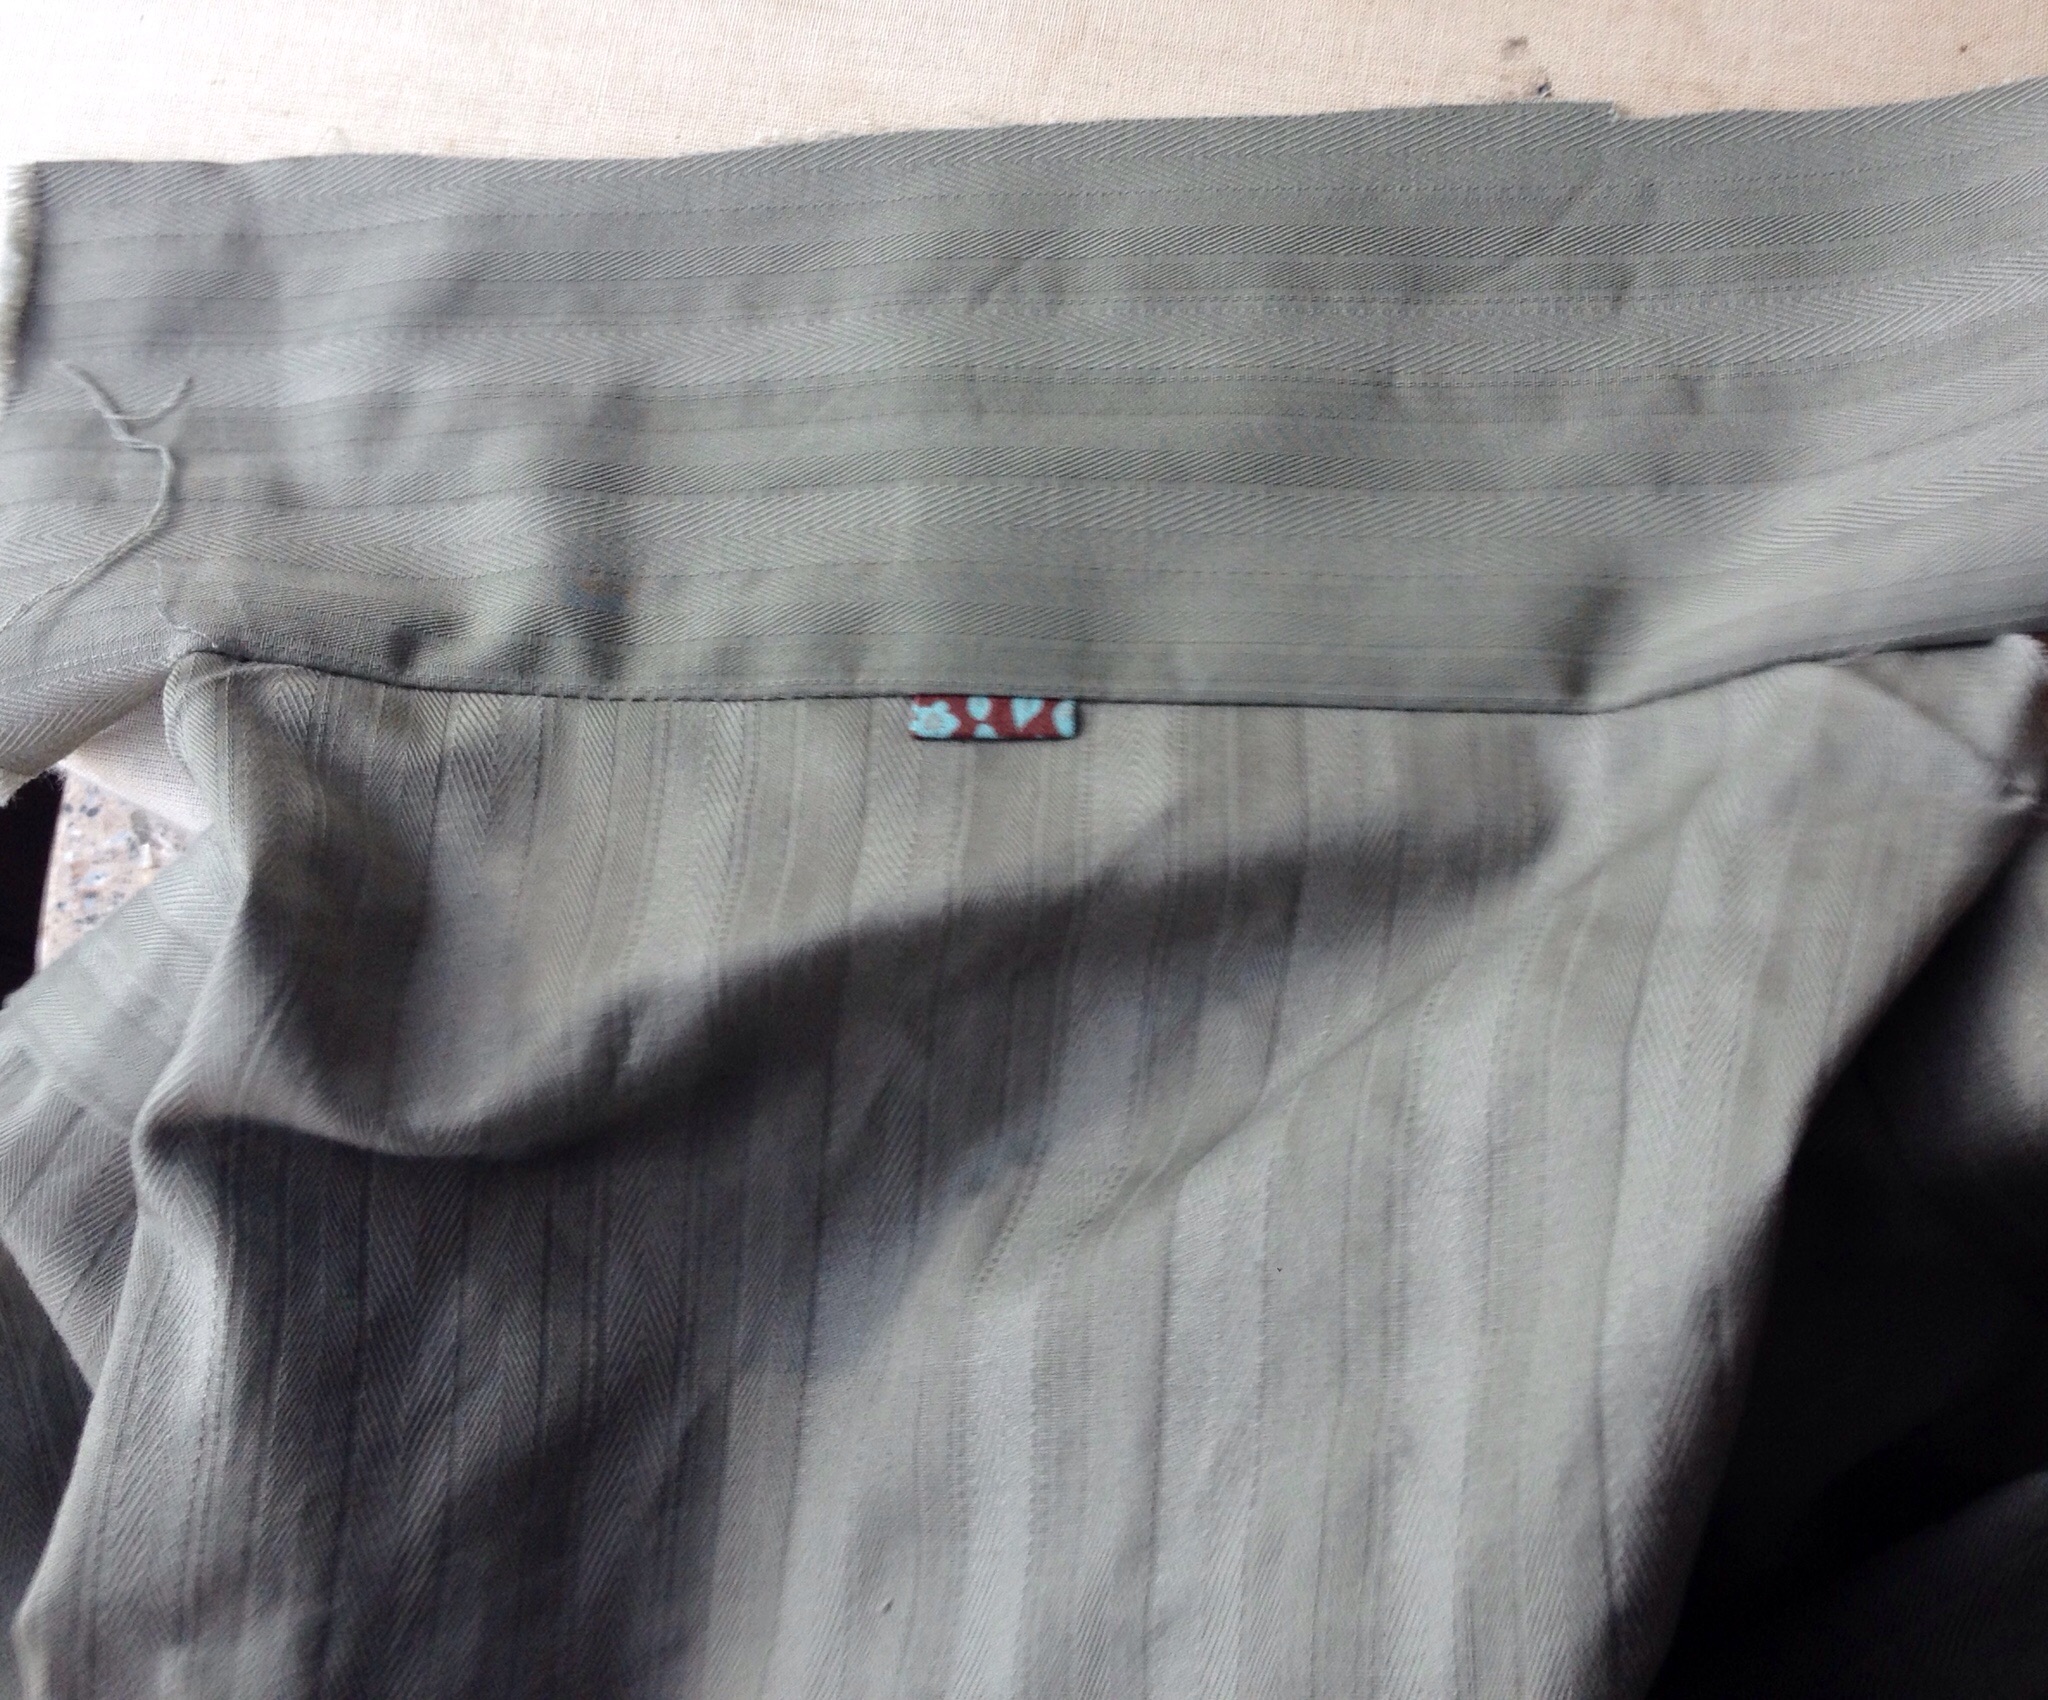
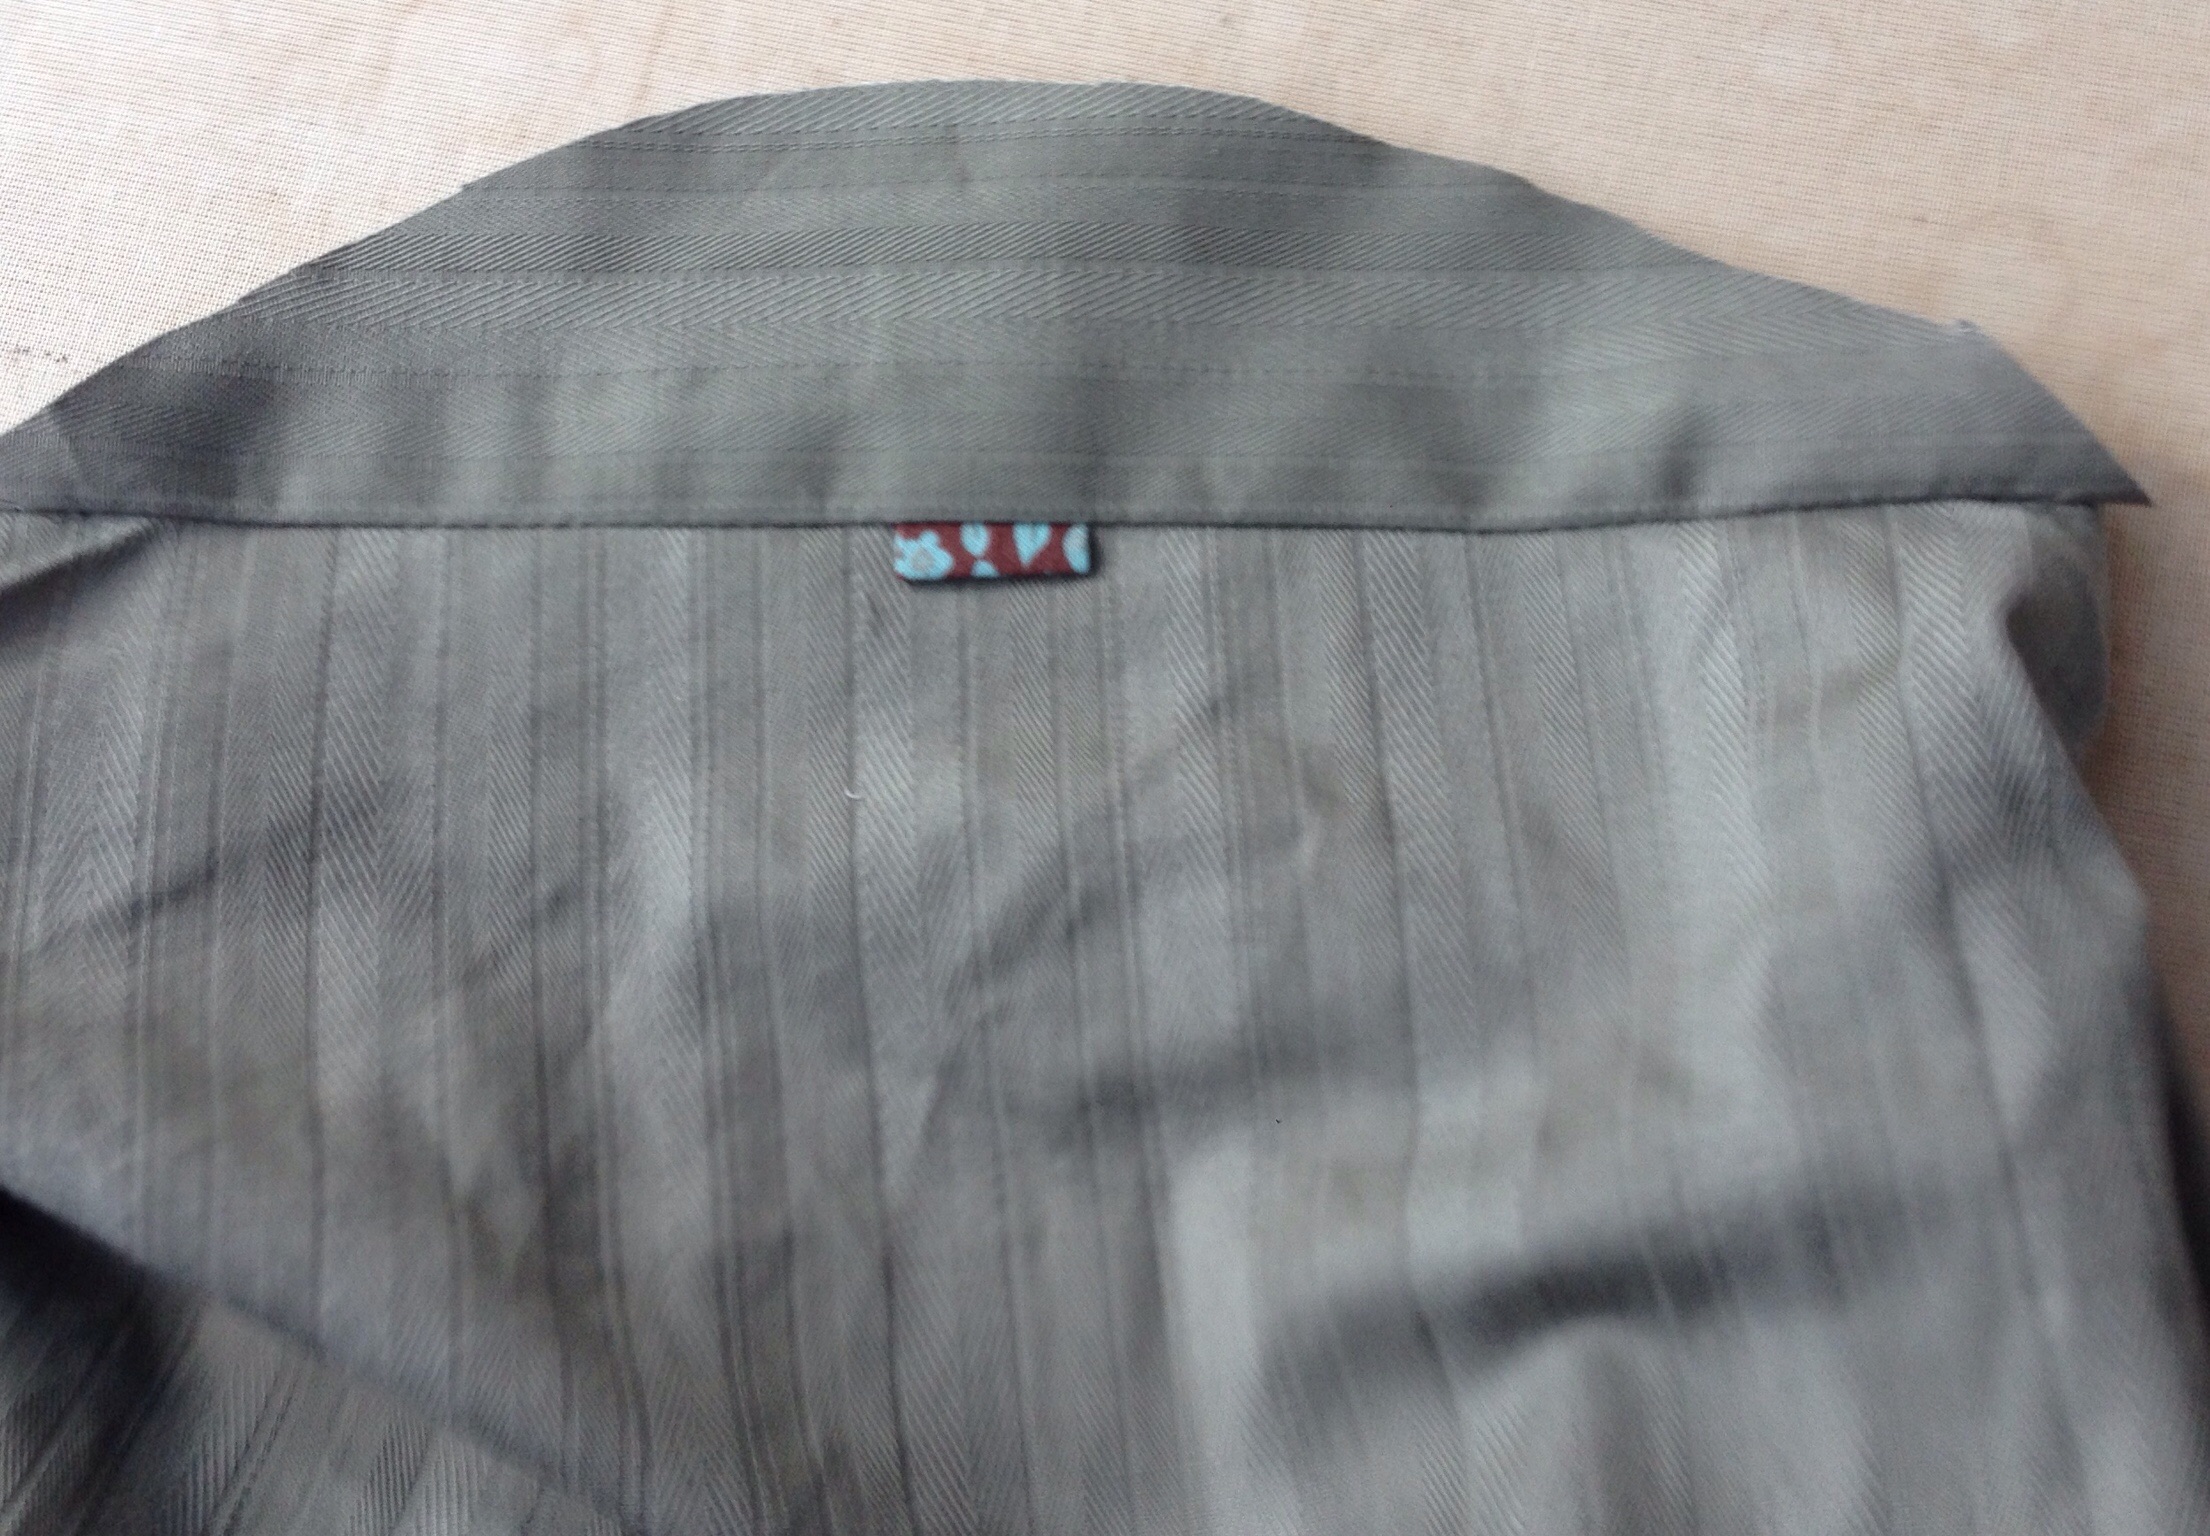
My last Coco had inside out arms, which has led me to look at the wrong side of other fabrics. I was undecided at first with these stripes as I like both sides.

I opted for the wrong side. The Solid stripes were making my eyes go funny and I didn’t want to give anyone a headache if they spent more than 1/2 hour in my company!
After cutting out the front piece I realised I’d dropped a clanger.

I folded the front piece in half. Can you see that the stripes must be wonky as each side isn’t symmetrical. Luckily I had enough fabric to start again.
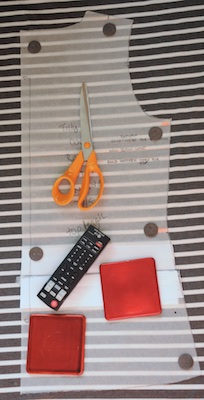
I opened up the fabric to one layer and made marks on the pattern:
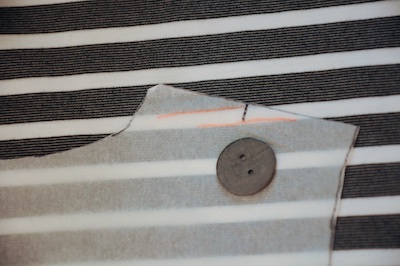
At the shoulder.

At the side notch and under the arm.
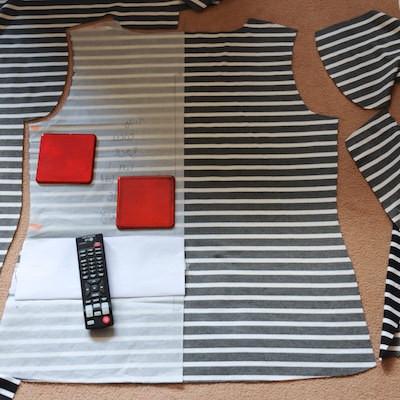
I then flipped the pattern and matched up my markings. Easy! But very time consuming!
I then used this piece to help me cut the front piece and match up the stripes.
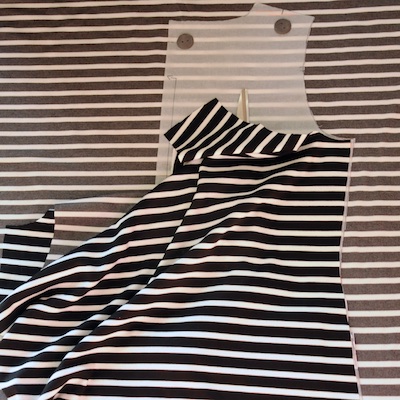
I spent ages matching the stripes of the arms with the front and back pieces. If you’re still reading (thankyou!) and are going to be making anything stripy don’t bother trying to match the stripes there if they are small stripes. You’ll only end up with one or two will match anyway so it’s not worth the effort!! (Is important for wide stripes and plaid.)
 I did make each sleeve identica. I cut one, flipped it over and used this as a pattern to cut my second sleeve.
So…..Stabilisers….not the ones on the bike this time!
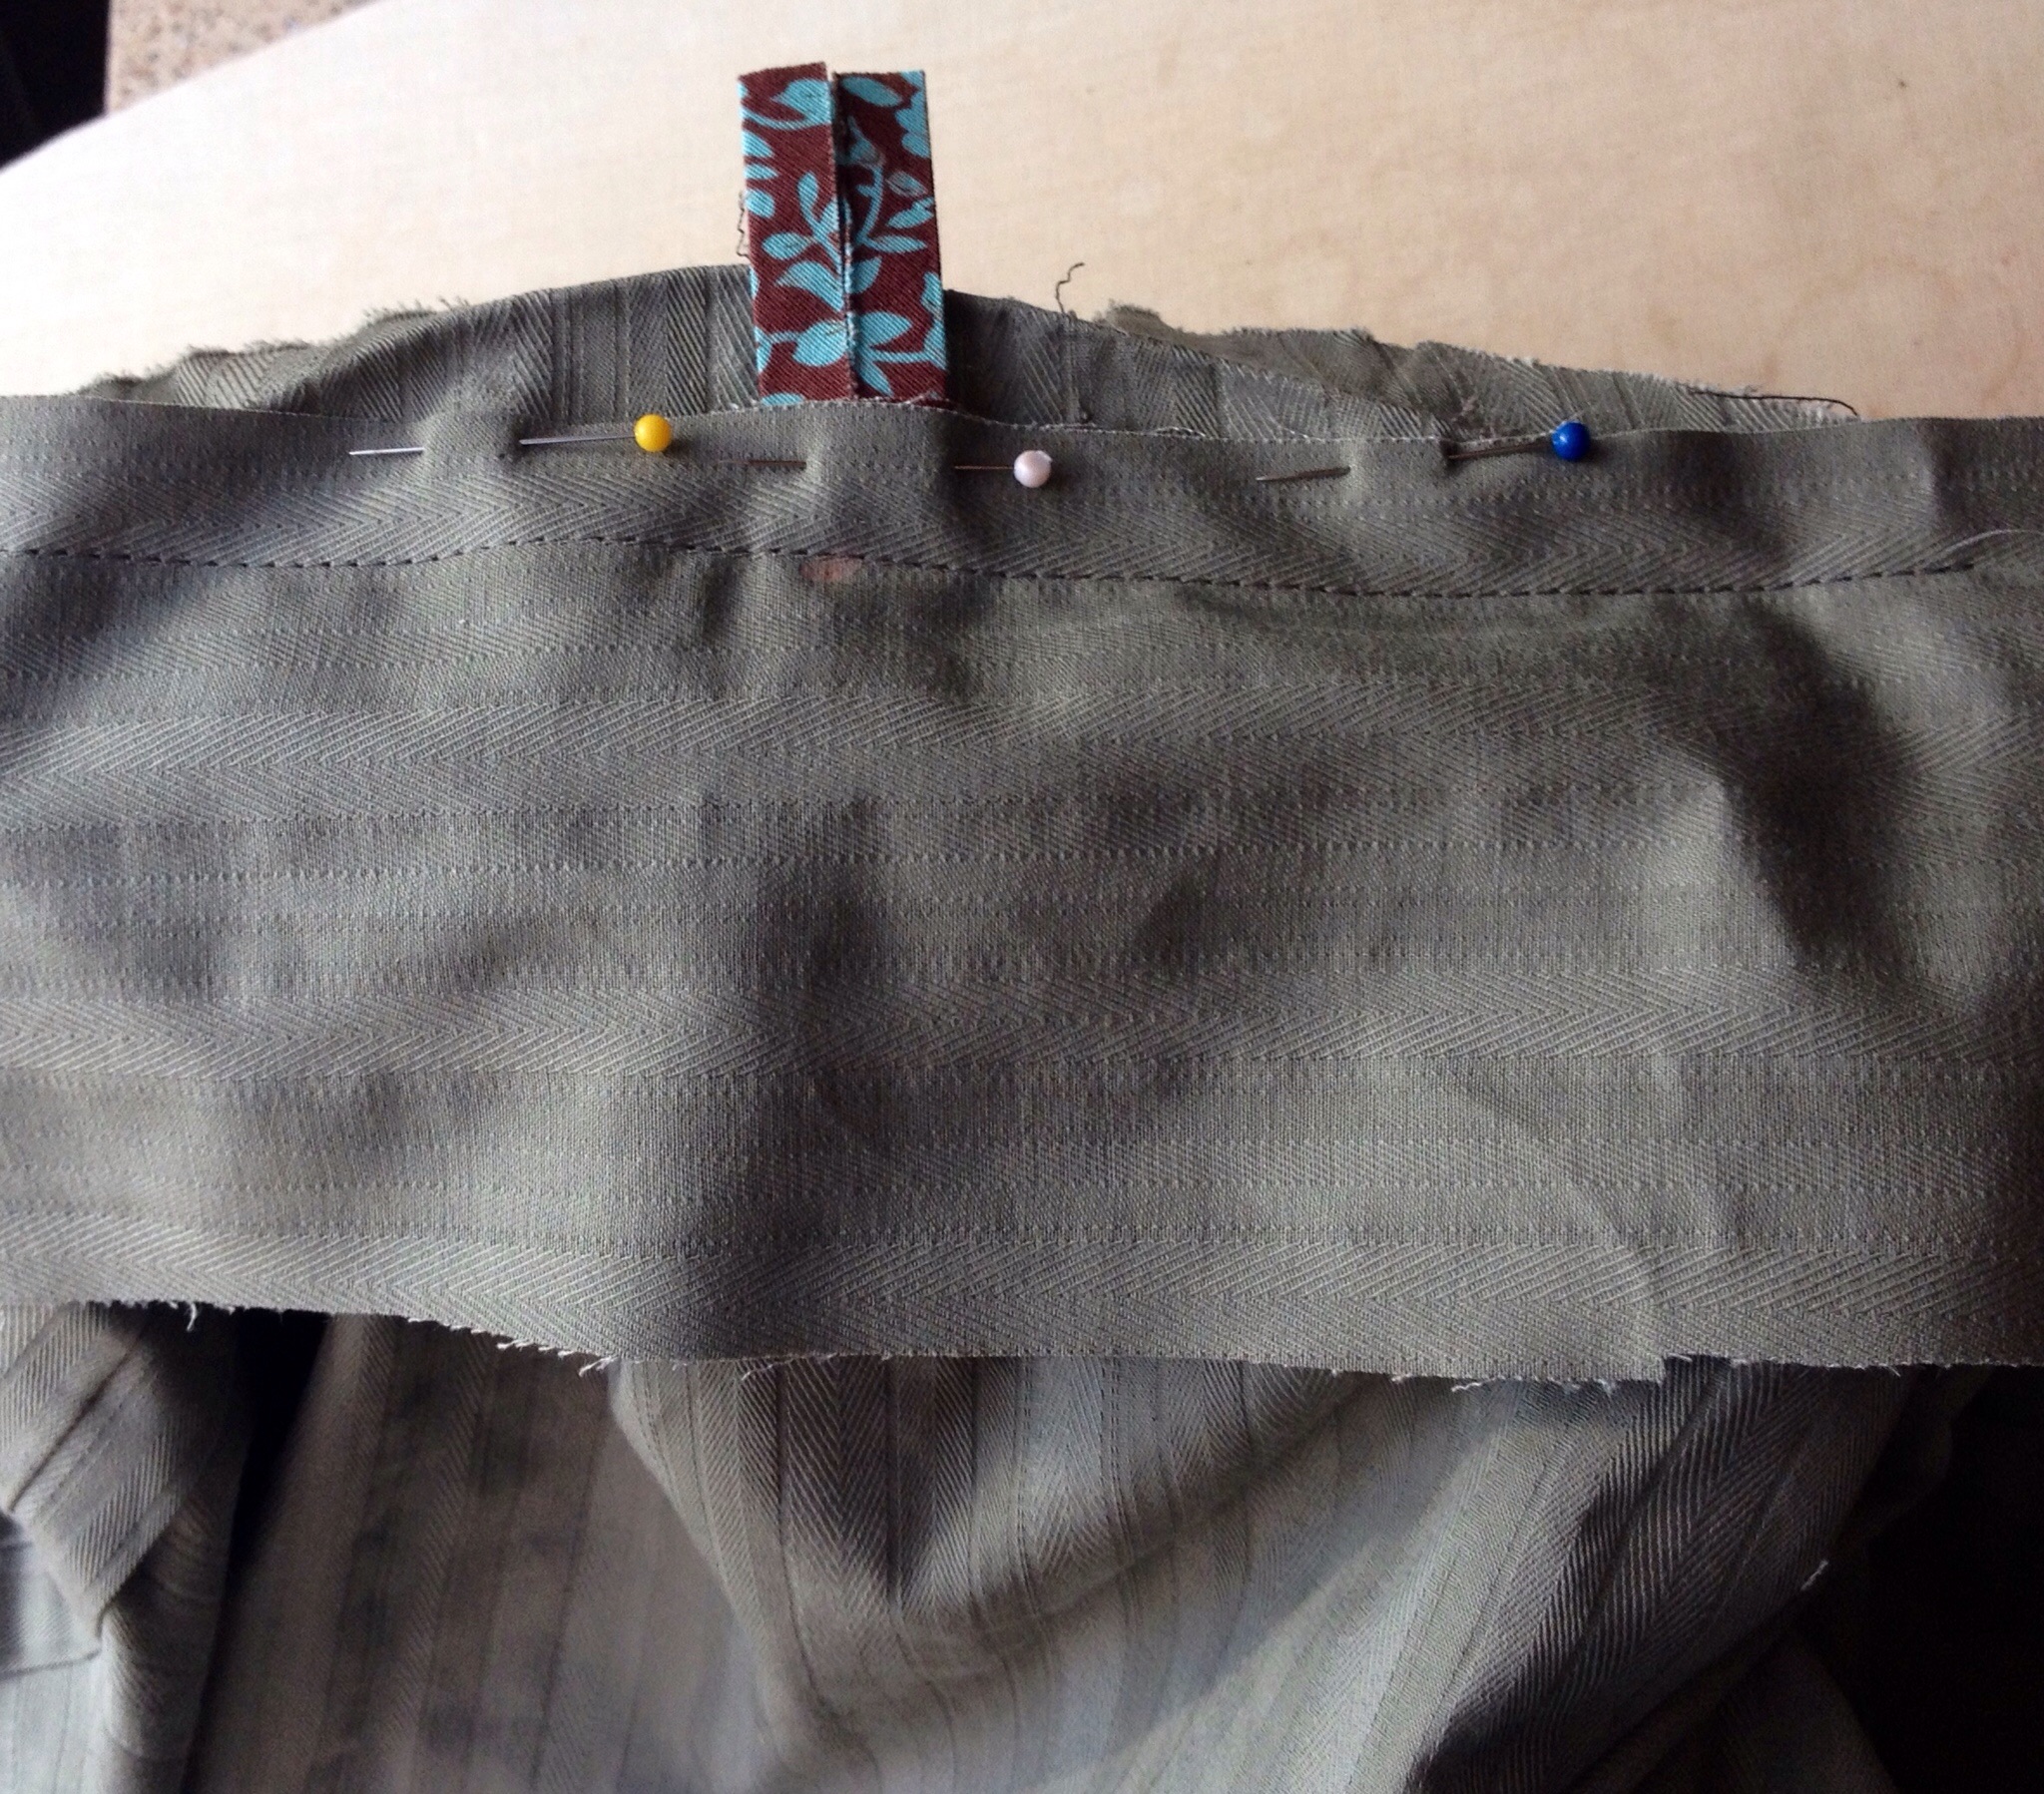
I use assorts to stabilise my shoulder seams. Usually a bit of ribbon or lace or ric-rac. I just see what takes my fancy when I rummage in my trimmings box.
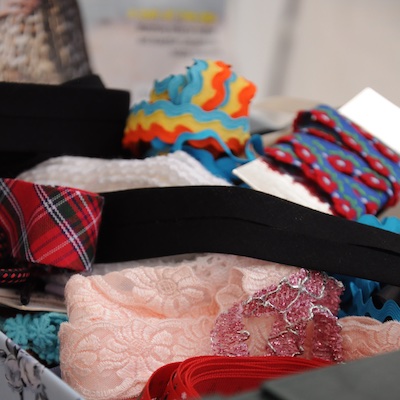
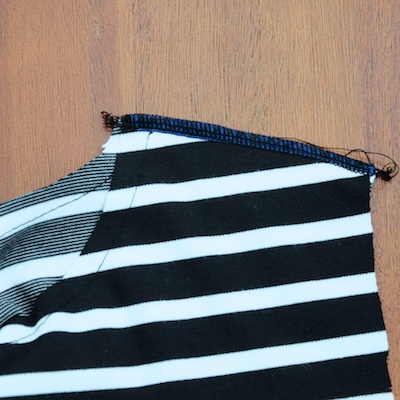
For this I used some navy ribbon. I stitched it with a zigzag just inside the seam allowance.

Then stitched the should seams with a long stitch on the sewing machine.

Then whizzed it through the overlocker. The little black mark if for my 1.5cm seam allowance as there’s no gauge.

Voila!
Can I just say, I’ve never had sewing lessons and might be doing this all wrong, but it works for me. If you’re an accomplished sewer, thanks for hanging in there and still reading, and if you’re still learning like me and love picking up little tips thankyou to you too! Oh, and if you’re not a sewer but follow me anyway (Hello Mum!), thanks to you as well!
Where was I?
I don’t use pins much. Not if I can help it. To sew my side seams and under arms I shifted the top layer of fabric so I could see the bottom layer and used my walking foot. I’ve you’ve yet to invest in a walking foot, you need one! Your life is not complete!

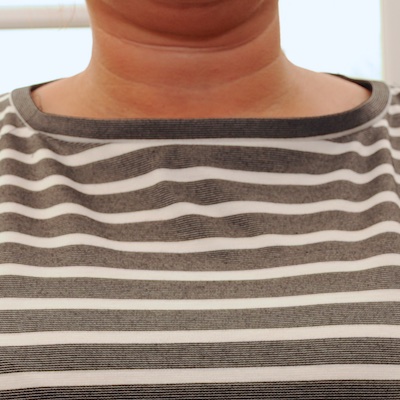
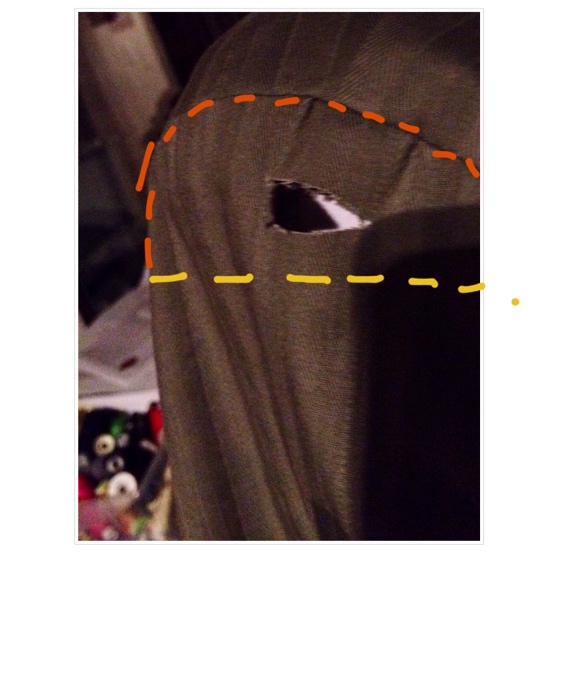
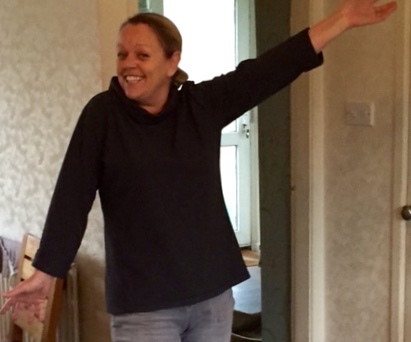
I had a bit of problem with a saggy upper bust! I tried to get rid of the excess fabric with a couple of little tucks. It doesn’t look too bad in the photo but in real life it looked naff.
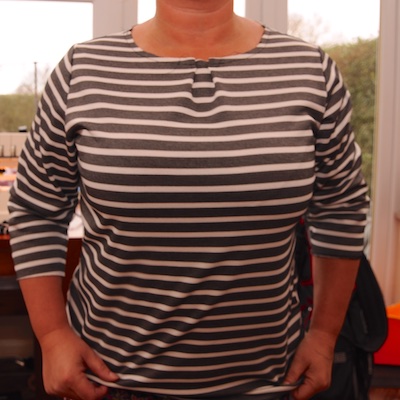
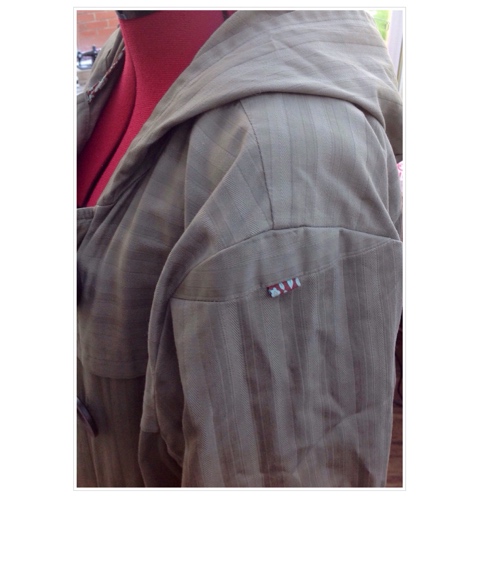
I wasn’t sure how to finish my neckline. I didn’t fancy just turning it as I thought it might look a bit unfinished. I made a band. This ended up sticking up, maybe as it was a boat neck, I’m not too sure.

 \
\

All in all, I’m reasonably pleased with it. I’ll have to tweak my pattern pieces before I make my next one to try and get rid of the excess fabric above the bust. If anyone has any suggestions please say. I don’t usually need to do a FBA as I have a broad back but I’m wondering if I should use my upper bust measurement and let the stretchy fabric do it’s job where it’s needed at the front!

Having the go no-where bike in my sewing space came in useful. I was able to do the cleavage test:
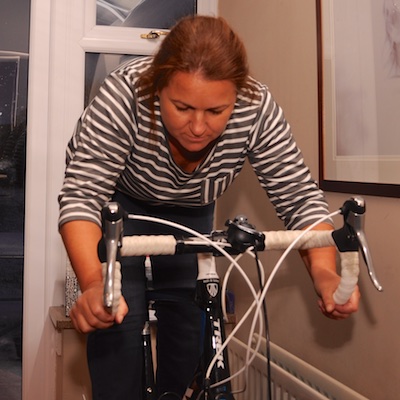
And it passed! My new Coco can also now be worn on bike rides without the worry of my cleavage causing an accident!!
53.758441
-1.691656