Latest Posts

MY Space for Sewing – Revamp Phase 1

We all have a space somewhere, whether it be large, small, pretty, draughty…. it doesn’t matter because it’s OUR space and if anyone says it’s untidy we’ll have their guts for garters.  We can lay our hands on anything we want at the drop of a hat.  But, on the other hand,  we’ve all suffered at some point of the dreaded ‘sewing space envy’. Then next time we enter ours space we notice the imperfections and find it hard to get motivated.

Me? Yup, I’ve suffered too.  I blame Thimberlina. Ali was so organised and tidy until Thimberlina came along with Gertrude and took over out modest 3 bedroomed semi.  Gone were the family teas where we sat down having civilised discussions at meal times.  Now replaced with TV dinners.  TV DINNERS!!! They were unheard of until Thimberlina came along.  But now the dining table was home to a sewing machine and overlocker and 12 months down the line, all THIS had happened……………

my sewing space janome 8200 1 (1)

And if that wasn’t bad enough, check out the corner behind…..

my sewing space janome 8200 2 (1)

Things had started to get out of control.  We have a spare bedroom, only big enough for a single bed, and at the moment it was used as a bit of a dumping ground with the door firmly kept shut.  Husband had previously spoken and said it could be Thimberlina’s room.  But banished to the box room and no view over the garden!! No way!!  As I said things were getting out of hand, so it was time to tackle the bombsight  upstairs…….

my sewing space janome 8200 3 (1)

Now I really can’t believe I’m showing you all this. Most likely to shame myself into doing something about it! What you can see above is my overflow stash and here below is the rest of my stash……

my sewing space janome 8200 4

Now once upon a time this was all very neat and tidy.  (the top shelf is a non-stash, nothing to do with sewing shelf).  But want you want when looking for fabric is never near the top and inevitable rummaging occurs causing disarray, though I think there must be a stronger word than disarray for this little lot.

So!  Action stations and a trip to IKEA (where else!?)

my sewing space janome 8200 5

this little lot was going to be the answer to my prayers.

Stay tuned for the next thrilling (and hopefully not so shocking) episode of My Space for Sewing.

Too Excited To Type

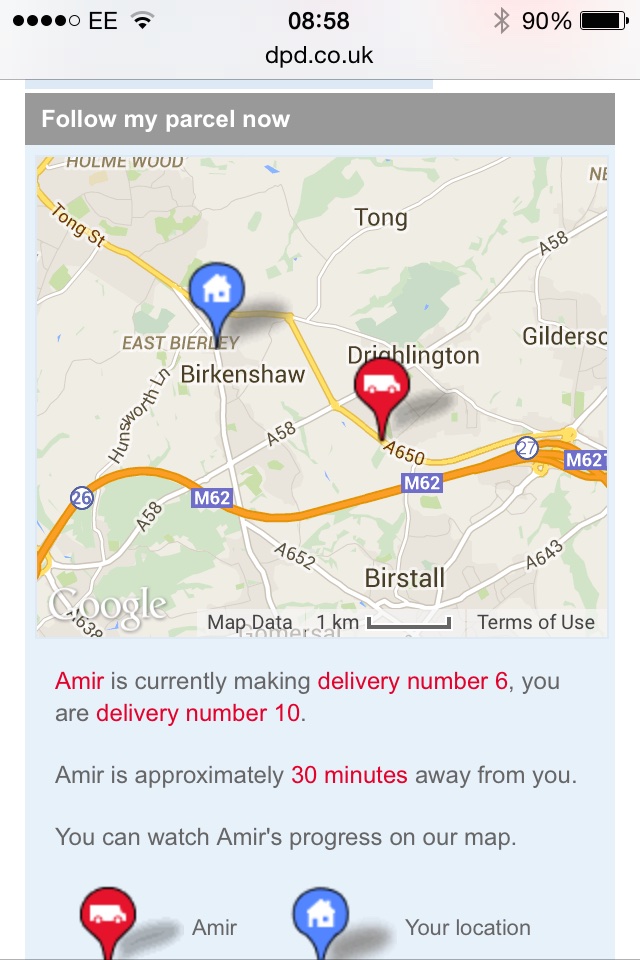
I’ve a parcel on it’s way and I received a text to track it’s progress, so I did.

And then I looked again…..

my sewing space janome 8200 3

I’ve never seen this service before! I’m amazed!

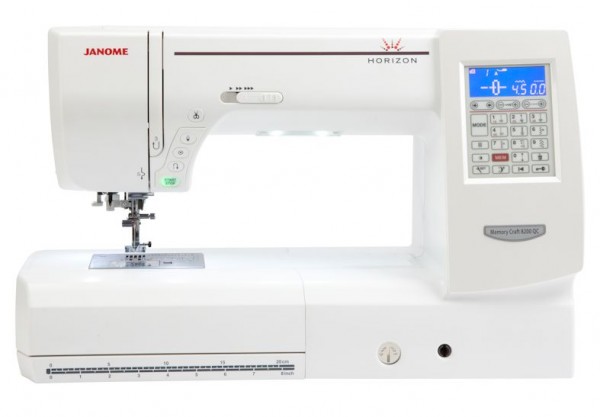
horizon mc 8200

I’ve bought the Horizon Memory Crafty 8200QC , here’s what it says about it on the Janome Website:

FULLY COMPUTERISED
MEMORISE STITCH & ALPHABET COMBINATIONS
MAXIMUM SPEED CONTROLLER
PROGRAMMABLE NEEDLE UP/DOWN
LOCK STITCH FEATURE
START / STOP BUTTON
200+ BUILT-IN STITCHES
AUTO 1-STEP BUTTONHOLES ( 7 STYLES )
9MM STITCH WIDTH
AUTO NEEDLE THREADER
AUTO THREAD CUTTER
REMOTE THREAD CUTTER PORT
With a 280mm (11”) arm space right of the needle and a total arm length of 440mm ( 17” ), this machine is ideal bigger projects and yet is equally suited to precision sewing. It has a built-in AcuFeed system for precise fabric handling and an easy change needle plate to enhance straight stitch performance. The 9mm stitch width gives added creative options whilst the host of special computerised features makes it so easy to use.

Weight – 12kg

Best go unlock the door……it’s just around the corner!!

my sewing space janome 8200

By the way, it’s a year today since I quit smoking and this is a little pressies just for me!!!!

A Few Renfrews…… A Few Renfrews…… A Few Renfrews……

You can’t beat a good tongue twister! I can’t even say it in my head more than twice never mind out loud!

I think we all have a few Sewaholic Renfrews in our wardrobes. I feel myself wanting to type closets, I’ll be calling my Overlocker a serger next! I already call my trousers pants which is confusing to none sewing friends. They wonder why I’m telling them that I want new pants (they think I mean knickers). Reading everyone’s blogs from various parts of the world is playing havoc with my Yorkshire accent!

I’m trying to update my blog with some makes that I’ve not shown you yet, and yes you’ve guessed,  this is about a few Renfrews.
image

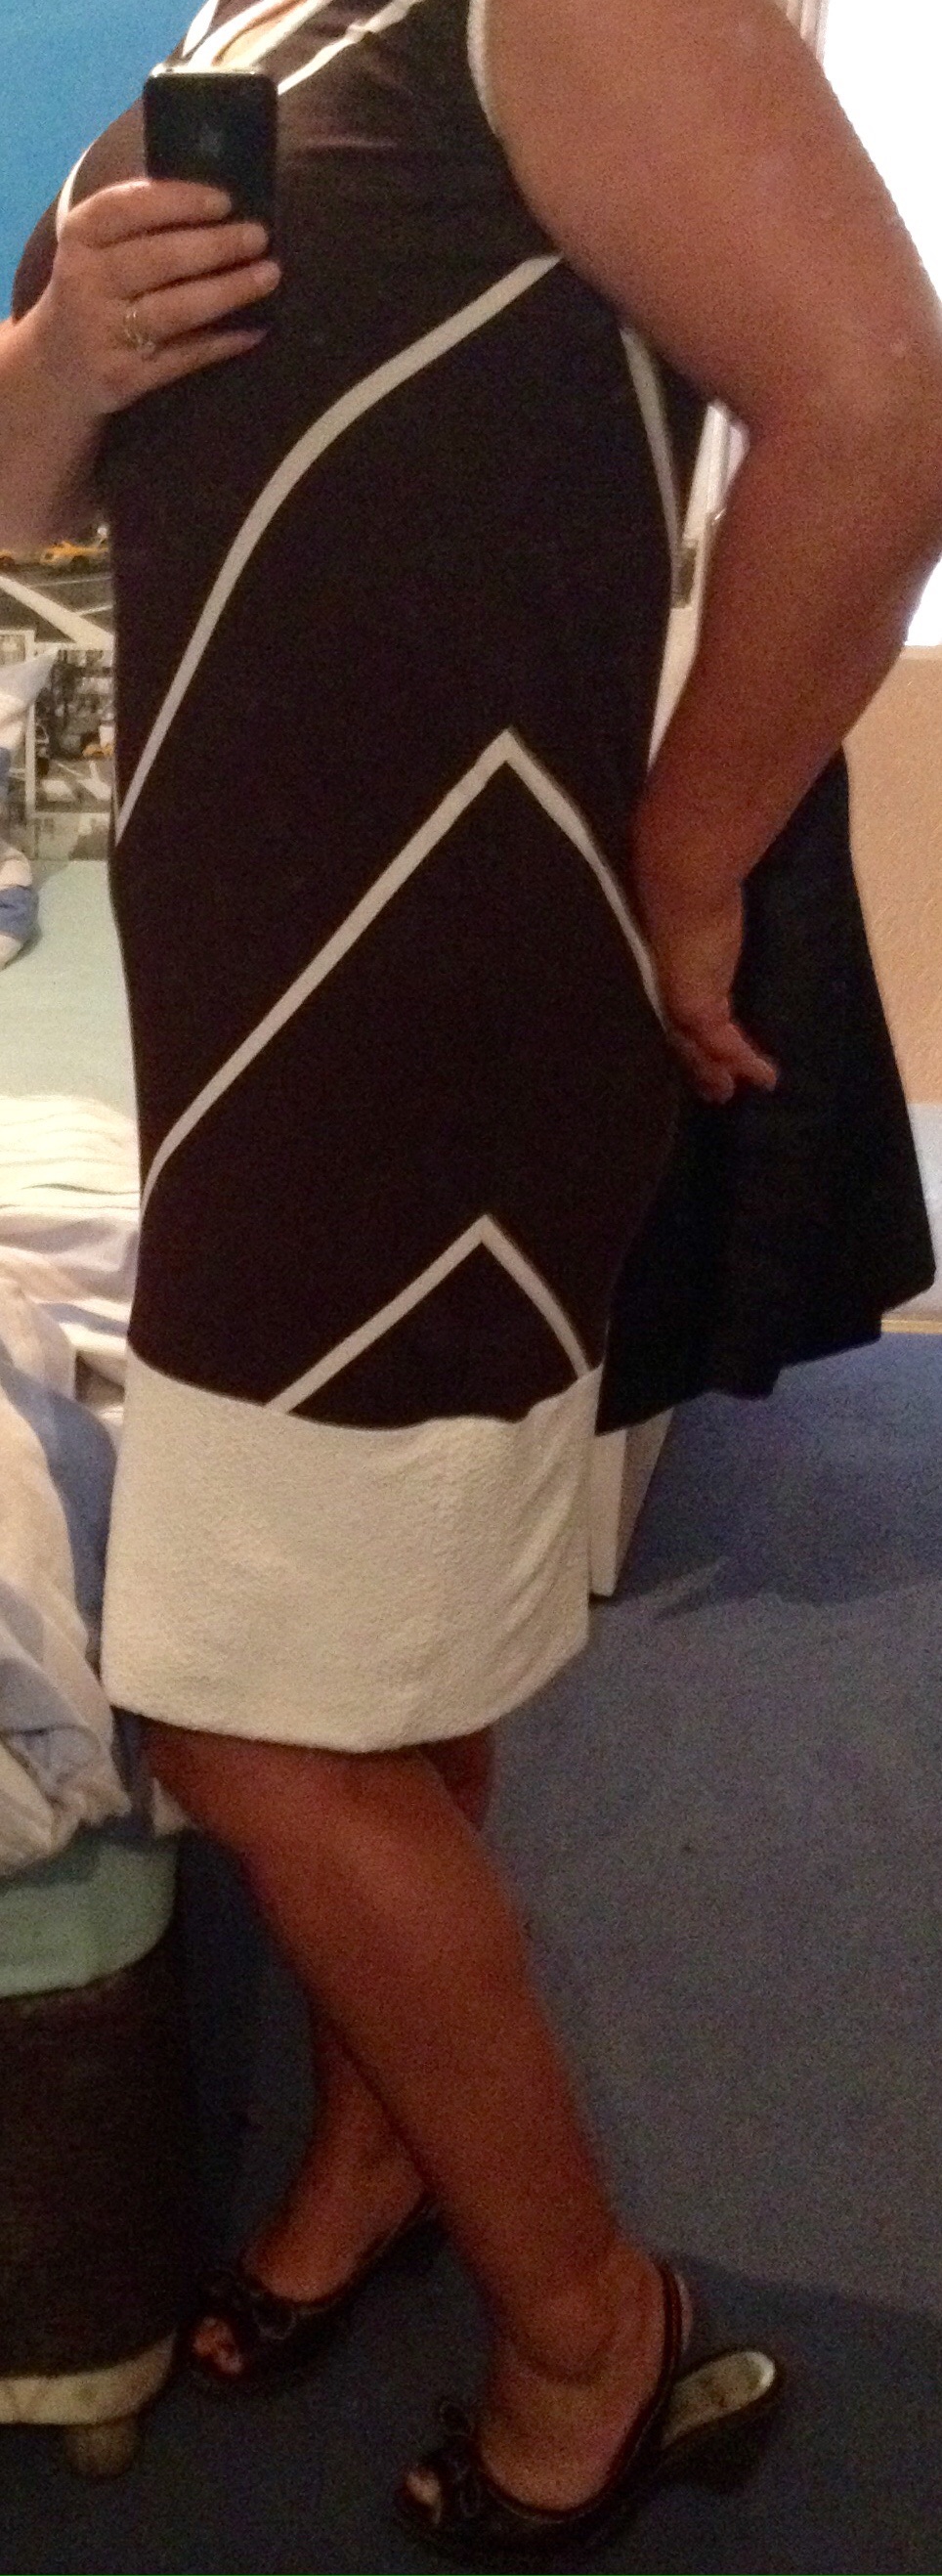
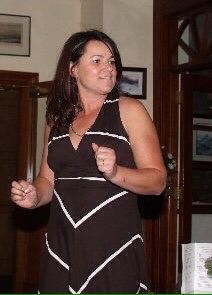
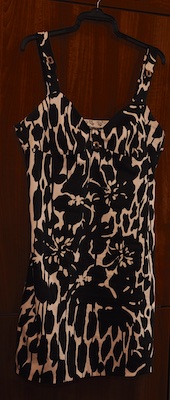
The first one is a refashion too. The dress above was bought about 4 years ago for a wedding  I loved that dress.  The style is out, but the fabric is still in…..I’ve seen chevron patterns all over.

Refashioned to a Renfrew…… Refashioned to a Renfrew…… Refashioned to a Renfrew……

Think that’s a bit easier than the first tongue twister!

i wondered what it could be…..
image

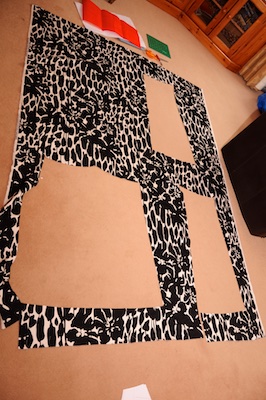
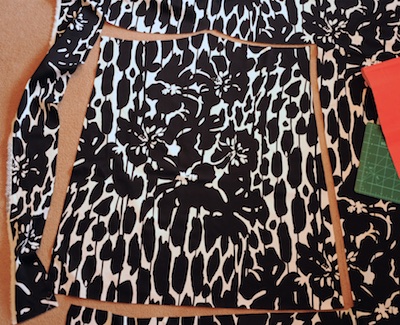
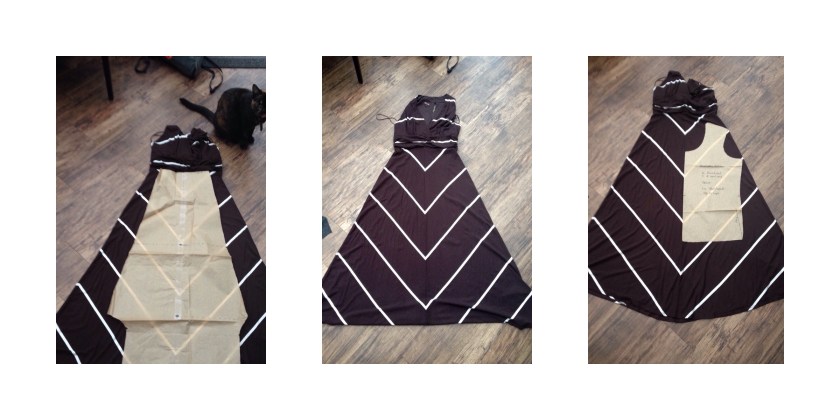
The skirt starts about 3 inches below the bust so there was plenty of fabric to work with. The photo on the left shows my espresso leggings pattern laid out.  At a push I could squeeze some funky leggings out of this. Not sure how much I’d wear them. On the right is the front of the renfrew round necked top.

I decided to go with the renfrew, but it wasn’t going to long long enough – I had a dress in mind. I had some cream fabric left from this Renfrew, an exact match to the cream stripes.

image

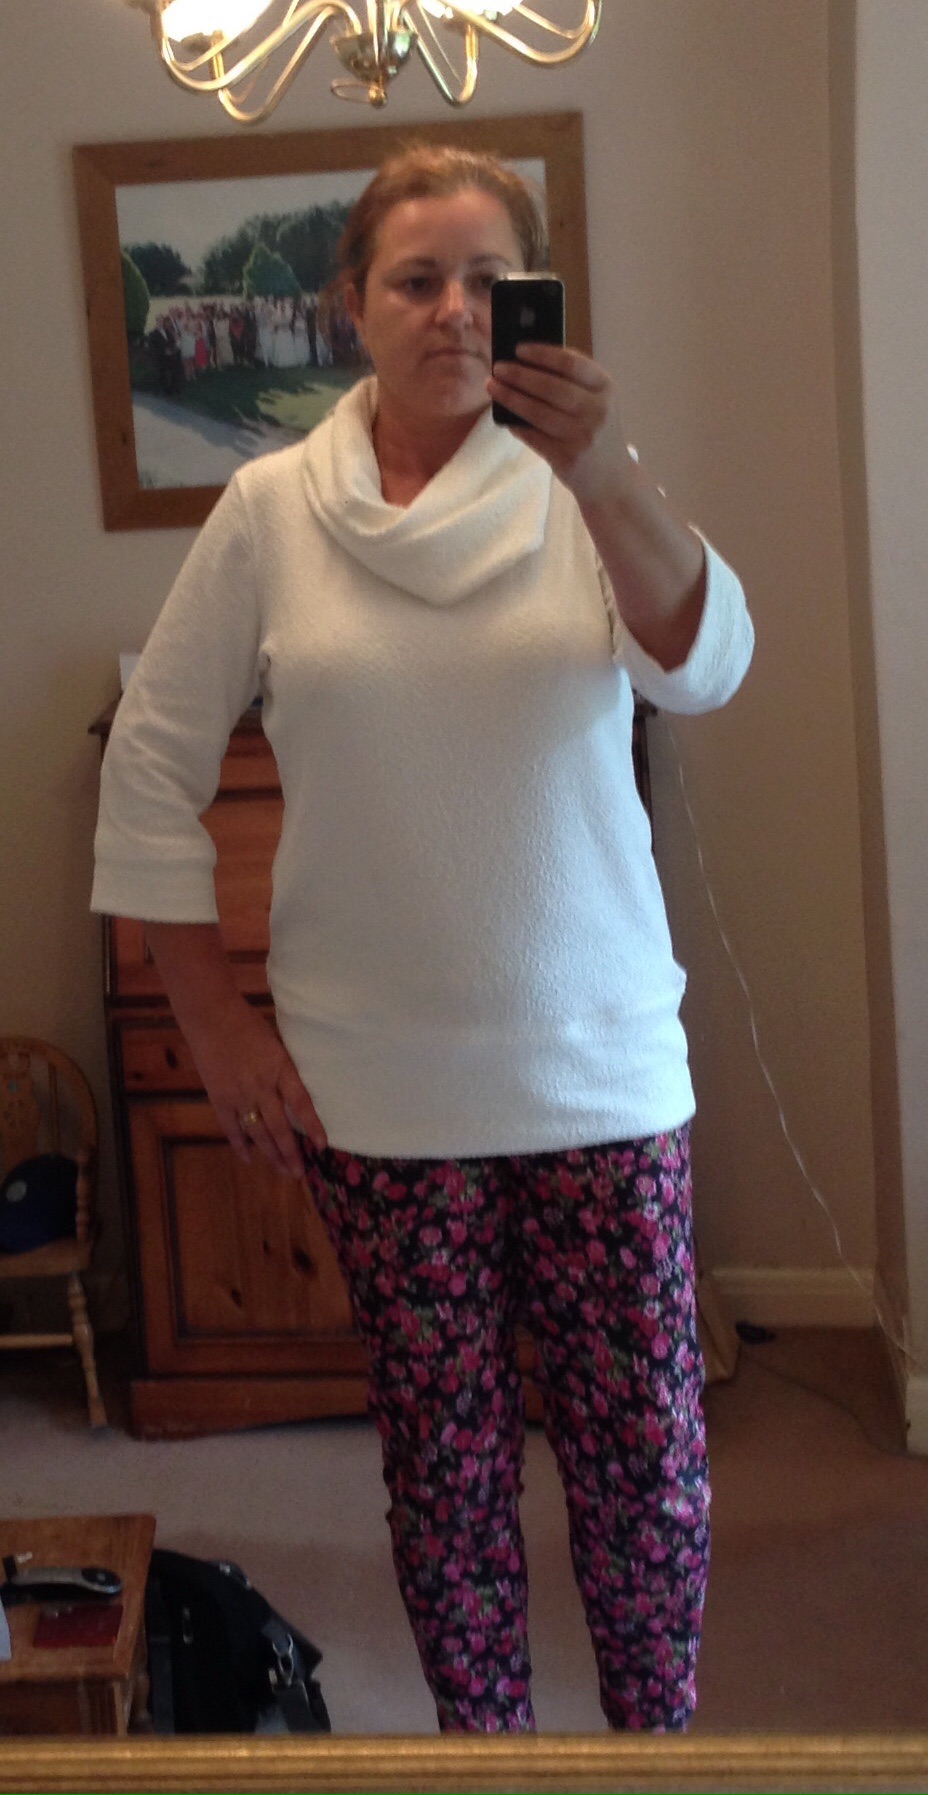
This is unblogged…..  I have worn it loads! It’s some stretchy winter white fabric that I picked up cheaply from Lucky Fabric as it had some marks on. I was easily able to work around them to make this top, and had enough left to add a white trim to the bottom of the dress.  I doubled over the strip for the bottom of the dress so it didn’t need hemming.

image

Check out those side seams!! I confess to pinning these seams, which is totally out of character for me! The stripe matching on the front was also spot on, but these are original seams so can’t take credit for that I’m afraid!

I  used the white fabric to edge the neck arm arm holes.

I wore it to the ladies golf presentation night, which was funny really as I wore the original version to the same event 3 years ago!

2 down, 2 to go….

Unfortunately I haven’t any good photos of the next 2. But these will do for now, the main garment really in this post was my refashion.

Here’s another dress made using the Renfrew pattern.

image

It’s the one above on the left.  I just used the front and back pieces. This was my first time sewing with scuba fabric.  So easy! No fraying and it behaved impeccably. I’ve not a photo of me in this handy, but I will soon when I blog about my Lemoncello cardigan from SBCC. (It’s the next to my dress above is grey, and I made it to go with my snakeskin dress!).

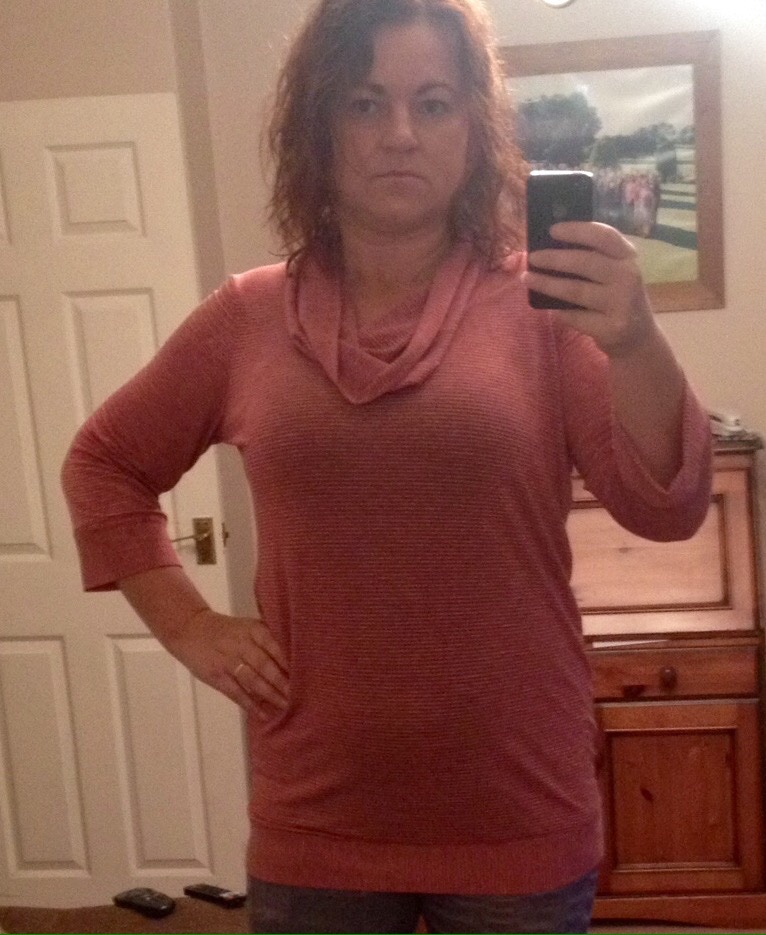
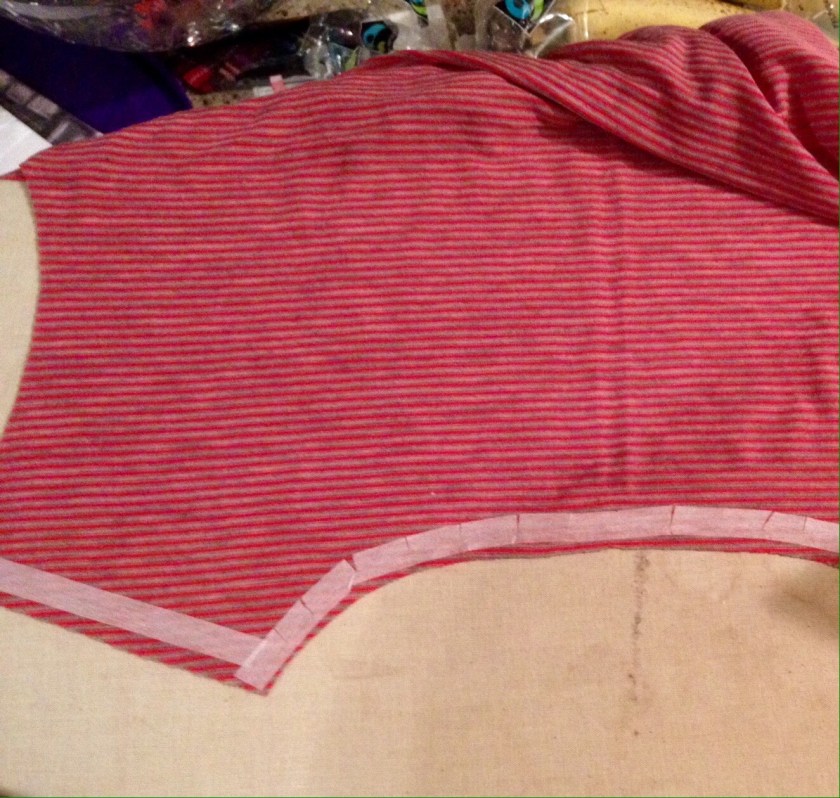
Are you ready for one last one….a really fine slinky stripey Jersey I picked up from The Shuttle in Shipley. A bit see through too and shows wobbly bits.  I usually wear a fitted vest underneath to keep things nicely covered.  This shops only about 7 miles away, but it’s not somewhere I go very often, though when I do I usually come away with more than I planned to buy.  But that’s normal isn’t it..?!
image

The above pic shows the fabric fairly accurately. Excuse the ironing board that needs recovering, it’s my mini one that fits on the worktop and does get a bit neglected. I stabilised the neck and shoulders with some iron on steam a seam to make it easier to sew. It was a bit flimsy.

image

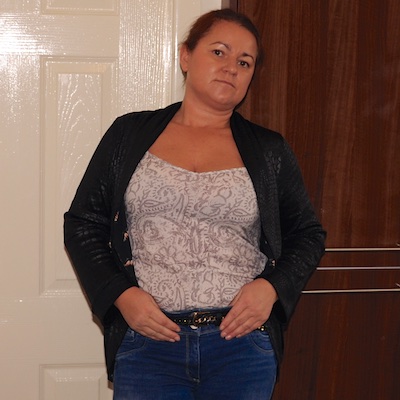
Crikey if you’ve got this far, I’m sorry.  I didn’t mean to scare you! I scared myself when I just previewed this post and finally got to see the photo above.  I can’t remember taking it but I look proper pissed off. I don’t usually swear here but there’s not other word for it!

I should really put this top on now and takes some more pics but I’m comfy with my feet up and a cup of coffee. Don’t know about you but it’s taking decent photos that usually delays me updating my blog with what I’ve made. I’ve now got a tripod and found a timer from my camera so hopefully things will improve.

So that’s it for now, 2 posts in a day! I bet you’re wondering how I found time…..no housework and lunch in Starbucks with my boy…. Had a lovely day, hope you have too!

Sewing Gives Me Butterflies – The Julia Cardigan #patternparcel6

Back in October I bought the Perfect Pattern Parcel #6.  Included in this was The Julia Cardigan from Mouse House Creations.

Cardigan-SKETCH-shaded

I’ve been meaning to make this up for ages, and now I have!  It’s good to know things do get to the top of the ‘to-do’ list, eventually!

I chose some black slinky jersey which was initially bought to make me and Thimberlina’s mum a pair of matching leggings.  I bought this fabric from Lucky Fabric’s in Dewsbury at the back end of last year. I s’pose I could’ve left it in my stash a bit longer, I mean, 3 months in the spare room, it’s not even got settled in!

But alas, despite £5 being an absolute bargain for me and my mum to have a pair of leggings  (I only had 1.8m but neither of us have particularly long legs) the leggings never materialised. But then I remembered the Julie Cardigan (my ‘to-do’ list is not written it’s in my head, note to self to maybe write a blog post about it).

julia cardigan 1 (1)

I really struggled with the pattern pieces to fit them on.  It was the curved front pieces.  4 are needed if you are going to line the front, which I did want to do for a better finish as the fabric was very slinky.  I even cut an extra front piece of the pattern so i didn’t have to guess if it would actually fit.  No matter how hard I tried I couldn’t squeeze on all the pieces.

julia cardigan 2 (1)So the above is all the pieces except the lining piece for the front.  Thought I’d add this picture so if you’re thinking of making this pattern it will give you an idea of pattern placement for not very much fabric.  It didn’t help either that I wanted a long sleeved version.  I rummaged in my stash and found some black jersey with a butterfly print which was perfect for the lining.   I remember buying it from Boyes in Brighouse with the intention of making a maxi dress (last summer).  Oh well….

The pattern went together so quickly, once I had cut all the pieces.  It was all sewn together on my overlocker with some top edge stitching done on my machine.

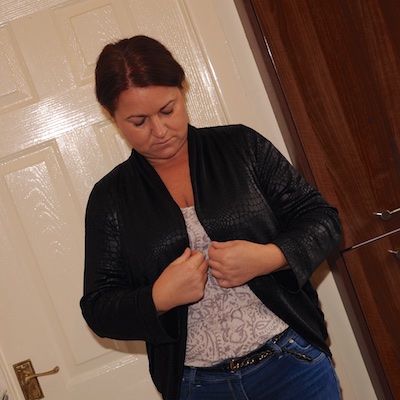
Here’s my photo shoot.  I’m sorry but you’ve to make do with the kitchen, as it’s the tidiest place in the house and it’s too cold to go out.

O

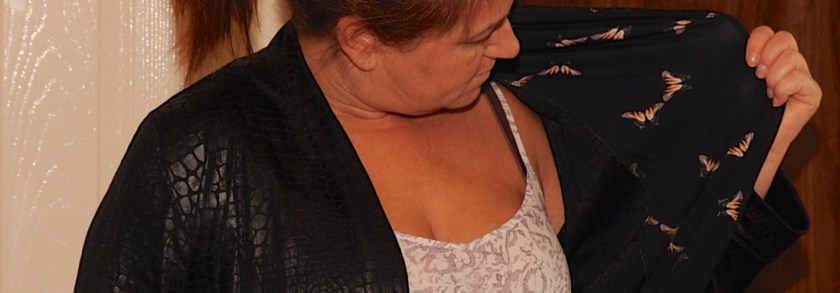
I was really glad I didn’t have enough fabric and had to use the butterflies.  Don’t you just love inside surprises inside your clothes!?

julia cardigan 2

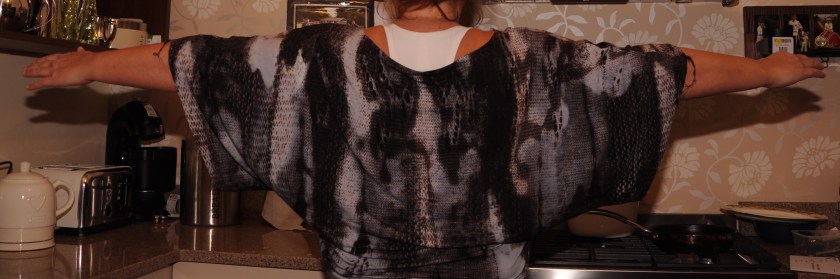
It will meet at the front, but not at the waist …. that’s the design tho, honest!

julia cardigan 4

I’m really not flashing my butt at you….. just showing off the butterflies!

julia cardigan 6

Not really sure what going on here but added this one cos I think it makes me look slimmer than I am.  and I’m not pulling any faces so I mustn’t have been breathing in too much.

julia cardigan 7

Casual look… Isn’t it so so hard to photograph black clothes.  I’d put that vest top underneath because it’s pale and would help show the cardi, but I was freeeeezing.

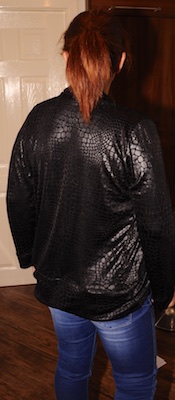
Here’s a couple of shots of the back (I’ve got a lovely smile on these 2 but shame you can’t see it!)

julia cardigan 3

julia cardigan 8

Even though the flash makes this look shiny, it is actually a bit shiny in real life.  It looks a stiff wet look leather fabric but is really soft to touch

Well, that it for now folks. How you doing with your perfect pattern parcel makes?  I bought 3 out of 6 parcels, and this is my 2nd make, so 2 down 14 to go!!   The other pattern I’ve used was the Hudson Pants which I made for Harrison seen here.

Hope you all have a very eventful weekend in your sewing spaces!

Lazy Valentine Weekend – The Frock Part 3

Hi!  Hope you’ve all had a lovely Valentine’s weekend.  I finished my frock on Friday, except for a little hand stitching, so that left Saturday for chilling.  Today has been a quiet day too, mostly because I’ve been nursing a hangover!

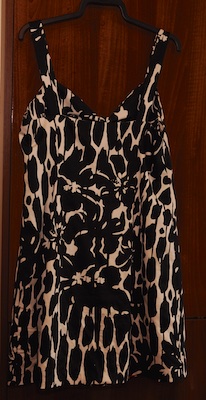
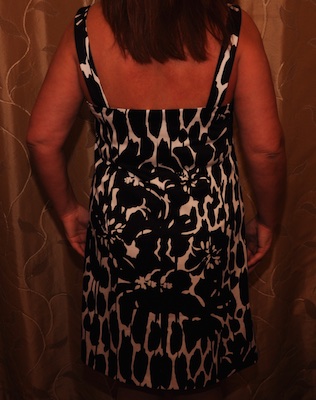
The Frock…..

lekala5891 3

I really enjoyed making this.  Probably due to making a muslin and knowing it would fit!  For the lining I chose something a bit fancy from my stash. I originally purchased this to line my Godzilla jacket but ended up using a zebra print for that instead.

lekala5891 (1)

The lining was a nightmare to cut out, really slippery. Maybe if I’d have used a rotary cutter it would have been easier.  It was worth it in the end though.

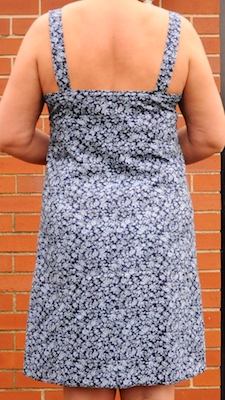
I intended to add 2 inches to the length of the dress but then forgot when I was cutting out.  In the photos of my muslin here in Part 2 the length is just right, but that was before hemming.  So I didn’t loose much length from the dress I decided to use some bias binding.  I didn’t have anything suitable and the thought of making bias binding from the lining fabric made me come out in a cold sweat, so I had a trip to Boyes in Brighouse and bought some satin bias binding.  It had to be red too, cos it’s a Valentine’s Dress!

lekala5891 9

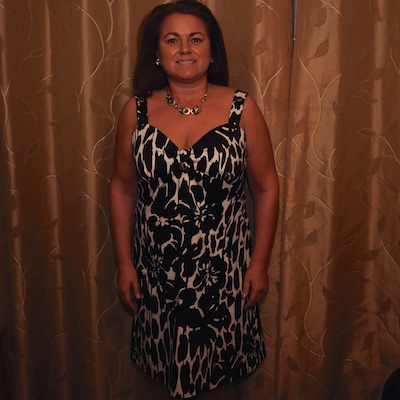
I really really really love this dress.   I’ve only made 1 lined dress before, the Vogue 1353, but I don’t wear that anymore cos it makes me feel frumpy.  But this one is so comfy and slinky with the lining I feel fabulous wearing it, and the cotton sateen is so soft, it hangs lovely.  Here’s a link for the fabric if you’re interested, it would make a fab A-line skirt if you didn’t fancy it as a frock.

A bit more about the construction….

lekala5891 1 lekala5891 2

The dress calls for lots of top stitching, and not just one row either, twin rows.  I really thought this would spoil the look of the dress, so instead I under stitched as much as I could.  The top picture is the outside of the front, and the bottom one is the inside.  I think next time I would add some sort of interfacing to made the edges a bit firmer and more structure, especially the straps.

lekala5891 11

I managed to stitch most of the lining with the machine. For the back I tucked it under the bias trim.  I was a bit worried the bias trim might peak out due to no topstitching but it behaved.

lekala5891 8

For the front of the lining I stitched it to the seam allowance of the seam under the bust.  This just left a bit of hand stitching at he sides.

Onto pattern matching

lekala5891 14 lekala5891 15

I wasn’t sure where to start with this, but after much deliberation I decided to put the large flower on the centre of the front and the back. The centre back seam made this a bit tricky as it didn’t run parallel with the grainline. It’s narrows at the top.  I matched the pattern at the top, but on reflection I think I should have matched the skirt part of the dress.  What do you think??

lekala5891 5

We had a great night.  Lots of wine, and dancing!  Here’s another pic before we went out….My legs look a funny colour in this picture.  I was wearing some skin coloured fish-nets which look better on your toes than normal stockings/tights.

lekala5891 6

I’m planning on making a couple more of these, unlined cotton ones for the summer.  Here’s a link for the pattern if you want to take a peak…….

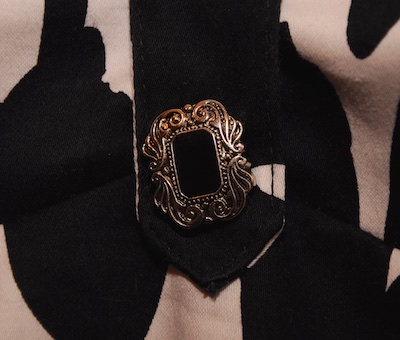
The Buttons!!!

lekala5891 12

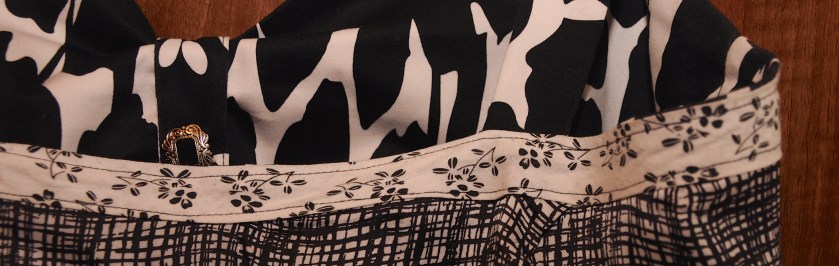
The instructions called for button holes and buttons. I skipped the button holes and stitched the buttons directly where needed, it’s not like I was going to be unbuttoning them to get the dress on and off!

lekala5891 13

The buttons came from my stash.  I acquired quite a collection from my mum in law last year.  It took a lot of time to sort out, but so worth it.  I  had 3 of these little beauties, just enough!

Valentine Frock – Part 2

For those of you who regularly read my blog, sorry for the confusion. I’ve not written Part 1 yet! (Part 1 will be about the 2 muslins I made prior to this one – pictures still required, post to follow.)

On Valentine’s Night we’re going out with 4 other couples to a dinner dance at the golf club. Dinner dance might sound a bit 80’s ish, but there’ll be great food, a soul singer and a cheap bar! What more could we ask for! …….A new frock of course!

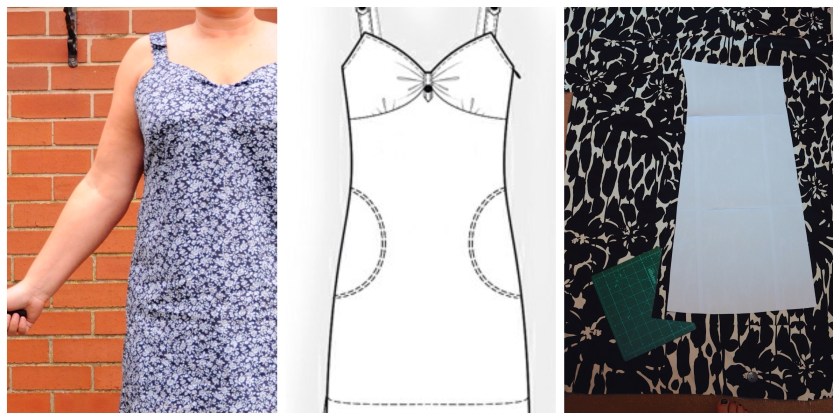
After 2 separate muslin failures due to fitting issues I decided to give Lekala another try. I have used them before but not for ages.

My fabric is has a large bold pattern so my dress needs to have fairly simple lines.

lekala5891 7

I decided des to do away with the pockets. Maybe a year ago when I was a smoker I would have gone with the pockets for my ciggies, but 16 days it will be a year since I quit!!

image

So, this was my 3rd Muslim for my Valentines Night frock.  I was feeling fairly optimistic that it would fit me so used some blue floral cotton from my stash in the hope it would turnout ok and wearable as an everyday sort of casual dress (I’m thinking MMM 2015 and watching cricket in the sunshine).

 YIPPEEEEEEEE!!! It fit!!

lekala5891 1

Hooray for custom made sized patterns!

The only thing which was slightly off is the under bust seam.  It’s a little bit high and not so under bust!  I bought the same lekala pattern again (they are soo soo cheap you can do this!) and added an adjustment of low bust points.  I never thought I had low bust points but hey ho, it’s only between me and you!

lekala5891 2

The back a great fit though on the photo above it looks like there is excess fabric, but in real like it looks ok.  I inserted an invisible zip but can pull the finished dress on and upwards without the zip.  Hooray for slim hips, just a shame the tummy’s nearly the same size!

lekala5891 13

There was a lot of wastage when I cut my fabric out.  I was thinking of last weeks Sewing Bee as I was trying to pattern match.  It was near on impossible as there is no symmetry to the pattern, so I went with the big flowery bit landing in the middle of the back and the front.

lekala5891 15

The back was a bit trip as the there is a centre back seam which isn’t parallel to the grainline.

lekala5891 14

I did my best, took about 2 hours to cut out a few simple pieces and now all I can do is hope it’s ok, else I’ll be frantically going shopping on Saturday morning.

lekala5891 9 lekala5891 10

lekala5891 11

I was proud of myself for marking up my pattern pieces properly, taking my time and using dressmakers carbon paper and a tracing week.  So much more accurate, especially for darts.  The first time I had a go i spread all my different coloured sheets all under my pattern, but I’ve since learnt that it’s easier just to move it round a do a bit at a time. Doh!

I was on nights last night and another one to do tonight so today I’ve only just managed to made the straps.  Not sure if I’ll get chance tomorrow to do any more, if not it will be pedal to the metal on Friday and all systems go!

Have you got any Valentine sewing in the pipeline? I’ve just seen Thread Theory are having a little sale on their cosmos trunks and I’m wondering if I should download them and make my hubby a little pressie (or big in his case!!  haha…..lucky for me he doesn’t read my blog…. I hope!).

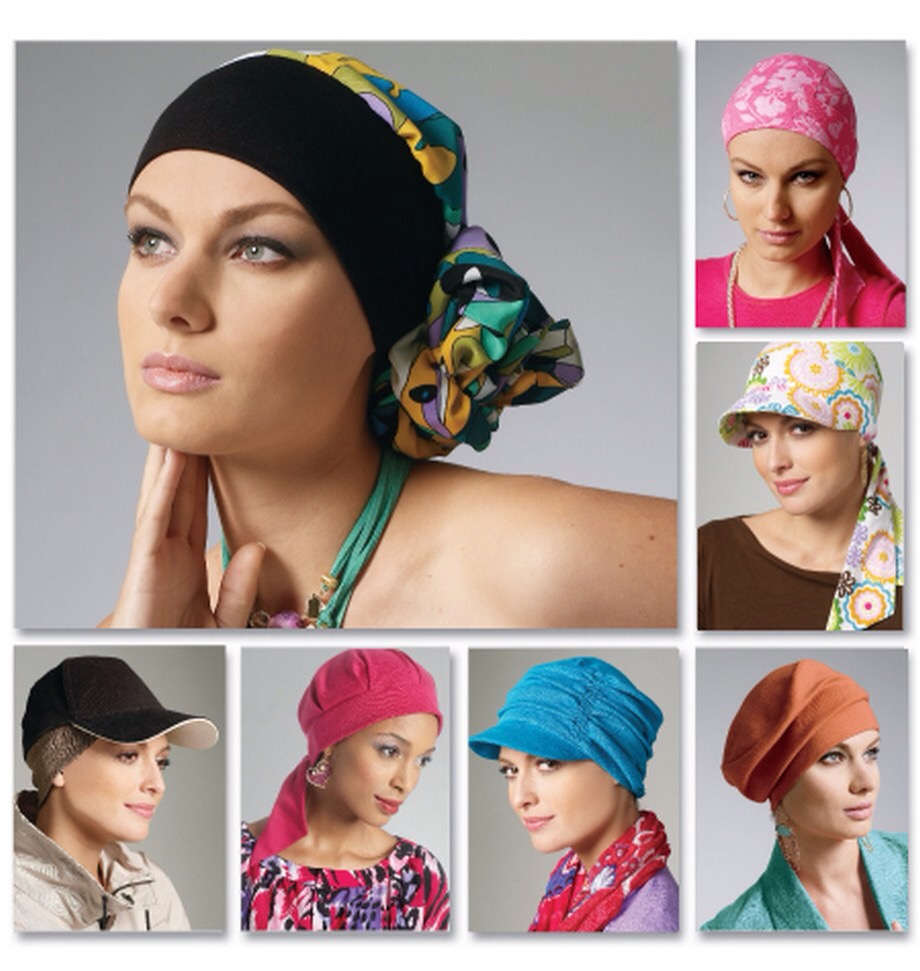
McCalls 6521 – hats for ladies suffering from hair loss

IMG_1675

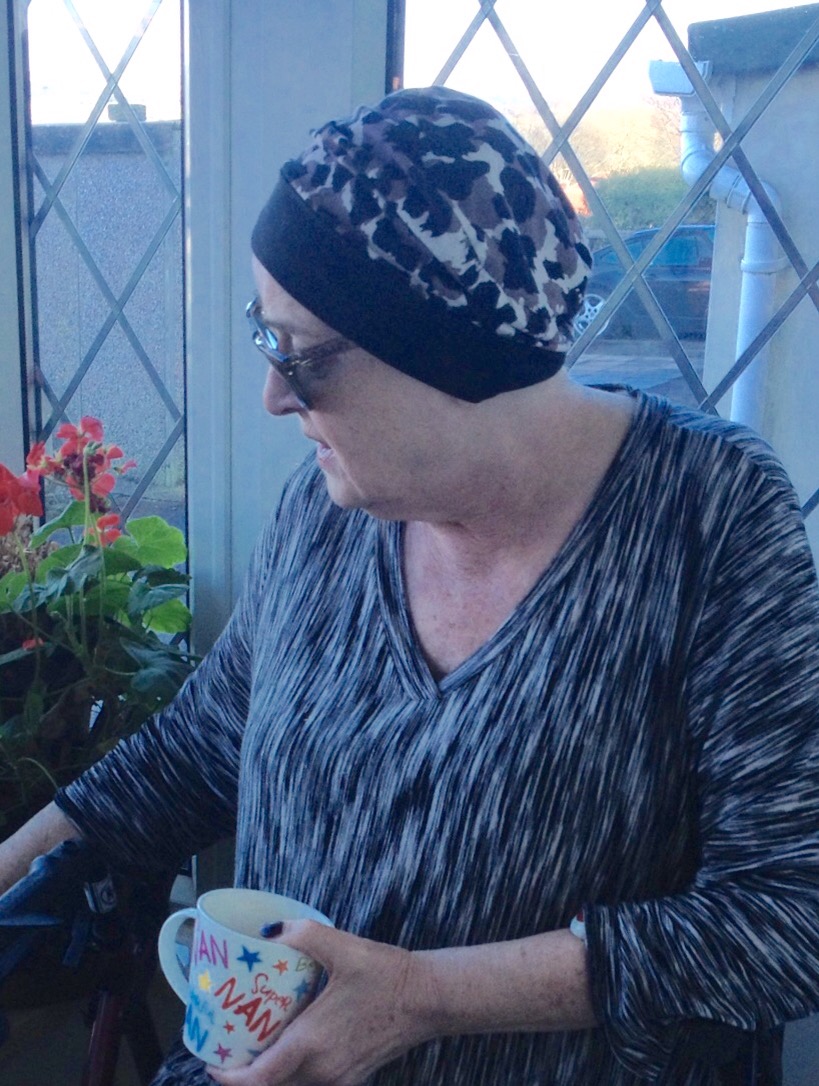
My mum in law lost her hair 14 years. She wears wigs when out but prefers hats indoors as they’re cooler. I found a pattern for ladies who have suffered hair loss. They’re designed to cover the hair line.

IMG_1671

I up-cycled a top for my first attempt and she loves it!

IMG_1669

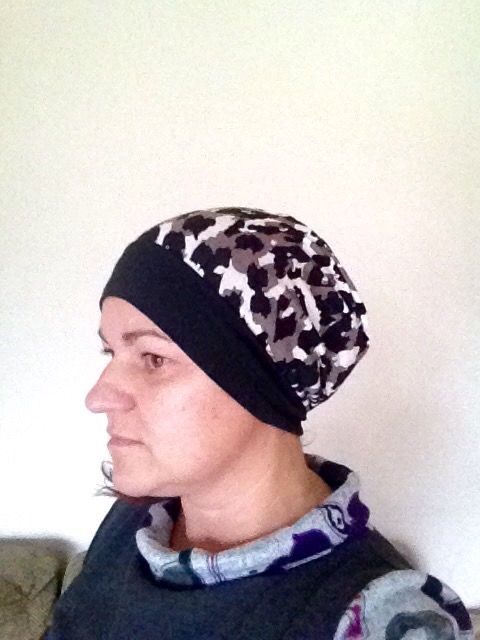
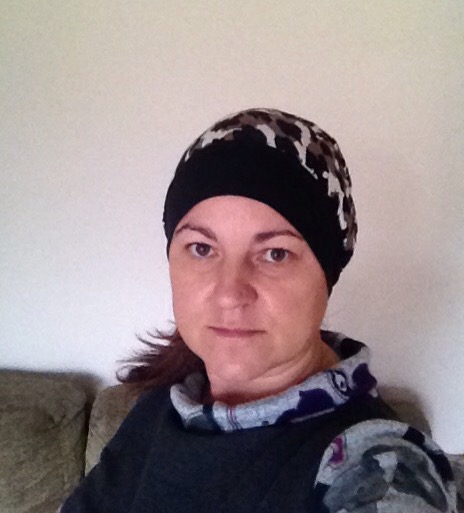
Here’s a pic of me modelling it, I’d tucked my hair inside.

IMG_1672

IMG_1673

It only took 1/2 hour and that included tracing the pattern! Much quicker than knitting! I used my Overlocker for all the seams so it’s really neat inside, and there’s plenty of stretch in the seams.

Newlook 6648 – Again!

I decided I needed a new top for a night out on Friday for a colleagues leaving do.  I had this fabric in my stash, a soft viscose jersey with a 4 way stretch. I bought it off Ebay, and including P&P was just under £5 for a 1.2 m remnant.

newlook 6648 2

I fell in love with it when I saw it and would probably have gotten into a bidding war if necessary, but thank goodness it didn’t come to that.

I pulled out Newlook 6648 and chose view A:

6648fb

I’ve made it before, seen here, and I’ve also used view D without the band and lengthened it to make a dress.  In a stretch jersey here, and a polyester cut on the bias here.

I didn’t have enough fabric for the band, which was ok as the last time I made this I found it a bit too tight.

newlook 6648 3

As you can see the pieces only just fitted on.  I was able to add 2″ to the bottom of the back and front, and luckily as it had a 4 way stretch I was able to use the strip of spare fabric to the right for the neck binding and a band at the bottom (similar to how the Sewaholic Renfrew is finished).

newlook 6648 4

God know why I straining my neck like that, maybe trying to get it out of the camera.!! This was when I’d sewn the front and back pieces together.  The neck hole is made 2 inches smaller than the pattern, my first one gaped, and so does everyone elses on the internet who’ve made this. I love how it’s turned out! It’s comfy and very ‘me’! The pattern of the fabric goes really well the with slouchy look of the top and I can see me wearing it loads.

I made it from start to finish in 2 hours.  It was all done on the overlocker except hemming the sleeves and topstitching the neck band.  It would have been quicker but my sewing machine kept playing up.  I changed the needle 3 times, and lost count of the number of times I re-threaded it, and I changed the thread.  Still don’t know why it was acting funny.  I even took off the plate for a fluff check!  I do need a new light bulb though. It has just a box standard bulb, no fancy lighting, but when it went I couldn’t believe how much I missed it!  I did improvise though.  I used the torch on my iPhone with it stuffed down my bra!!

Me – my usual smiley self!

newlook 6648 10

Me – looking over the hedge into next doors garden

newlook 6648 9

Me – looking at my empty washing line.

newlook 6648 8

Me – wondering if the kettles boiled yet.

newlook 6648 7

And finally, yes you guessed, it’s me again!  This time checking out the snow in the back garden!

newlook 6648 6

Hopefully tomorrow I’ll be able to make a start on my Valentine Dress.  We’re going to a dinner dance with some friends for Valentines day, so a new frock is needed!  I’m not fasting but I don’t want to buy one when I can made one.  I’m thinking I might make the Dandelion Dress from Seamster Patterns.

I’ve bought 2m of a stretch cotton sateen from Croft Mill.  I’ve not shopped there before but I’ve spent hours looking at their website.  How they describe there fabric is brilliant and often hilarious!

Here’s the description for my latest fabric purchase:

145cm wide black 97% cotton, 3% lycra dress fabric in a stunning black and white abstract floral design. It’s a fairly large design, so wont suit all…but it’s a corker.

This is quite tame compared to some.  If you’re up to date with your blog reading and a little bored, you could soon pass an hour browsing their website.  This really tickled my on their front page under a picture of their waterproof fabric –

Because we wouldn’t want you to get soaked to the bone, we’ve got you some wonderful new waterproof and water resistant fabrics. Aren’t we nice?

The Chunky Headband Pattern

In yesterday’s post I told you about my first ever crochet pattern!

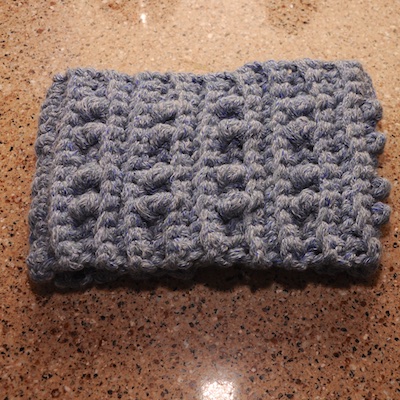
Thimberlina Chunky Head Band 1

Here it is!

Free!

I used 1 x 100g ball of Sirdar Denim Ultra Chunky & a 10mm hook for the blue one, but with the pink one I used 2 strands of a chunky wool & a 8mm hook (no bobbles – I just used row A)

The blue one is 6″ wide and the pink is 5″ wide.  The finished width will depend on your tension, hook and yarn.  I’ve also made not so chunky, narrower ones and they look good too!

chunky head band

Thimberlina Chunky Head Band 5

Thimberlina Chunky Head Band 1 (1)

Chain 15

Foundation row: skip first chain, SC in 2nd chain and the remaining chains – 14 stitches in total.

All stitches from now on will be worked into the back loops only – this creates the rib effect.

Row A: chain 1. SC into the back loop of all 14 stitches.

Row B: chain 1. SC x 3. TC. SC. TC. SC x 2. TC. SC. TC. SC x 3

Here’s another way of looking at row B:
chain 1. S S S T S T S S T S T S S S
S = single crochet*
T = treble crochet*

The pattern is made of:
Row A x 3, Row B x 1, Row A x 3, Row B x 1

Continue until it fits around your head, then connect each end together with slip stitches. Weave in loose ends and wear with pride!
Don’t make it too big! It will stretch to fit if on the snug side, but they’re hard to shrink! The pink one above has a tendency to slide down so I tend to wear it as a neck warmer.

When chaining at the start make sure you chain loosely or when you finish the starting edge may be slightly narrower than the finished edge.

I have in the past ended up with wonky edges – a lot!!! To stop this make sure your first stitch is the one immediately next to the chain 1. As you crochet along count, then when you get to the end you know when you’ve done the 14th one. The 14th is sometimes hard to find!

The width can be varied to suit your own style. If you’re adding bobbles plan your bobbles before you start so they’re evening spaced.

*SC = single crochet (USA) double crochet (UK)
*TC = treble crochet (USA) double treble (UK)

Good luck!

If you come across any problems let me know.

I have the pattern on an A4 sheet as a PDF. Let me know if you’d like a copy sending to you.

Thimberlina Chunky Head Band 3 (1)

How not to wear a hat!