“Why oh why did I leave it so long!!??”
We’ve all said it.
More than once.
But we never learn.
It’s not that often is it that we unearth a UFO, finish it and aren’t please. I mean, if it was that bad in the first place it would’ve ended up in the bin not chucked in the corner.
So a while ago I borrowed V8805 of my real life sewing buddy Jeanie.
Jeanie’s the one who got me going again, so to speak. She’s made umpteen versions of these. For my first I used up some left over denim. The dark blue was from my GBSB capri pants and the raspberry was from my Mexican dress and also a peg bag. You might even recognise pinky red denim from other blogs – I’ve seen Jeans on The Prolific Project Starters blog and also a cute little dress only a couple of weeks ago on Making and Markings blog. (I’ve just looked and Minerva still have it in stock). In fact it was Camilla’s recent post that reminded me I had this UFO buried somewhere in my sewing room.

And it was the Monthly Stitch that gave me the much needed kick up the butt to finish this easy peasy make.
There wasn’t even much to do. I’d only abandoned it because the neck was too tight and I thought the shoulder seams were in the wrong place.

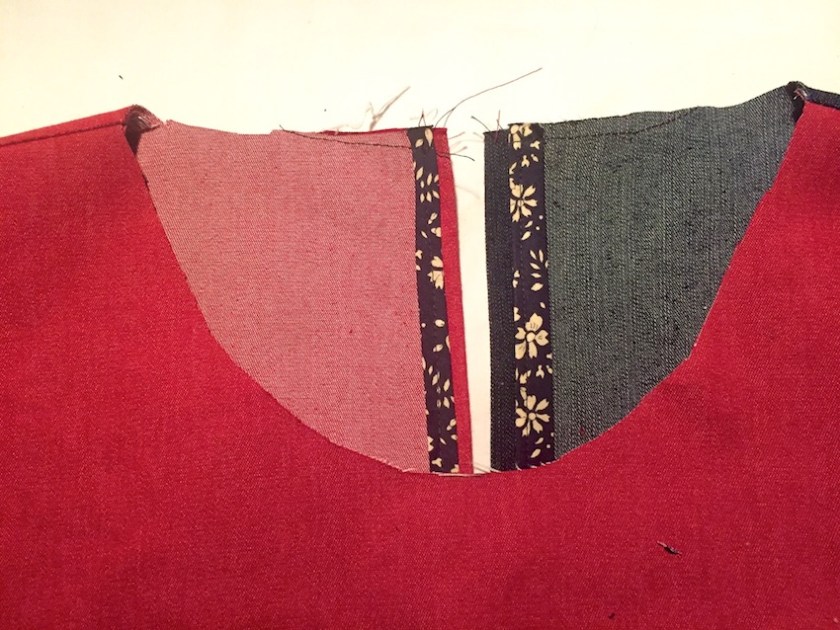
I marked with a biro how low I wanted the neckline to be then used my dressmakers curve to draw a new neckline.

I also took 1/2 inch off the side but didn’t lower the back. You can just make out the pencil line above.
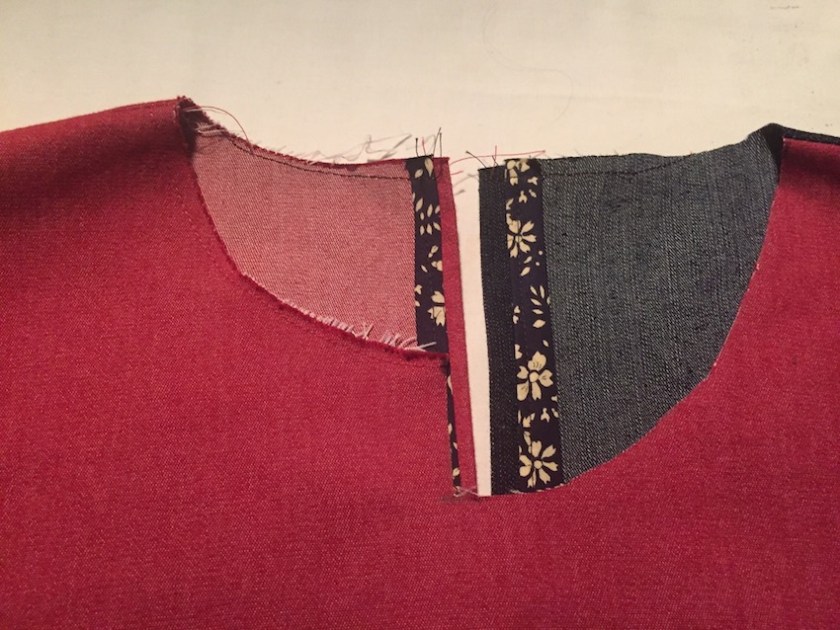
I only cut half to start off with then used the cut out piece as a template to cut the other side.

I didn’t bother pinning or drawing, just held it in place. (I like living dangerously!) Once i’d stopped the neck from choking me the shoulder seams fixed themselves! It was like magic!
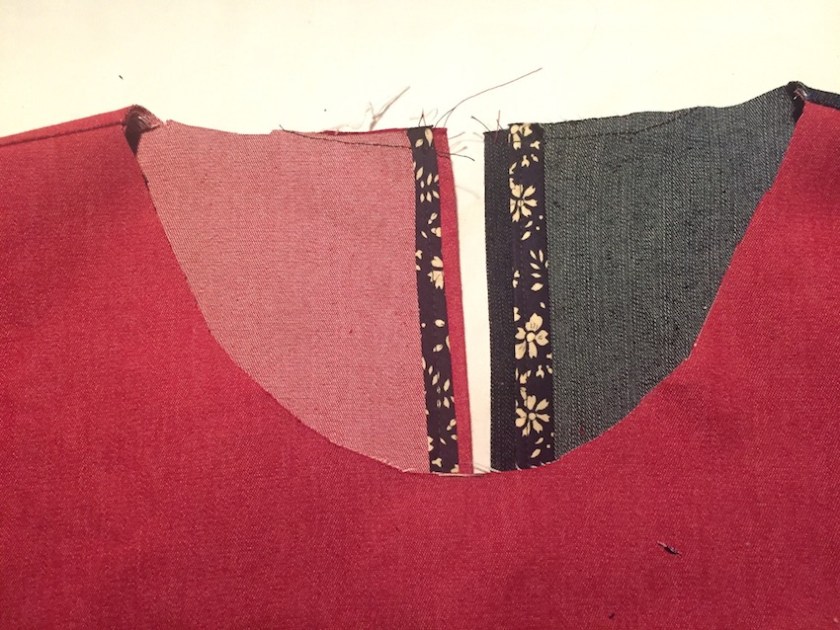
It looked fairly even. I realised straight away I’d chopped off my stay stitching so stitched another row to prevent stretching out.
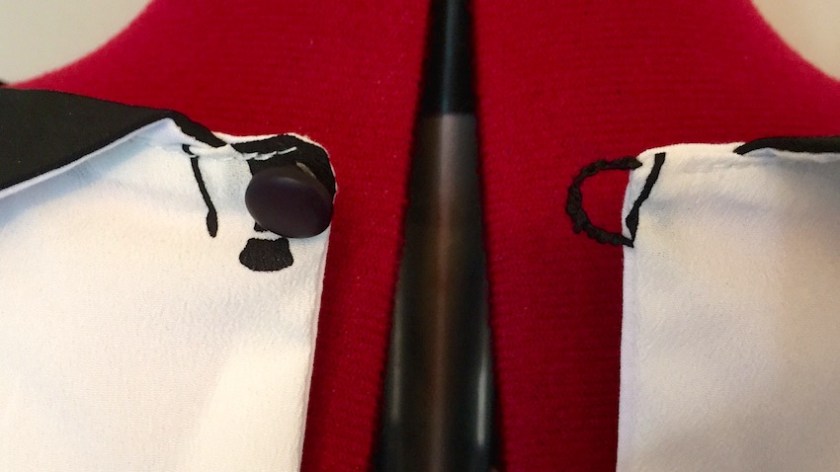
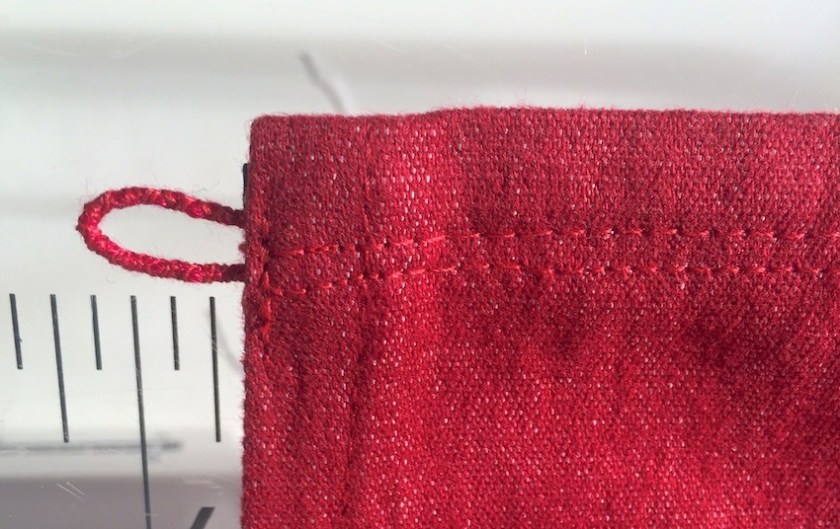
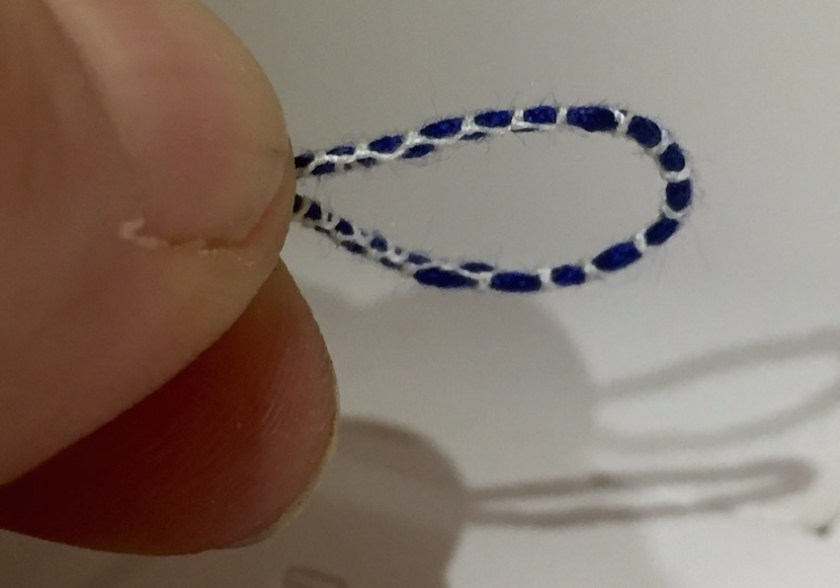
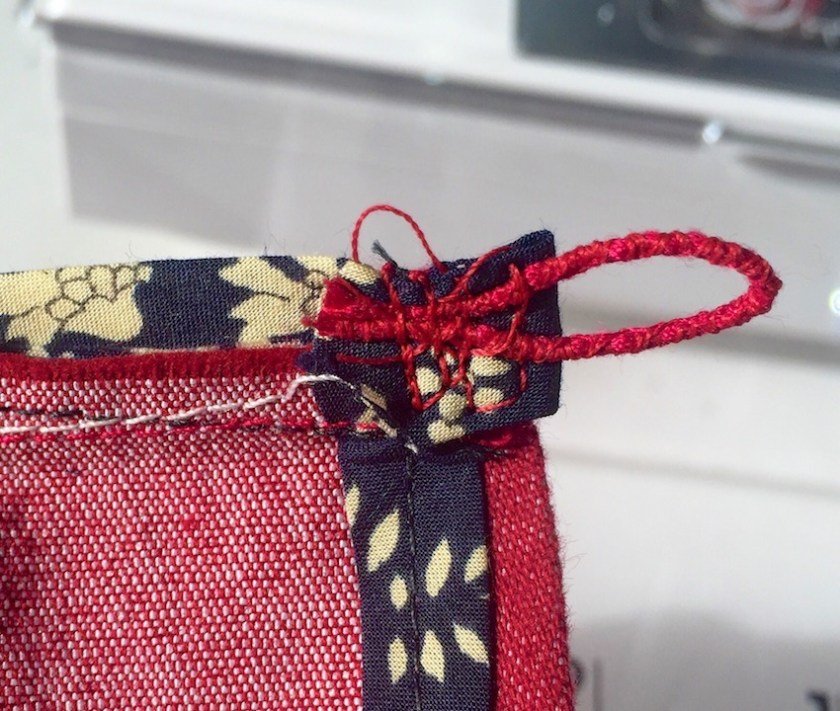
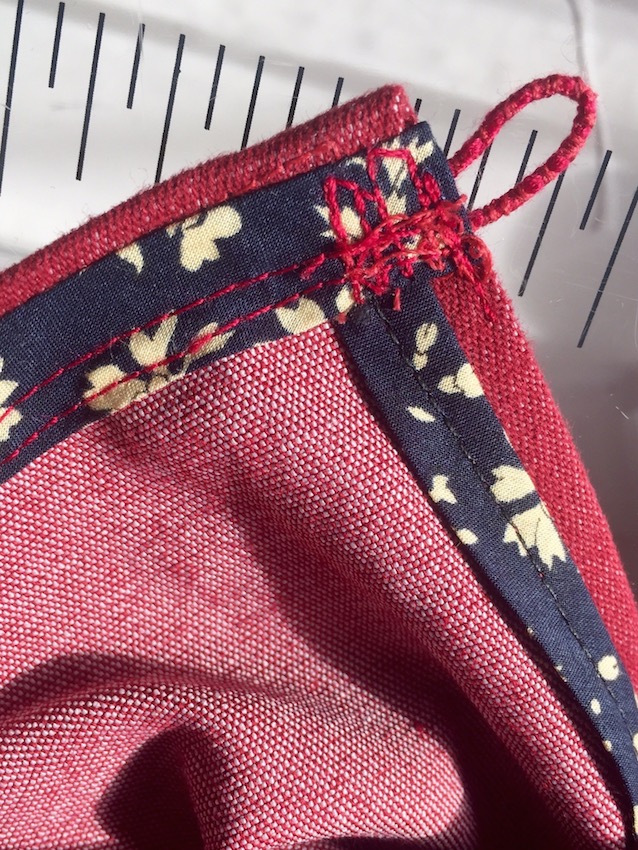
I finished up the neckline with some bias tape, a loop and a cute red button I found in the button box.

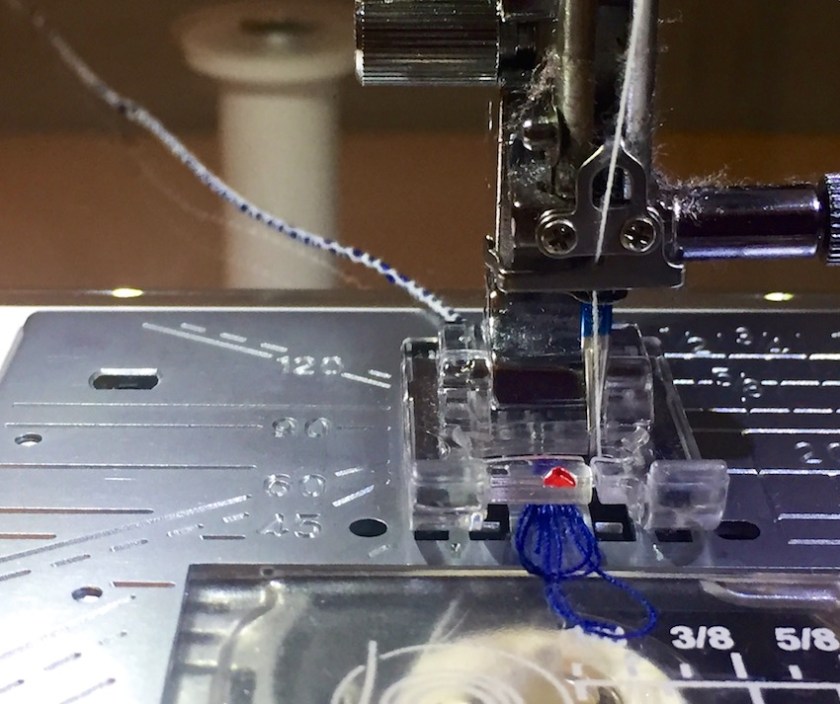
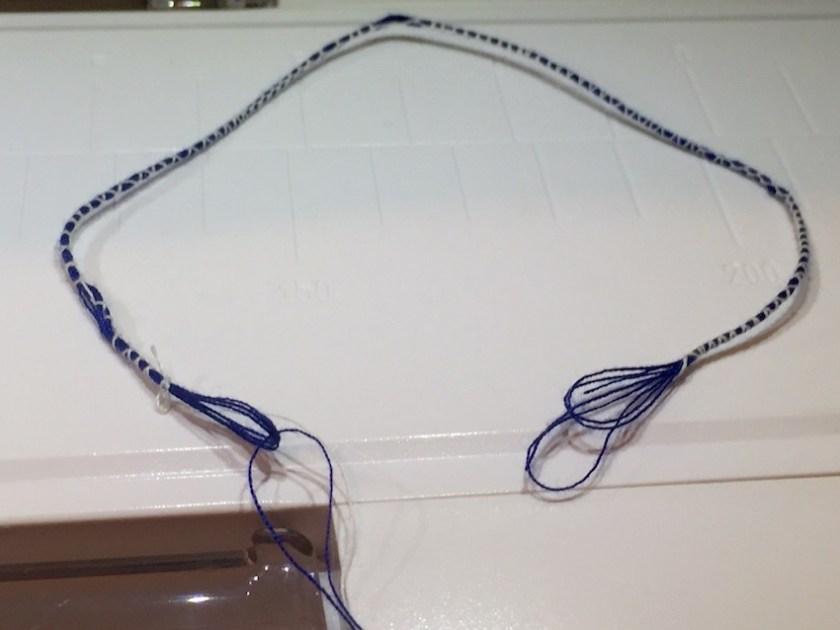
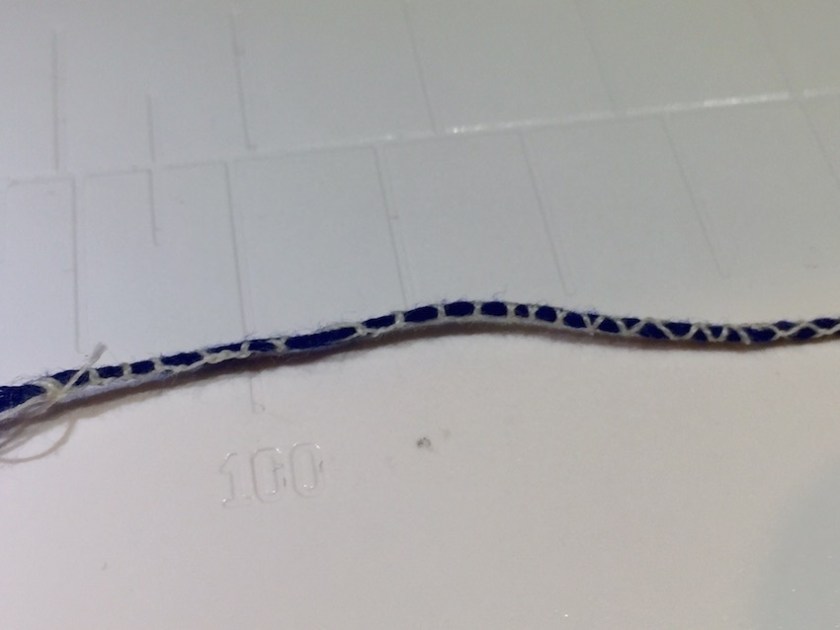
This loop was stitched on the machine and took less than a minute. If anyone’s interested I might do a quick tutorial.

The hem on the arms and hem were straight stitched in red, and hey presto it was finished.
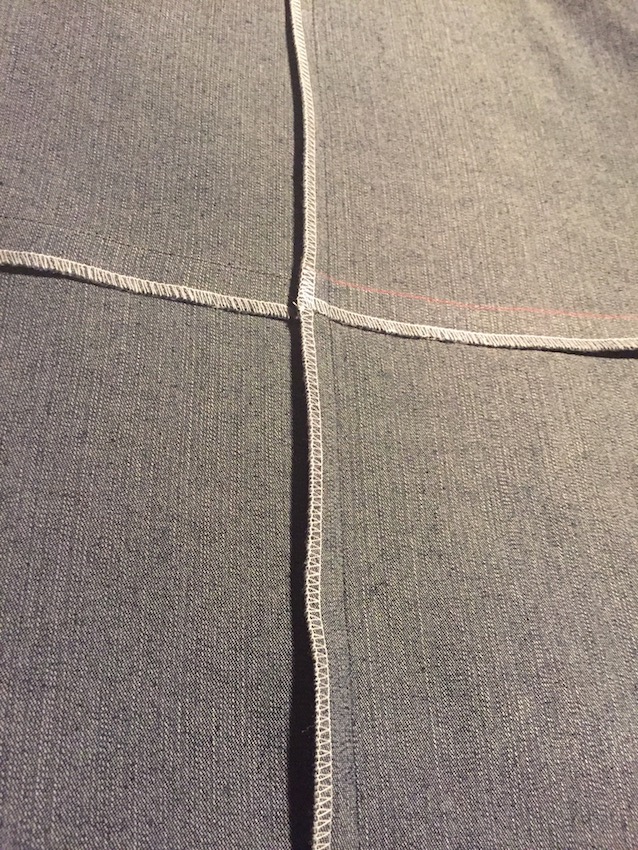
Just to mention before I show you the finished article. I need to show you my clappered seams. The clapper makes such a different to the finish, especially with thick fabric like denim.
Below is the seam pressed.
Then I pressed it again just the same but flattened it with the clapper:
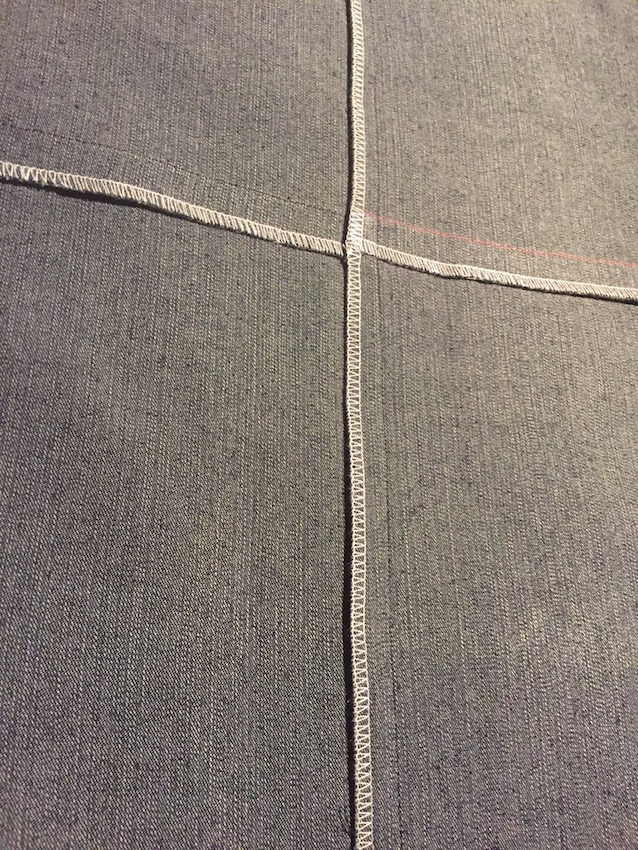
It’s probably the one thing in my sewing room (after my sewing machine) that I really couldn’t live without.
As soon as my frock was finished I wore my dress to have a wander round the local garden centre with my mum. Unfortunately we bumped into someone we knew so couldn’t have a photoshoot as we had planned!
Instead dad took some when we got home.

I didn’t have enough fabric to do the upper part both in red. I’m glad I didn’t know as it detracts the eye from maybe needing a sway back adjustment.

I love dresses but don’t make too many everyday one as I never know what to wear on my feet! In summer I’m ok when I’ve got a bit of colour on my legs but they need covering up in winter!

With the increased width in the neck opening I don’t need the button closure but it adds a bit of interest.

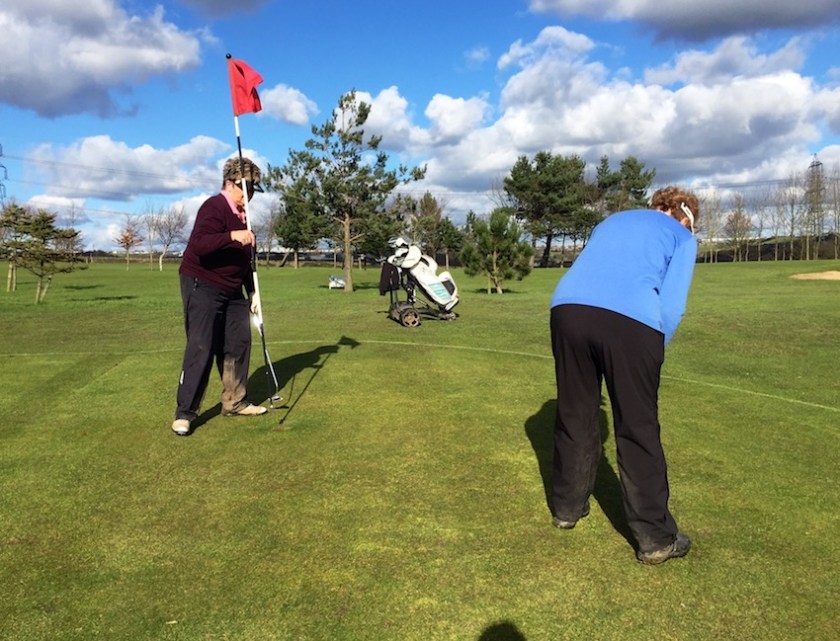
All in all I’m chuffed to bits with my new frock! I think it’ll be just the job for when I go to Portugal with the golfing ladies at the end of April.

So thank you to The Monthly Stitch for prompting me to finish this frock.