I had a vision!

Image from Colette (click on photo)
+
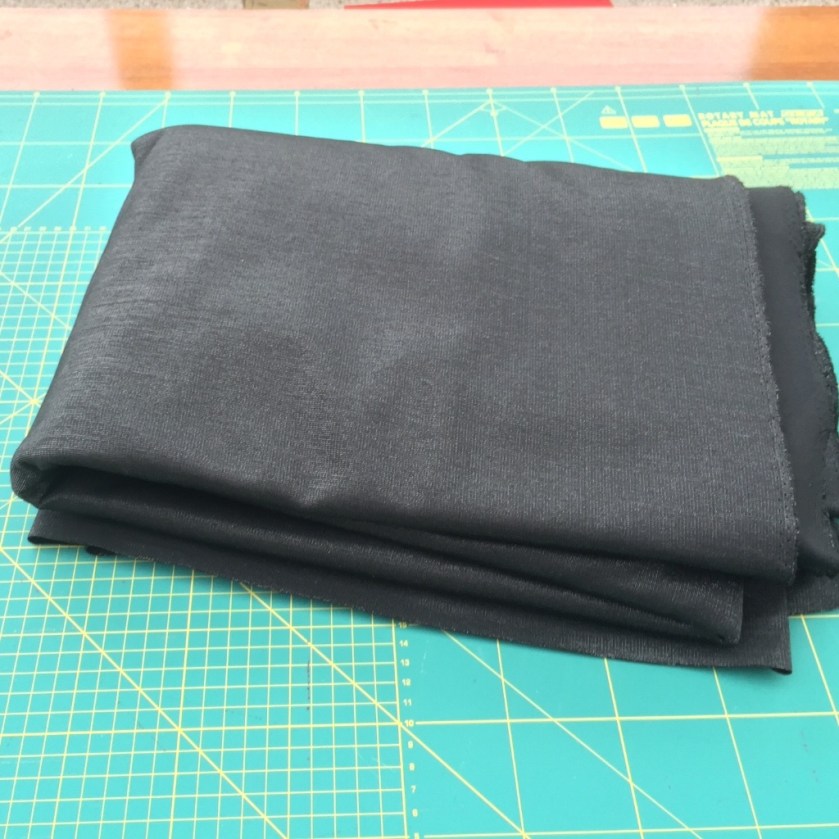
=
Here’s how it happened!
After taking my measurements I opted to trace off size large. I didn’t notice the chart for the finished measurements. If I had I would probably have saved myself some time. The pattern has negative ease and my fabric (being a ponte knit) wasn’t quite as stretchy as suggested.

The left photo shows my first muslin in a large. I recut it in a XL and lengthened the pattern pieces by 4cm (on the shorten/lengthen lines).

A lesson to all – Trace your pieces! I’d have been snookered if I’d have cut into my PDF pattern and would have had to print and stick it all together again!

The lower back bodice picture above is the first muslin. As you can see its tight and also there is excess fabric in the lower back. I lengthened the bottom by 4cm and then did a 5cm sway back adjustment – following this tutorial.

I ended up with a very odd shaped piece but it worked. Amazing!!
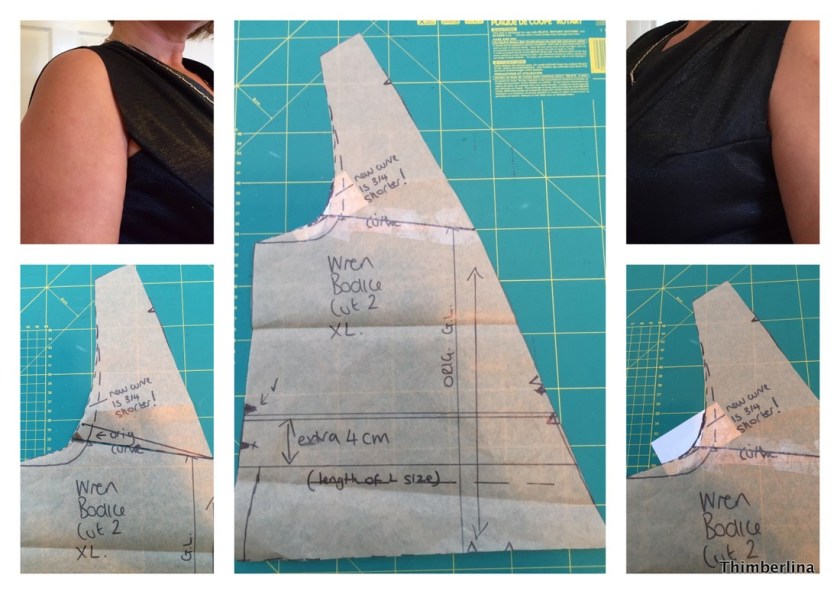
I had some gaping issues and The Material Lady suggested closing the dart on the pattern pieces. This worked really well, thankyou Kim! The 2 pics above are of the darts pinched out in the 1st muslin.
I also decided to raise the armhole a little at the front – you can see the original cutting line.

I also pinched out a section in the back and closed a dart i created in the back too.

I had made 3 adjustments to the armscye which caused the sleeve head to be way too big.
I needed to get rid of 2 cm for the front dart, 2cm for the back dart and 3/4 inch for the smaller front arm curve.
I marked each where it was needed to be pinched out and pivoted it with the centre point of the bottom of the sleeve. You can see the lines I drew that I then closed and joined together.
I’ve no idea if this is the correct way but it worked!!
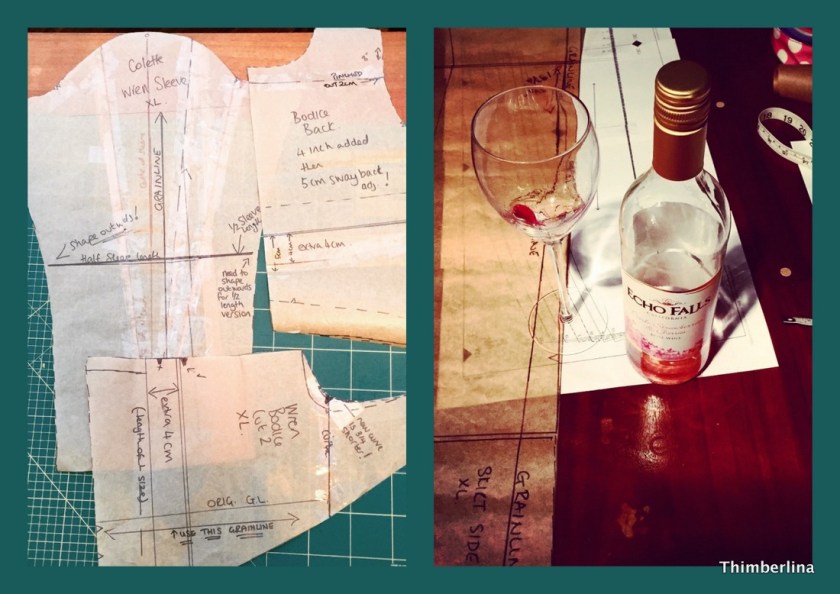
At the end of all the pattern tweaking, you should have something like the above – odd shaped pieces and an empty bottle of wine!
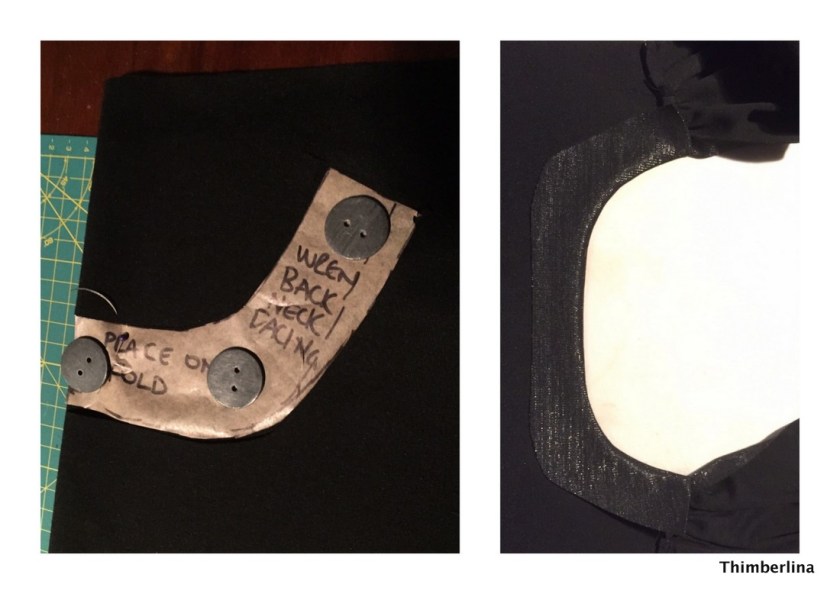
I made a facing for the back neck at I didn’t want any visible stitching.
The next few pictures i hope aren’t too confusing. I wanted to lengthen the skirt to be floor length but still keep the 6 gored shape and slightl A line. I wasn’t too concerned if it would be too tight to walk in as I was adding a thigh length split.
First of all I worked out my skirt pieces needed to be 46 inches. This included the hem and also a bit extra ‘just in case’. Apologies for both cm and inches – I’m an immetric girl! I was brought up in the middle of the change over!

I lined the edge of the paper up with the centre seam and traced off all the pattern but only to the double lines which indicate where to shorten/lengthen.

Measure 46 inches down from the top of your tracing. Line this mark up with the bottom of the skirt and trace off your size to the double lines.
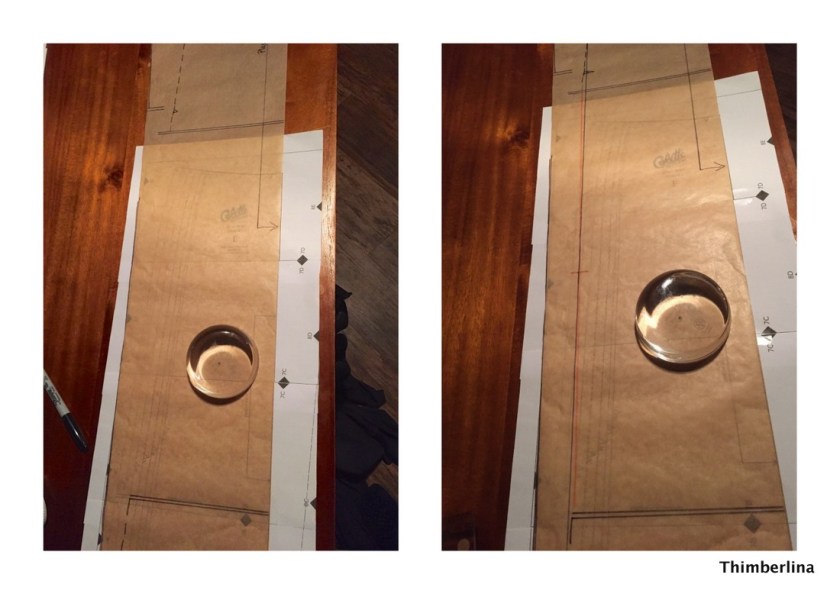
You can see on the left that’s there a big gap, a bit like someone being chopped in half in a magic show! Photo left shows a line blended between the top and the bottom.
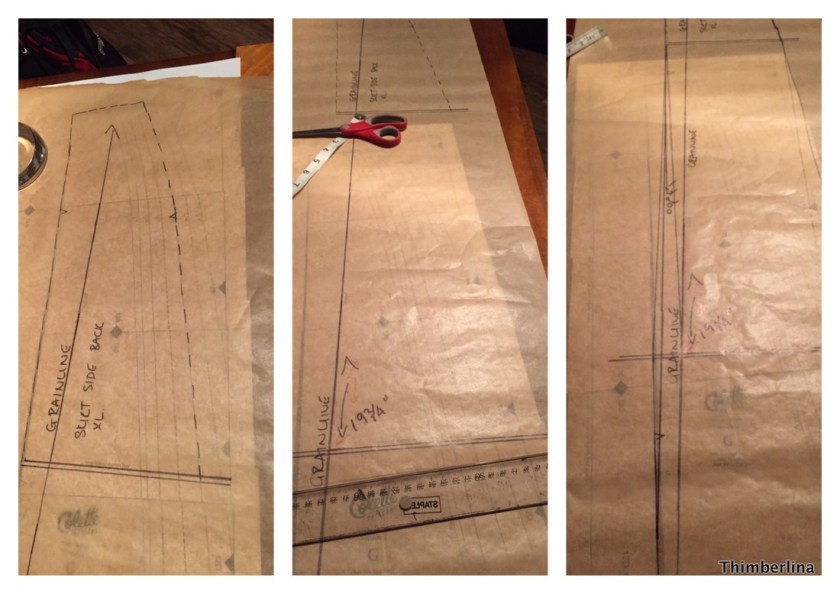
I did this for all the pieces, except some of the pieces I needed to line the top and bottom halves of the pattern pieces with the grain line – keeping it parallel and also the double lines. This bit is likely to make no sense at all, but if you’re doing it do the easy centre front and back pieces first and I’m sure this will then make sense. If not, get in touch!!
Other things I did to make my frock posh:
Hand stitched the hem and the slit.
Hand stitched the front cross over bands.
Catch stitched the seams allowance on the sleeves to the bodice so they wouldn’t peak out.
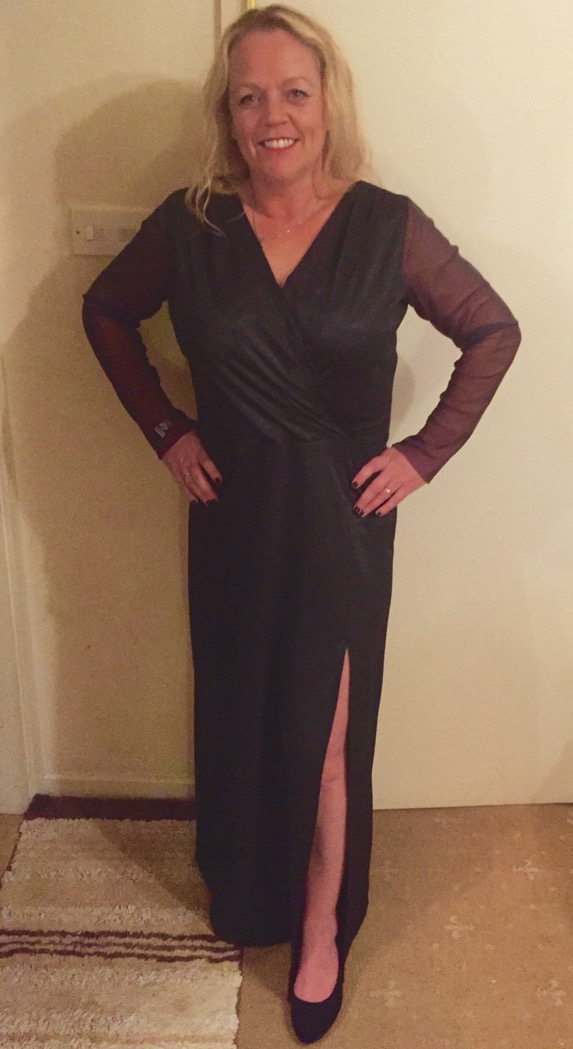
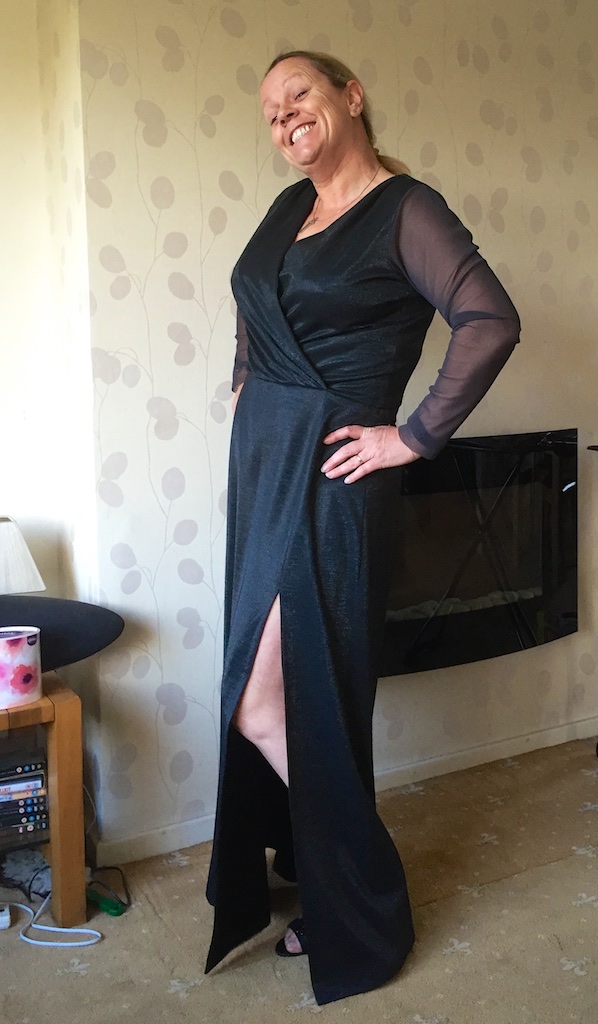
That’s it folks! I think! The hand stitching took so long. 3 episodes of The Aprrentice and 2 Strictly Come Dancings. It was worth though and i just love it. And so does my sister. She’s just tried it on and is borrowing it to wear to a Black Tie do tomorrow! I can’t remember the last time either of us went to one, and now we’ll have both been to one in the same week.
Isn’t she the lucky one – it fits her too, even after all those adjustments!
You just need to do your hair and make up sis’ and you’re ready to go!
Just thought I’d mention before i go. This is for guidance as to what I did, and to remind me in the future.
The only sewing lesson I’ve ever had was this year, learning how to sew with silk. I’ve learn what I know about pattern fitting from trial and error and reading your blogs.
Apologies if I confuse you or there’s a better way of doing it. But if it helps you….YAY! Then ‘jobs a good un’ (as they’d say in Yorkshire!)
If you’d like to see the post of it at the Yorkshire Awards, and my midriff covered click HERE!