Latest Posts

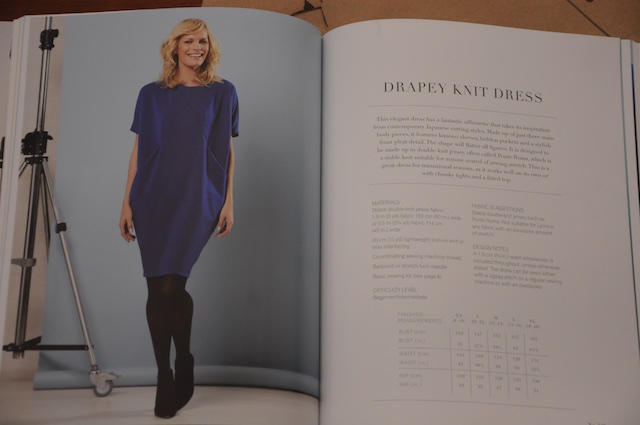
GBSB Fashion With Fabric – The Drapey Knit Dress

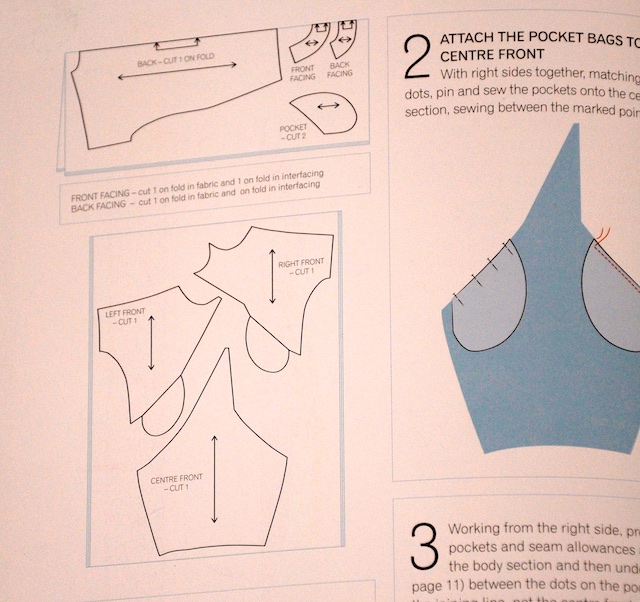
I wasn’t going to write a blog post about this recent make.   I loved making it, I loved the challenging pattern matching with the strange looking pattern pieces.  I even matched up the inside of the pockets.
drapey dress GBSB 1 (1)

I used this fabric which I bought when I was in Dewsbury taking photos for a recent Spoolette meet up.

drapey dress GBSB 1

drapey dress GBSB 2

When I came to the big try on, just prior to hemming, there was an “oh no!” moment.   I wondered why I’d just wasted 3 or 4 hours of my life!  I don’t know why, but it just felt wrong.  Clothes are supposed to flatter, not make you look fatter!  I know I’m not a 36–24-36.  I feel fairly ‘normal’ for someone approaching their mid-forties, but I just felt huge in this!   My head seemed to shrink whilst my body appeared bigger.  It reminded me of something out of Charlie and the Chocolate Factory!!??

The dress was put aside, then Corinne from Appleby Makes mentioned in a comment that she was thinking of using some fabric purchased on our recent trip to Dewsbury to make the Drapey dress, and I felt obliged to bear all.

I’m glad I did.  They normally say ‘sleep on it’ before making an rash decisions.  Well, I’ve had over 14 sleeps on it, and the jury’s still out.

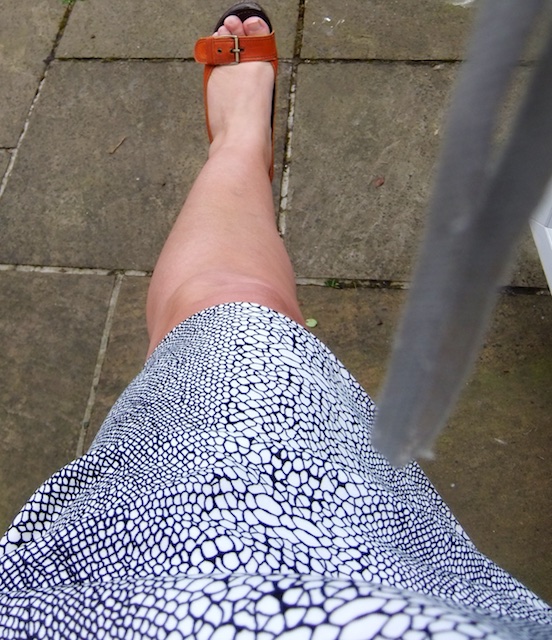
So this morning I stepped outside in my orange wedges….. (I needed to add some likability to this post for my benefit, if not yours!)
drapey dress GBSB 1 (2)

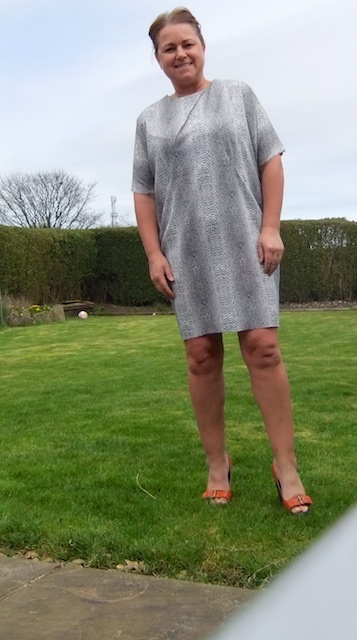
I rested my little camera on the patio table and ended up with this:
drapey dress GBSB 2 (2)

You get the idea a bit I suppose, but I think trainee blog manager (TBM) needed extracting from the chair to help out:

drapey dress GBSB 3 (1)

He’s going through a Rocky phase.  He’s onto Rocky 4 since coming home from Italy on Friday, but is resting his poorly knee so I shouldn’t complain.

So with the help of the afore mentioned TBM (Amanda, you are so lucky having a fully qualified one!) we managed a few photos.  Unfortunately I had to chop my head off on some of the photos due to excess scowling at the TBM.  Trying to take photos still wrapped in the above bear blanket was proving tricky.
drapey dress GBSB 4

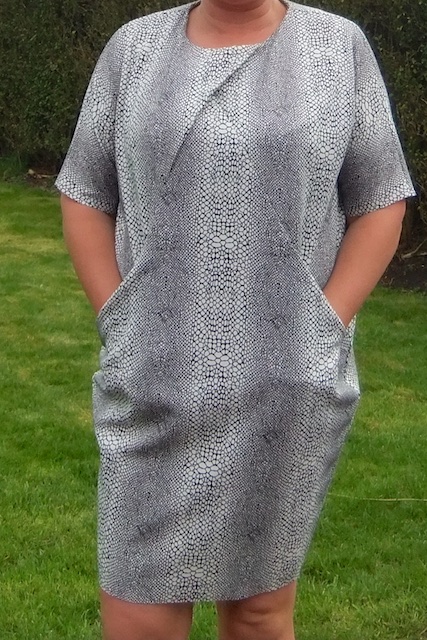
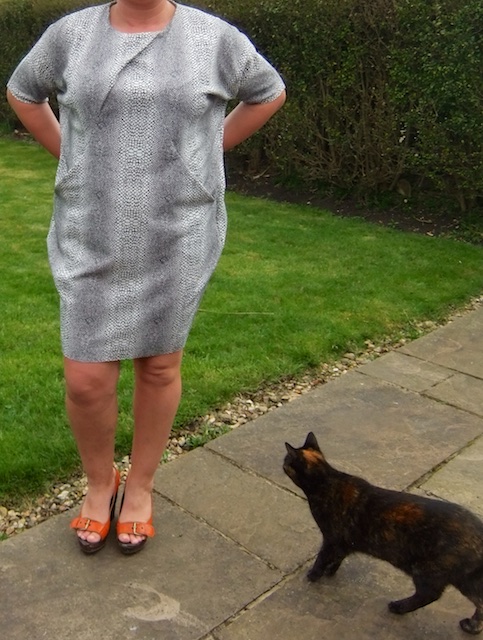
This is my favourite shot.  I think if I could walk around with my hands constantly in my pockets I could get to like this look.
drapey dress GBSB 5

Hands behind my back, not sure what was going on here, maybe I wasn’t quite ready or maybe the TBM just wanted to get a picture of Rory our cat.

drapey dress GBSB 6

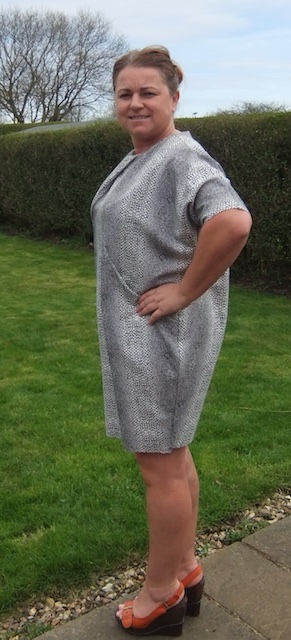
Not too bad if I put my hands on my hips. pulls in the wideness.
drapey dress GBSB 7

Waaay!  Looks like I’ve eaten all the pies!  Tho I don’t have the flattest stomach you’ll ever see, I don’t have it as a mirror image on the back either.   Good point to note though, can you see the pattern matching on the side seams?

drapey dress GBSB 8

Almost, and I mean almost, stopped scowling, but not quite!
drapey dress GBSB 9

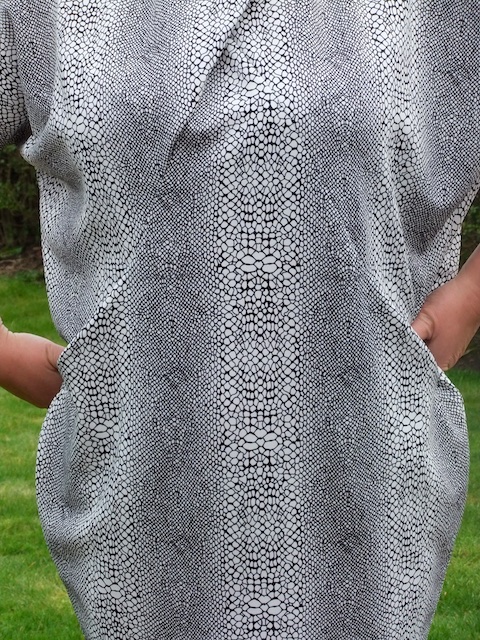
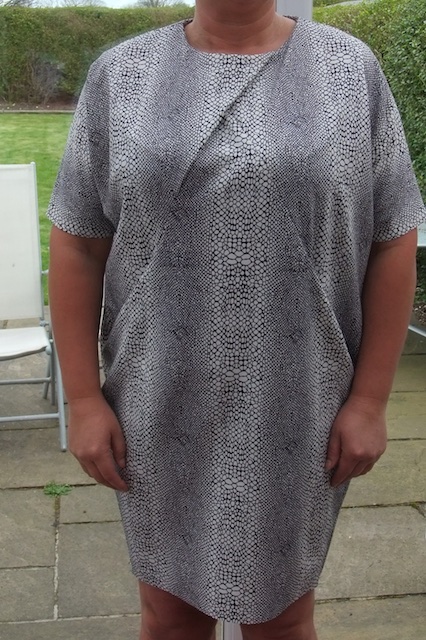
A close up of the front (not that I need to tell you, but I need to type something!).  Can you see the seams and the pattern matching? On the left side the fold over bit isn’t folded over enough and the neckline is slightly out because of it.
drapey dress GBSB 10

You can see the neckline problem better on here.  That might be why a crease has developed on the right side.

So ‘yay’ or ‘nay’.

I’m still not sure.  It was great to make and at one point I thought I’d made a mistake with my pattern pieces – but mine turned out with the fold over bit on the opposite side.

Don’t be put off making it.  Especially if you are almost 6ft tall, I bet it would look amazing.

The best one I’ve seen so far, even better than the ones in the book, is Karens from “Did you make that?”  She looks amazing in hers.  It was hers that made me buy some fabric with lines on, but mine don’t have the same impact as hers.

I have changed my opinion slightly since taking the pix and whilst writing this post.  I think with the right hair do, shoes and full slap make-up I could feel comfortable enough in it to go out in.  We’ll see!

What do you think? Are you thinking of making it? Or have I put you off.

Sunday Sevens week 31 (me 6)

I may be on a roll and getting into the swing of things with the Sunday Sevens, now I’m into week 6.   I have an app on my phone called Day One.  I’ve used it in the past and it’s kind of a diary, so this week I’ve decided to use it to keep track of what I’m up to and it’s worked out better for me.

I’ve had a strange week.  H is away in Italy skiing with the school.  I wouldn’t say I’ve missed him, as in missed him and moping around all day with a long face, but I have been worried about him and constantly checking schools twitter for a glimpse of him on their regular feeds, so I s’pose I have missed him!

MONDAY

Not having H at home meant the pudding only had to be shared between the 2 of us!  It was some sort of toffee & banana loaf cake from M&S.  (and there’s me wondering why my clothes are shrinking!).

IMG_6545

TUESDAY

Anyone who sort of knows me knows Tuesday is my golf day (if I’m not working, but I try not to work on a Tuesday).  Tuesday was a scorcher and our 3 ball all turned up in skorts.  Mine’s a Yasmin Yoke Skirt worn with a short pair of shorts underneath, easier to sew than skorts I think.  I took this photo with the aid of the timer on my photo whilst we waited to tee off on the 12th.

sunday sevens

Then after golf we were invited to Afternoon Tea with a Twist ?!?!  for one of the lady members 80th birthday celebrations.  We had no idea what was going to be happening when we were ushered into the ‘big’ room to watch a demonstration on how to make truffles, then we had afternoon tea and scones, then back into the ‘big’ room to eat the truffles and have a sing-song and a dance!  So I wasn’t planning on 2 photos for Tuesday but you got them!

IMG_6550

WEDNESDAY

Not a lot to say about Wednesday as Wednesday was well and truly blog worthy and has a post all to it’s self.  Click HERE to read all about it if you’ve missed it!

#yorkshirespoolettes THURSDAY

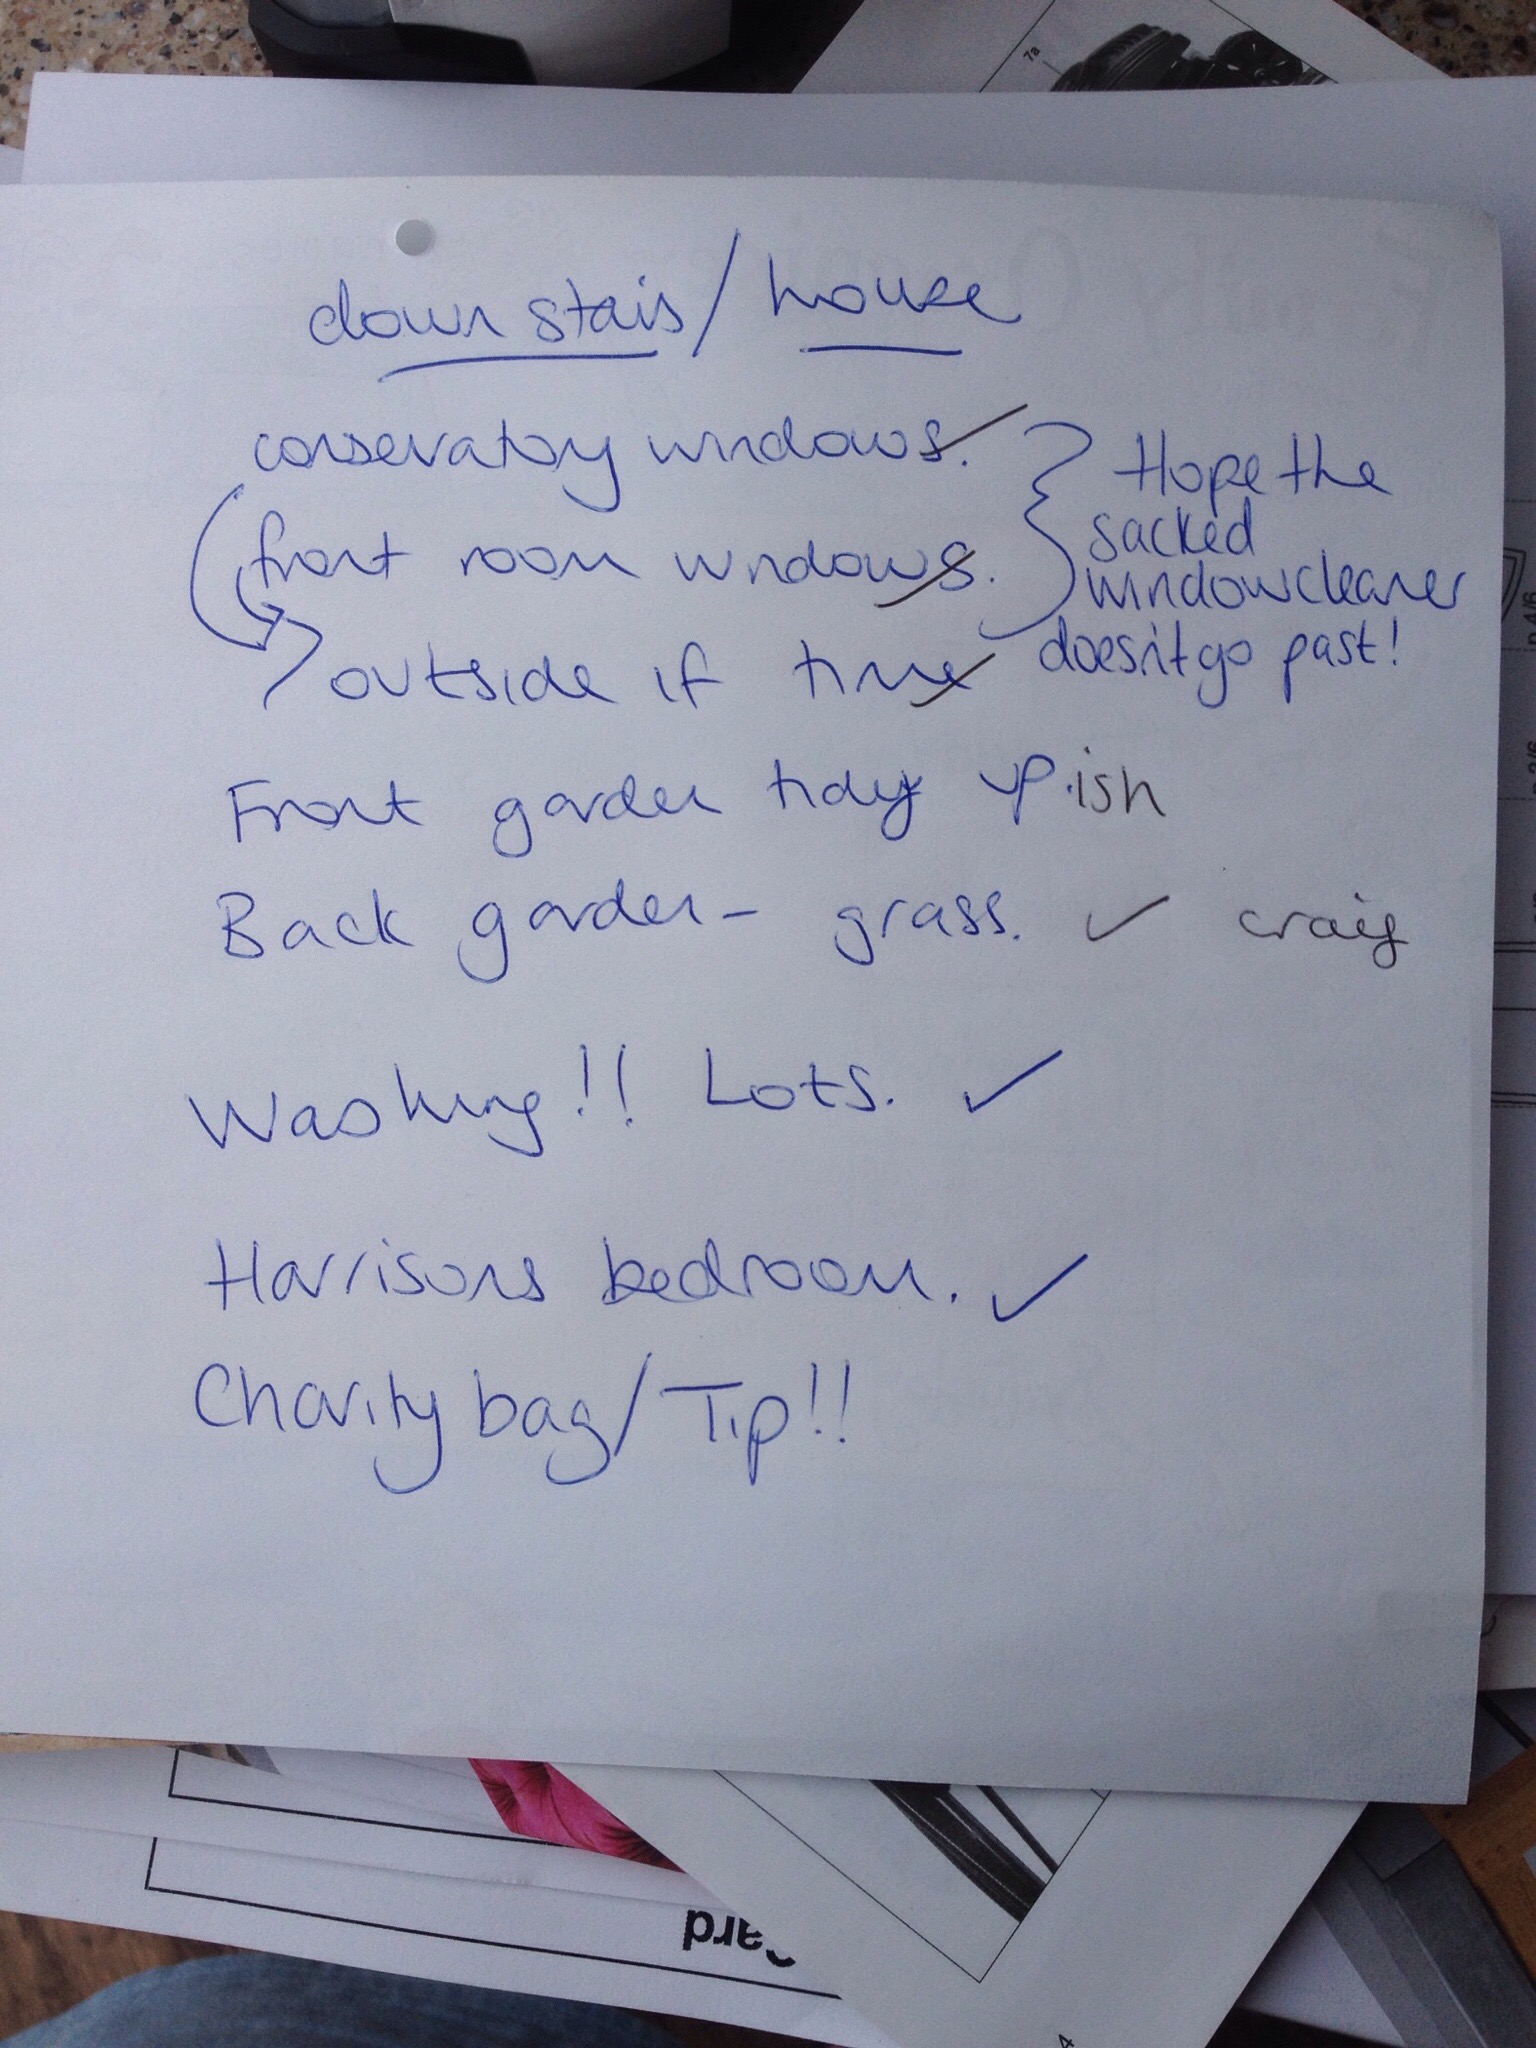
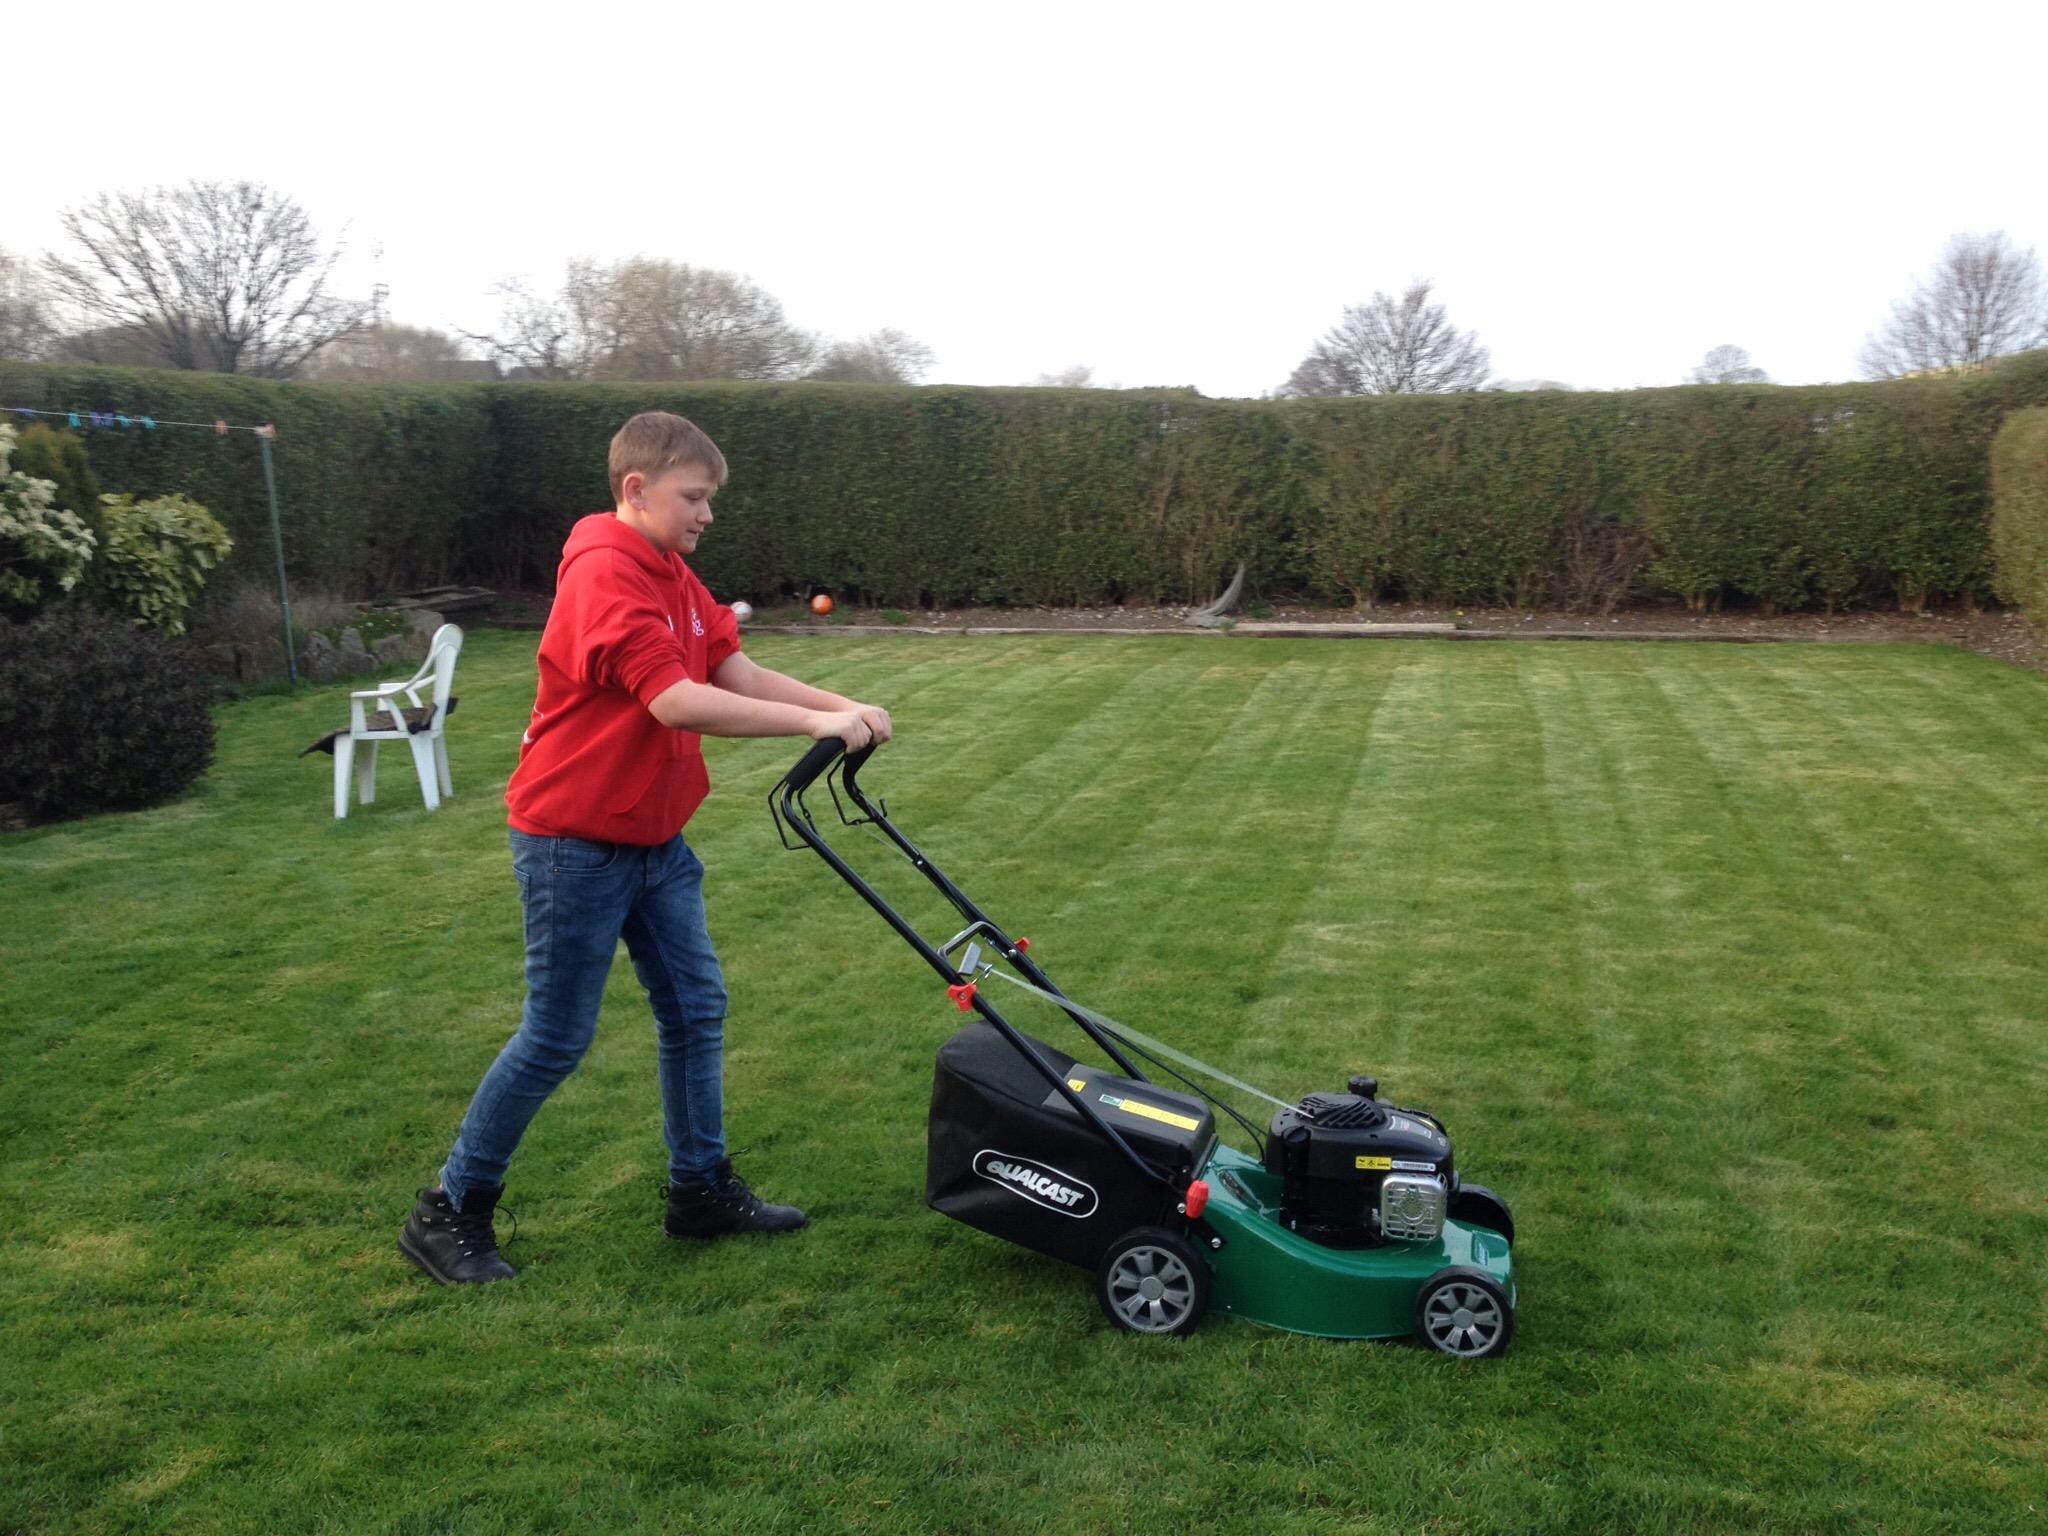
I really needed to get some jobs done at home.  I’m not really a list person, but I made one and managed to tick off most of what needed to be done.  Craig cut the grass that evening but the big lawn mower conked out about 7/8’s of the way through.IMG_6585

FRIDAY

H came home!  He was only home 1/2 hour before he finished off cutting the grass. IMG_6594

SATURDAY

We took my mum in law shopping.  Her back yard backs onto a farm and 2 donkeys have come to live in the field this week.  Not sure of their names yet, but they’re both pregnant and due in December!

IMG_6630

SUNDAY

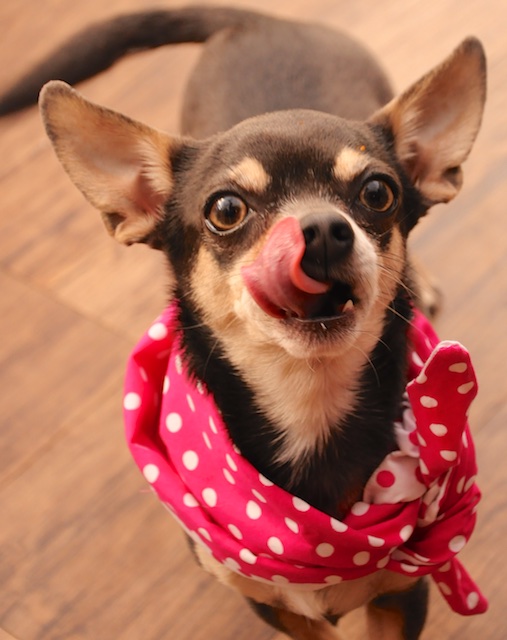
Another animal picture! This is mini – my niece’s dog……  We had a family do today for my mum in law as she was in hospital at Christmas.  So today we swapped pressies and had a lovely afternoon.  Mini is smaller than my cat Rory, but Rory wasn’t impressed and disappeared  upstairs for the afternoon!  I tied this bandana round mini as Jean is now severely visually impaired and would have tripped over Mini, but she was able to spot the bright bandana.

sunday sevens (1)

Anyone who’s been following me for a while might recognise the bandana from when I made my 1950s outfit for a party last year.

If you’d like to find out more about Sunday Sevens, head over to Natalie’s blog at Threads And Bobbins!

Little (ish) Denim Dress aka Lekala 5963

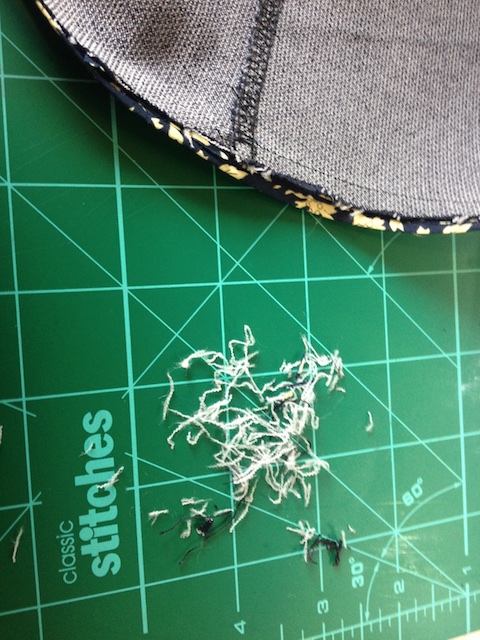
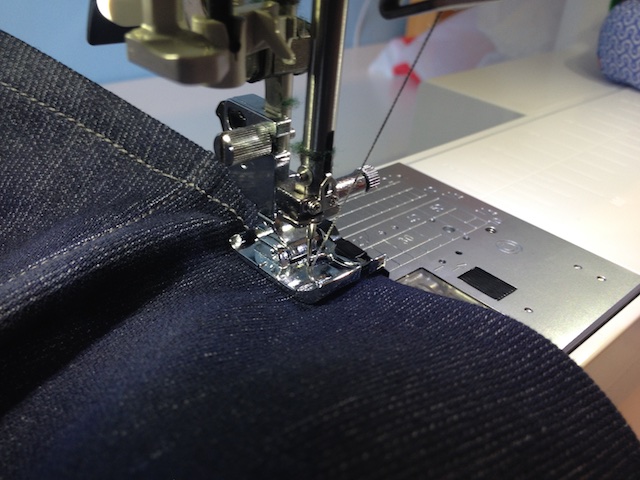
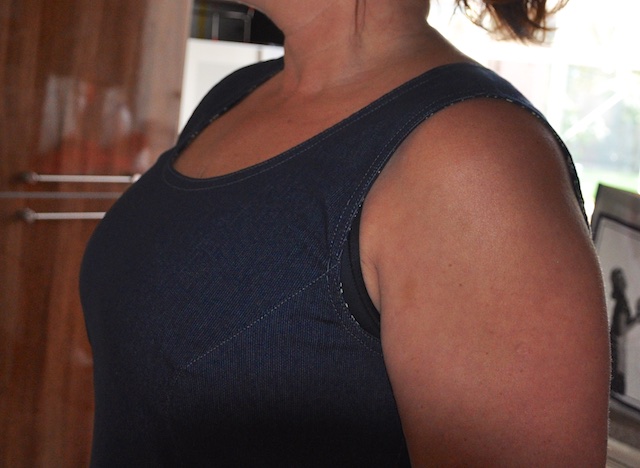
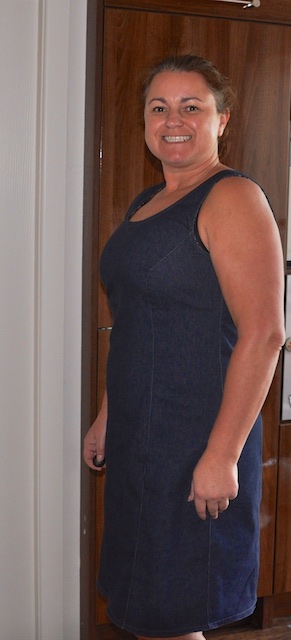
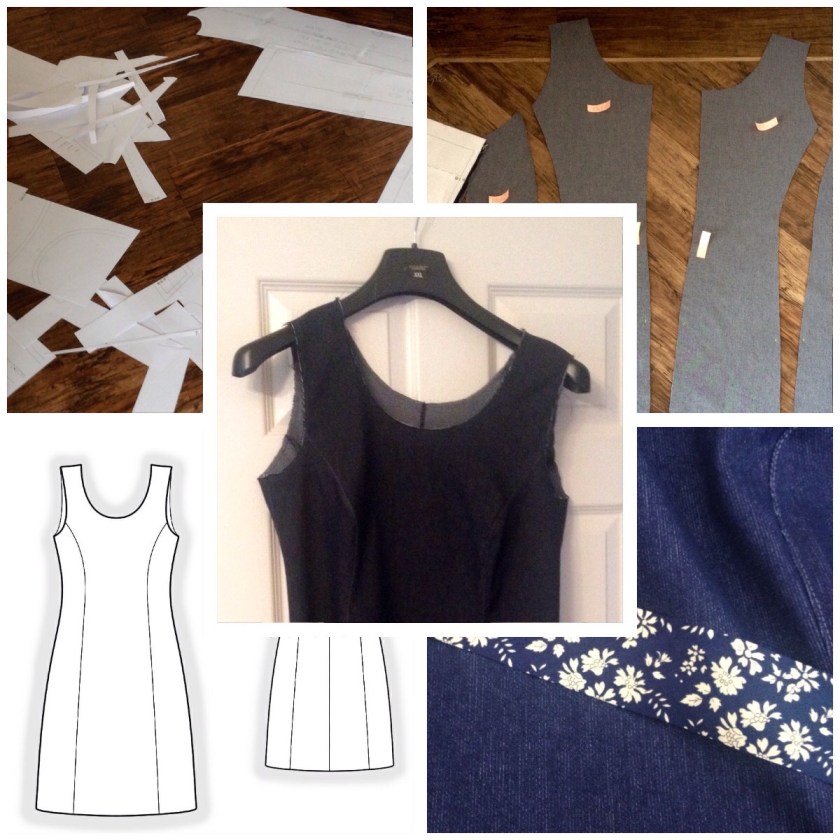
Ok, so it’s not that little, but it fits.  And it fits kinda well to say there’s not modifications to the pattern since printing it.  So I’m fairly pleased. Thanks for your help in deciding whether or not the Liberty bias trim should be hidden or on show.  Hidden won – mainly so I can wear my orange wedges (my favourites) and dress it up if needed. The trim was simple and I added it to all raw edges including the hem.  Here’s a few photos of how I did it in case you’re interested.  I used single folded bias binding (home made!).  Before pressing it was just less than 1 1/2 inches wide. lekala 5963 1 (1) I stitched it to the right side with a 3/8 inch seam allowance.  It needs to be less than what is left of the bias trim than will be turned to the inside. lekala 5963 2 (1) I pressed the bias tape on the hem but didn’t bother on any of the other edges and it made no difference.  It probably looks worse at the hem looks to have stretched out a little.  So next time I won’t bother. lekala 5963 3 (1) There were lots of little threads. lekala 5963 4 (1)So I snipped them off with the nail scissors – I’ve learned my lesson the hard way using big scissors for a little job.  Note to self. Must by some embroidery scissors! lekala 5963 5 (1) As per my new Janet Pray Craftsy Class I didn’t bother with pins, I just turned and sewed!  It worked. lekala 5963 6 (1) I didn’t even bother practising, just got on with it. lekala 5963 7 (1) I did the same on all the rest of the raw edges of the dress.  I then edge stitched all edges too, as close as I dare go.  About 1-2 mm with the special edge stitching foot. lekala 5963 2I should really have done a better close up!    And excuse my underwear – I thought something magical would happen when I put on the little black number from M&S underneath but it didn’t! When I came to take some pictures I had a bit of a problem.  The bit that should be on the top of my tripod that makes it fasten to my camera was missing.  (I bought a tripod a few years ago so I could photograph a firework display – honest!). So I improvised and rested it on the toaster and a shelf in the kitchen. lekala 5963 3 lekala 5963 4 lekala 5963 5 lekala 5963 6 Looking at the photo above it looks like a sway back adjustment is needed.  But in real life I don’t think it matters. especially for a denim casual sort of dress that at the best is gonna be worn with wedges and spotted drinking lattes in a garden centre cafe!  Or if it’s really lucky, on a Spoolette meet up! And if I am bothered one day, i can always put my Victoria Blazer on over it! (excuse the mess – Harrison’s back, along with a suitcase full of smelly clothes!). lekala 5963 7 So, just one question before you go. Is Lekala a cheats way of making clothes that fit? Or is it a bit of a miracle for those of us who don’t want to spend hours tissue fitting, muslinning, and have a more challenging body shape!? Either way, you still have to know what you’re doing with a machine.  The instructions aren’t too descriptive and there’s no diagrams or sewalongs to help you on your way. Just wondered……..

12th April

Oh, just a little foot note……the orange shoes!  I’ve had these quite a few years.  If they could type they could write a great blog!  They’ve had new heals and soles and now on close inspection need some attention on their front end,  I still love them and wish I’d bought them in green too!

lekala 5963 2

Lekala 5963 with a touch of Liberty

Yesterday I really needed to sew! I’ve not made anything since the 30 draw string bags, and before that was the GBSB Drapey dress (unblogged as yet, due to being a failure!).

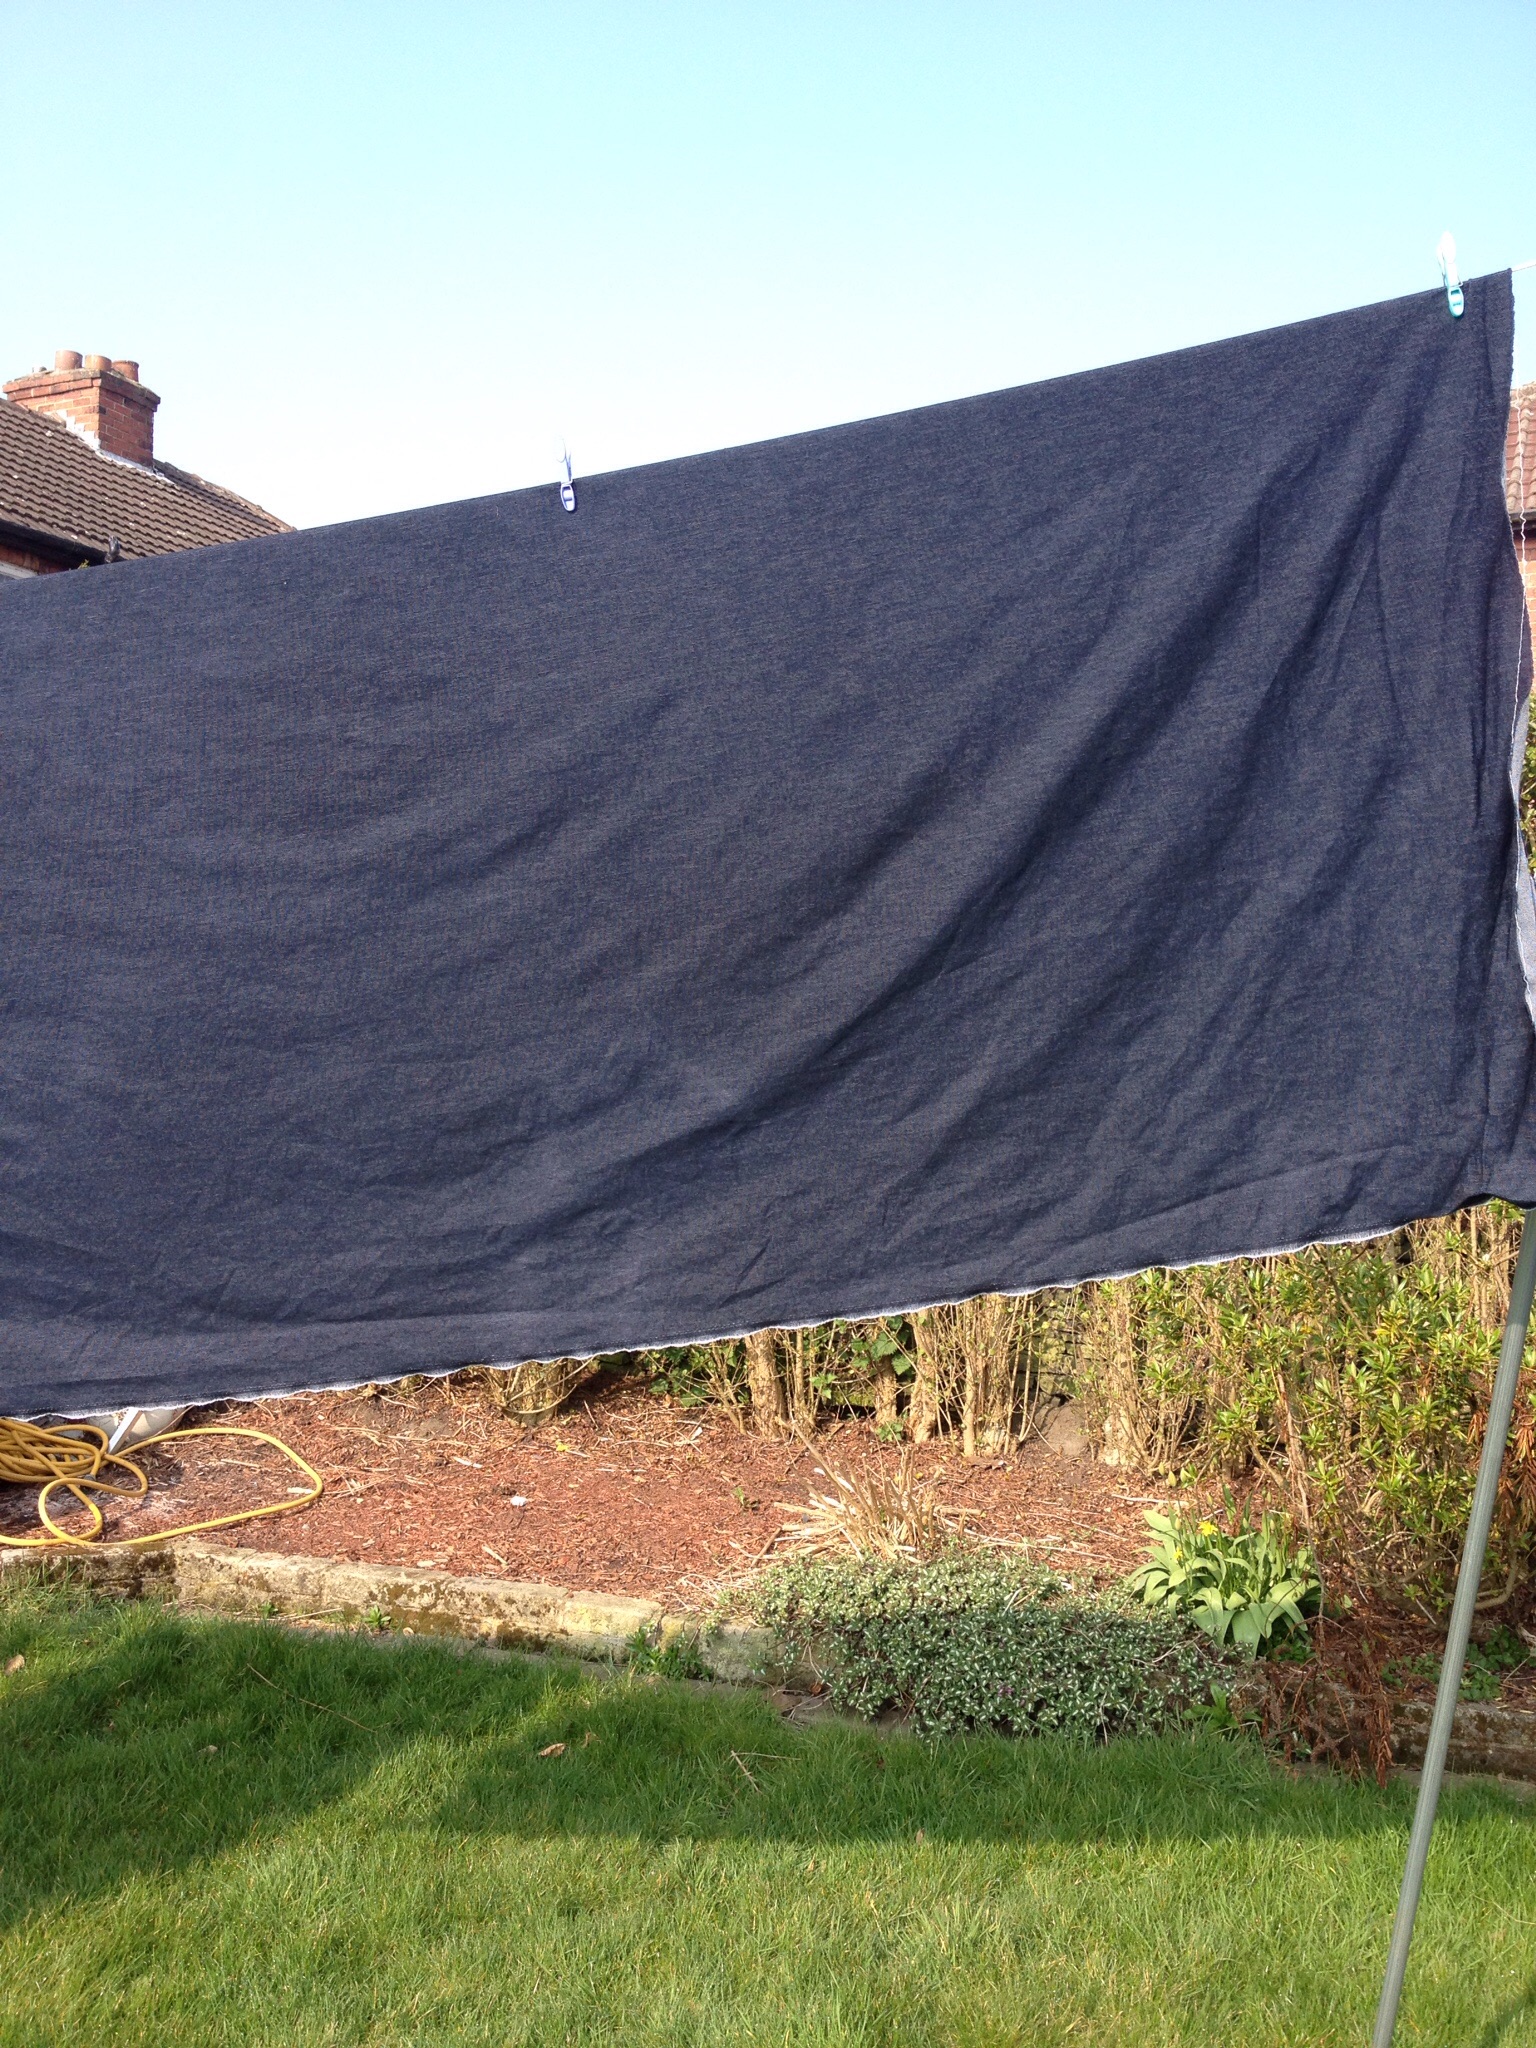
It needed to be something that didn’t require a muslin.  My sewing soul was in need of some fairly instant gratification, so I decided to make up the Valentine dress in some stretch denim I’d bought (originally for the ginger jeans, but seen as my 2 pairs of jeans fit well, and despite printing out the pattern, buying the fabric and notions, the Gingers have been pushed down the list!).  I’d bought 2m of stretch denim online from Minerva.  It has polyester in  it which I think has made it ideal for this dress as it will crease less than if it was your 97% cotton 3% elastine type of denim.

Pre wash denim

But oh no! I tried on the Valentine dress to check the fit and its a bit too big! (Oh yea for shrinking body!)  My measurents haven’t changed since Feb, but I have lost about 4lbs which must have changed some unmeasurable part of me!

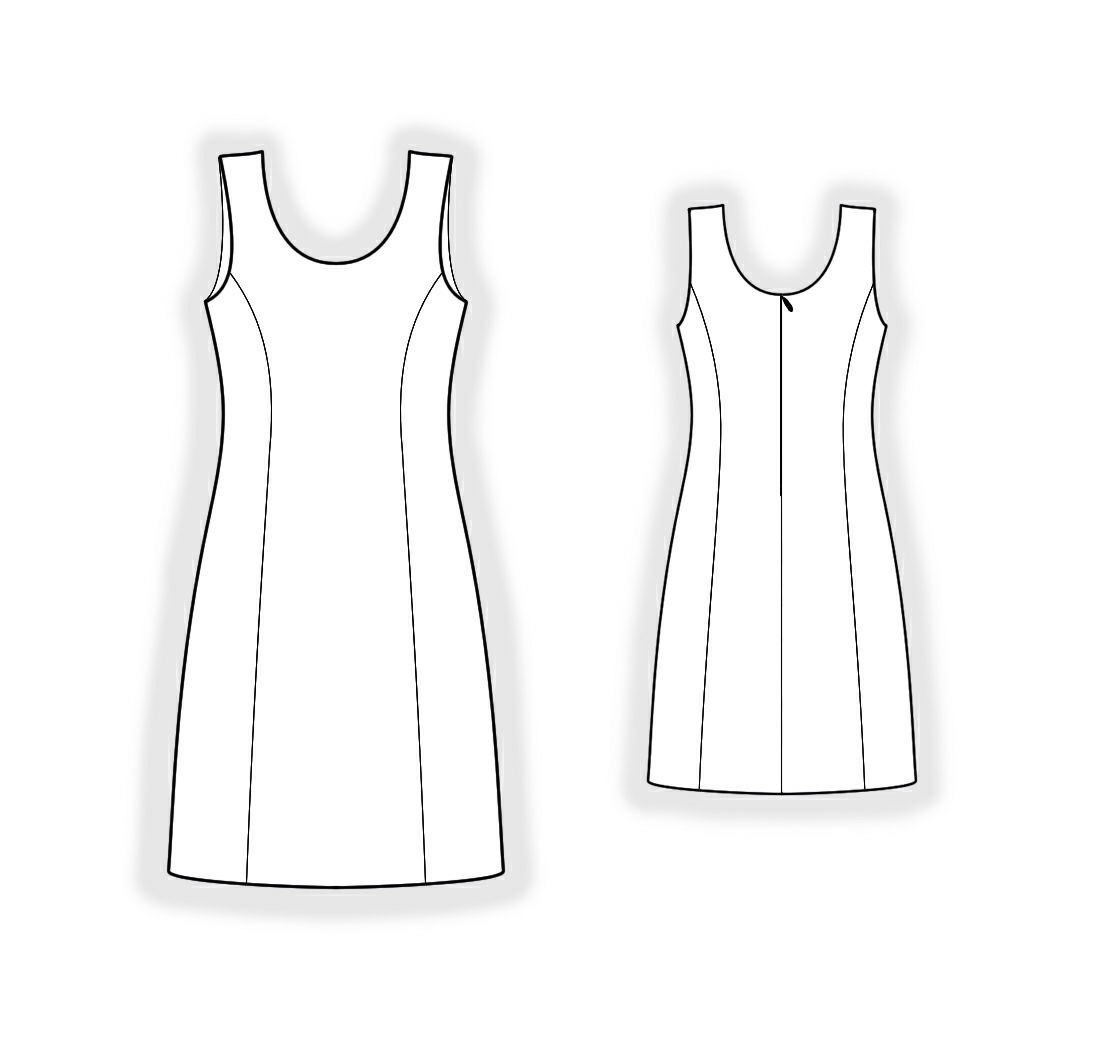
So, I had a quick look on the Lekala website and chose this fairly simple dress with princess seams:Lekala

I was fairly confident that this would fit without a Muslin, but could make any necessary tweaks easily if needed with the princess seams. It calls for a zip in the centre back seam, but as the denim is quite stretchy I thought I’d risk leaving it out  – the pattern calls for un-stretchy fabric.

Once I’d cut out all my pieces I labelled them with some mini post-it notes.  I don’t usually do this, then later I end up wasting time trying to work out which piece are which, and having to get out my pattern pieces back out.  This is definately the way forward for me, though next time I’ll go with the full size post-it notes as the mini ones lost their stickiness as the sticky area is only small.

Post-it notes

I sewed all 7 pieces together before I tried it on, and YES it fit!  Result! As usual the use of pins was minimal – I only pinned the notches and the end of each seam.   I’ve bought 3 of Janet Prays Craftsy classes and now can manage most things without much pinning, which really speeds things up!

I decided to top stitch all the seams using the grey top stitch thread I’d bought to topstitch my Gingers.

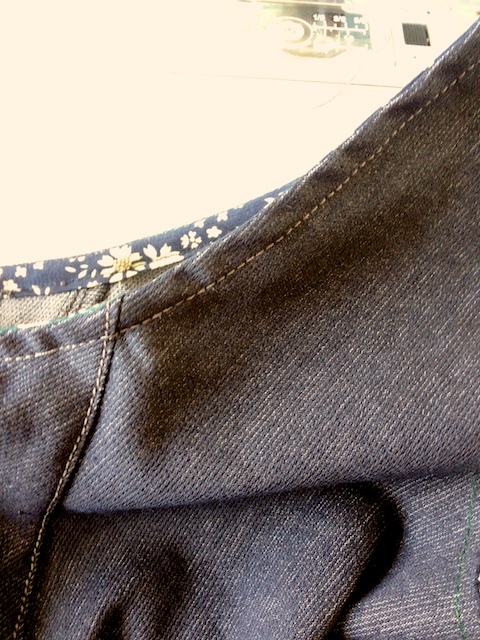
Topstitching princess seams

I set my stitch length to 3mm, I wasn’t sure what the norm is for this but it looked ok so I went with it. It was a bit tricky manoeuvring the fabric as the whole dress was stitched together. At least next time, now I know it fits, I can topstitch the back and front seams before I sew the side seams together.

I’m  now undecided about finishing off the neckline and arm holes (can’t spell their proper name!!).  I have 1/2m of some Liberty which matches perfectly, but don’t know wether I should have it showing or not.

Liberty denim

I bought this Liberty as a Remenant on eBay from Truro fabrics last year and have been waiting for the right moment to use it. It’s good to know ‘the right moment’ will  come along eventually, so my stash will all be used up one day!

So what do you think? Bias trim on the inside or out? I can’t do anything yet as the family are still in bed, but hopefully they’ll be awake soon.  Would it be wrong of me to start vacuuming before breakfast on a Saturday morning?!

The Spoolettes in Dewsbury 

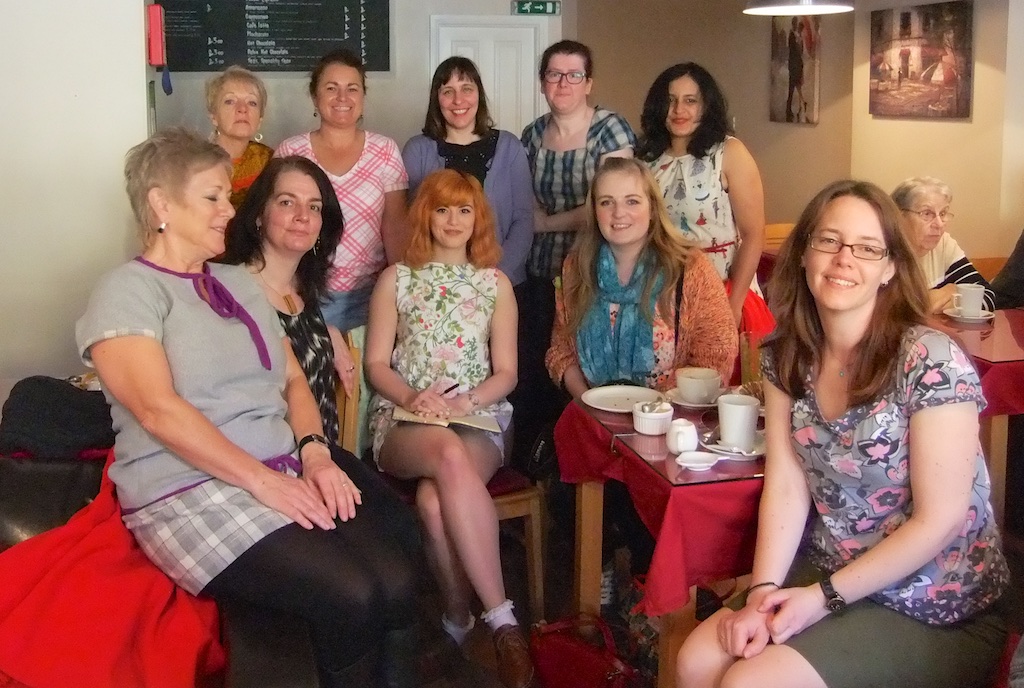
Yorkshire Spoolettes 4

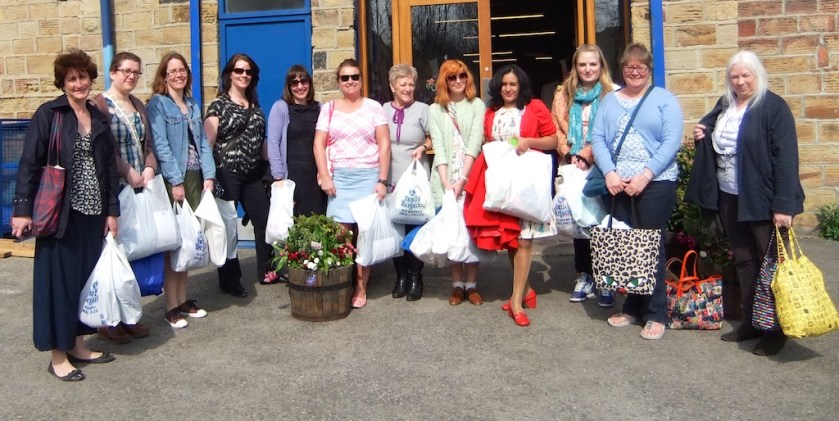
left to right – Margaret, Katrina, Corrine, Rachel, Amanda, Me, Jeanie, Katharine, Nee, Hannah, Fiona & Dee

#yorkshirespoolettes

Thanks Ladies for a fab day!  It was a bit like organising a party and biting your nails until the first guests start to arrive!

And arrive you did – we had a ball – and so did the fabric shop-keepers in Dewsbury.  I bet they closed early as I’m sure today’s takings must’ve been up on a normal Wednesday!

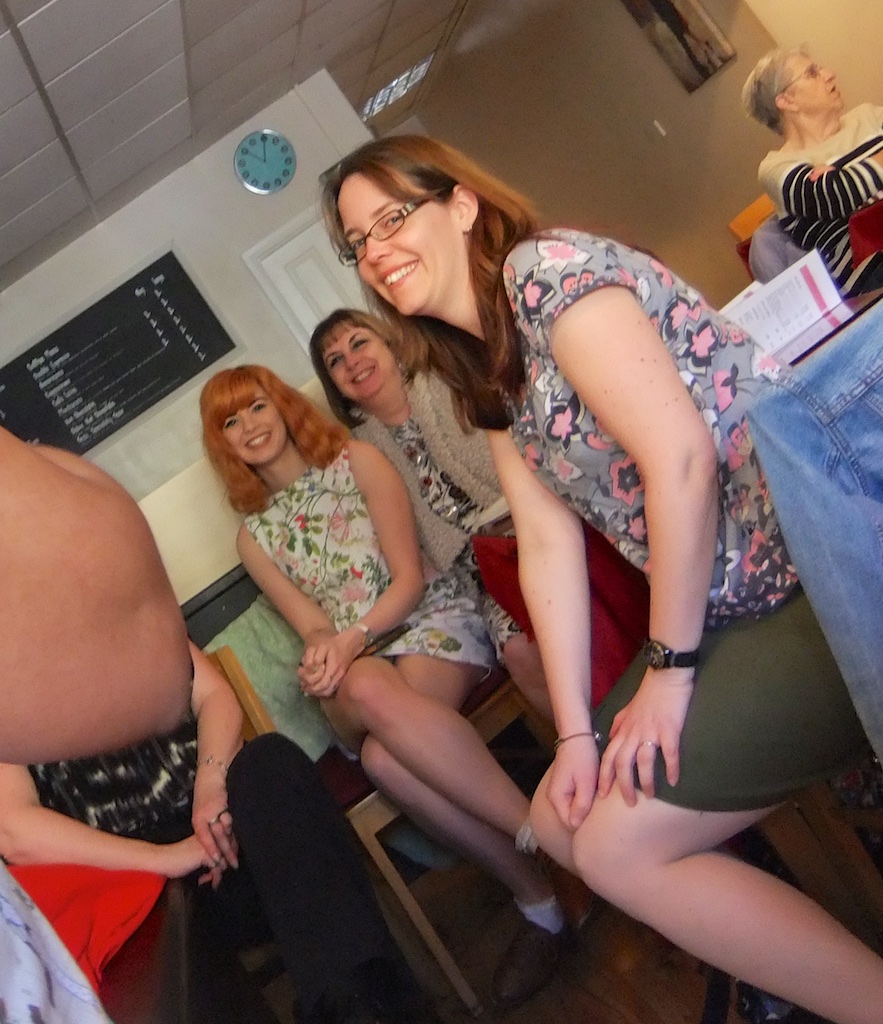
Yorkshire Spoolettes 11

left to right front row… Jeanie, Rachel, Katharine, Hannah & Corrine. Back row… Helen, Me, Amanda, Katrina & Neela

We met in the coffee shop at around 10:30 (Fiona, Dee and Margaret joined us a little later).  Most of us were strangers to each other in ‘real life’, but not for long.  We were all chatting like long lost pals!  It was fab to finally meet up with everyone, especially Rachel and Amanda as I felt like i knew them anyway, we’d followed each others blogs for so long!

Yorkshire Spoolettes 14

Yorkshire Spoolettes 13

Yorkshire Spoolettes 12

Yorkshire Spoolettes 10

Our first port of call was Lucky Fashions…..

Yorkshire Spoolettes 8

Yorkshire Spoolettes 9

The lovely lady there had even got some water and cans of pop in case we needed refreshments!

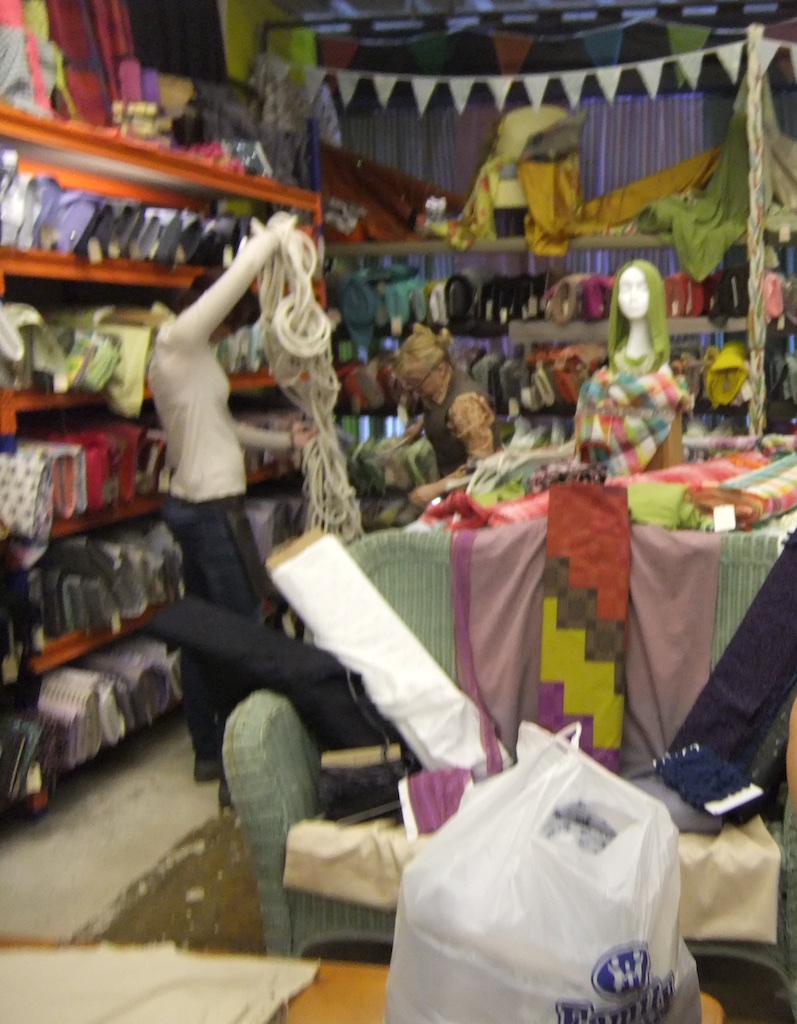
Then we headed down to the market and onto Fabworks.  I kept doing a head count to make sure we’d not lost anyone, but I could’ve done with Amanda taking the register!

Yorkshire Spoolettes 7

Yorkshire Spoolettes 6

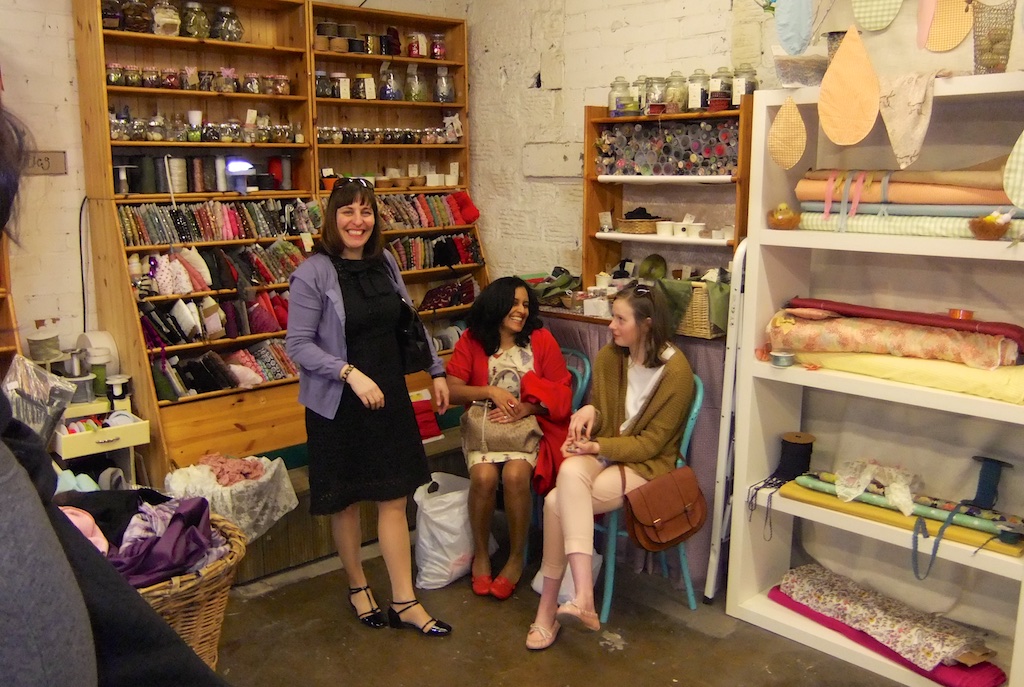
It was hard work all this shopping, a sit down was in order!

Yorkshire Spoolettes 5

Phew!  It was soon mid afternoon and we were all starving, so we headed off to the local Weatherspoons.

A meal and a drink for less than £6!

Yorkshire Spoolettes 3

Go on then! Make it a pint!!

Yorkshire Spoolettes 2

I just wish I had taken the bus…. coffee doesn’t quite quench the thirst like a pint of lager!

We all had a great time – well I did and I hope the rest did too! It was great to get together with fellow sewers and crafty folk!

I didn’t break the bank with what I spent, but as i’m only 7 miles away I didn’t need to go mad.  Here’s what I did buy though…..

Yorkshire Spoolettes 1

Flowery curtaining to make a couple of cushions – 1m for £11

Yards and yards of satin bias binding – 20p / metre

4 spools of overlocker thread – £1 each

10m of very chunky piping at 50p per metre.

Not too bad – I spent more when I called into Dewsbury to take pix for the original post!!

The rest of the Spoolette bought some amazing fabric and I really can’t wait to see what they make!

If you want to see the original post all about Dewsbury and who went please click HERE.

The Yorkshire Spoolettes Meet Up Tomorrow!

Gosh, it’s only 1 sleep until our meet up in Dewsbury.  I can’t believe how fast the last month has gone when I first posted about it!  It came about originally as I’d been planning to meet up with Amanda from Sew Deputy and we decided to open it up to anyone who fancied a little fabric shopping and a natter in Dewsbury!

And now there’s going to be 15 of us meeting up! Yay! Can’t wait to meet you all.  Here’s the roll call:

  1. Me
  2. Rachel from Is It Fitting?
  3. Fiona from Seams Straight Forward 
  4. Dee – Fiona’s friend
  5. Jeanie from Love That Sewing
  6. Hannah from Handmade by Hannah
  7. Margaret from The Crafty Creek
  8. Carol
  9. Amanda & her daughter Annice, from Sew Deputy
  10. Katrina from Rolling Eyeballs
  11. Neela from Sew Fusion
  12. Corrine from Appleby Makes
  13. Helen – my golfing and sewing buddy – no blog (YET!)
  14. Katharine – a keen sewer & final year Uni student who’s heard about our meet up and would like to feature it in her final year dissertation!

Just a couple of things to be aware of…

  • Fabworks takes cards, but Lucky Fashions and the market will be cash only. (Thanks Hannah for thinking to ask this!).
  • Parking is only £2 for up to 5 hours, but then is £4 for over 5 hours.  Still much cheaper than places like Leeds city centre, but I’m not sure how long we’ll be!?!? I’ve got ALL day, and told my hubby to go to his mums for tea!
  • Dewsbury isn’t an affluent place and it won’t be like having a shopping trip to York with lots of lovely tea rooms.  But saying that Dewsbury folk are the ‘salt of the earth’ and we will have a good day!
  • The coffee shop where we are meeting has an upstairs so when you walk in don’t be panic stricken if no one looks like they are sewers.  What do sewers look like!!!!????

I’m going to aim to get there a bit early, around 10am.  With there now being more of us we will soon fill the place, especially as it will be busy already as it’s market day.  Hopefully we’ll all squeeze in.

I think if we have coffee there we can have a bite to eat later at Weatherspoon.  I don’t think there’s anywhere else that will be able to fit us all in.

I was wondering if I should put my number on here for you all, and after some diliberation I’ve decided that if anyone gets down to reading this far then they’re coming and may need it!   My numbers 07891xxxxxx.  Please drop me a text with yours (if you wish) and also use it tomorrow if you’re lost, late, or just to say Hi and you’re on your way!

Can’t wait to meet you all!

If you would like a print out of the map I made to bring along to help you find your way, here it is:

Spoolette Dewsbury Map PDF CLICK TO DOWWNLOAD

#Spoolette Dewsbury Map

Sunday Sevens #30 (me #5)

Hi Everyone! Happy Easter!  This is going to be a quick one…… I’ve had wine and my bed is calling me!

Monday

The photo above was taken whilst at work – Marsden in Huddersfield.   What a gorgeous day and even more gorgeous view!

Tuesday

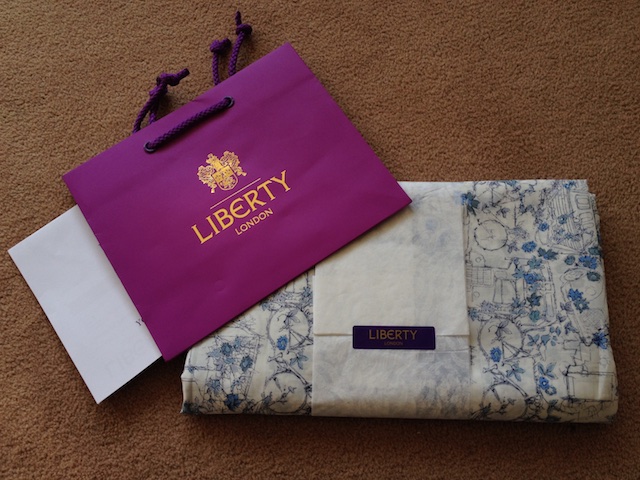
I took delivery of my first ever proper piece of Liberty Cotton.  I say proper because I’ve had remnants but new THREE whole yards!! #sundaysevens 1 (5)

Wednesday

Harrison in the nets having his cricket coaching – he’s so excited as it’s only 2 weeks away to his first match of the season. #sundaysevens 1 (6)

Thursday

Can’t decide what colour couch we want for the front room.  Spent hours looking and still unsure!  This colour was a strong possibility on Thursday but now it’s Sundays it a no-no! #sundaysevens (11)

Friday

Harrison walking down the school drive ready to board the coach for his 26 hour journey to Italy! #sundaysevens (10)

Saturday

Childless and sunny so we went to play golf.  And I won! It’s a rare treat to play together, the last time we did was over a year ago when we went to Edinburgh. #sundaysevens 3 (3)

Sunday

Due to newly decorated front room, as per what usually happens, the rest of the house looks terrible so we are now on with decorating the kitchen, conservatory and utility room.  This is the before picture.  Hopefully there’ll be an after picture in next weeks sunday sevens. #sundaysevens 3 (2)

Hope you’ve had a lovely week and enjoying the long holiday weekend! If you’ve not heard of Sunday Sevens its a collection of photos showing what you’ve been up to in the last week, and was thought up by Natalie over at Threads & Bobbins!  I was a late starter, but loving taking part!

Draw String Bags & Production Line Sewing

Pump bags… Party Bags…. Could even be made as a smaller version for a bridesmaid in pink….. They’re the good old draw string bag!

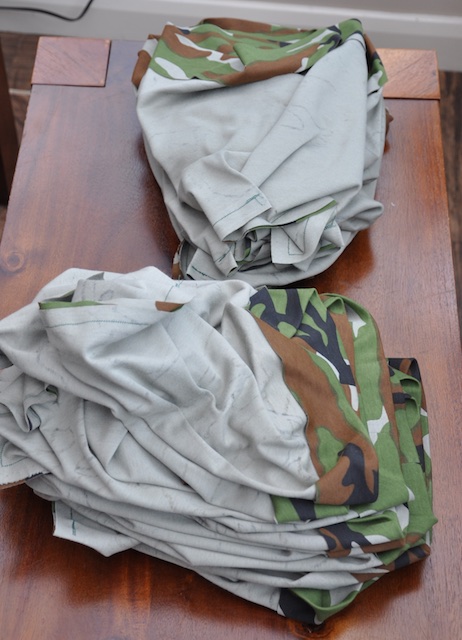
I was asked by my bestie if I would make some party bags for her son’s 7th birthday party. They needed to be big enough to put a small Easter in, and a few other little goodies.

‘Course I will’ I heard myself saying before I’d asked how many.  30? ….’yeah, no worries’ (T-H-I-R-T-Y……my brain was shouting…..!)   …oh well. In for a penny in for a pound!

So here’s how I made them. A little tutorial so to speak. This could be useful if your making 1, a hundred and 1, or any number in between. The secret is to be organised and do it in bite size stages

I started with 5 metres of a stable Jersey knit (cotton, or any fabric t that presses well will do). It turned out there was 6 metres, and I did need the extra metre!

I planned to make mine 10″ wide and 12″ long. They turned out 11 x 13 as I was generous with my seam allowances.

I also had elasticated cord and toggles.  We allowanced 75 cm per bag. Sorry for the use of imperial and metric – I’m bi-metric! (A bit like bi-lingual but not as clever!).

#pumpbagtutorial 1 #pumpbagtutorial 2 #pumpbagtutorial 3 #pumpbagtutorial 4

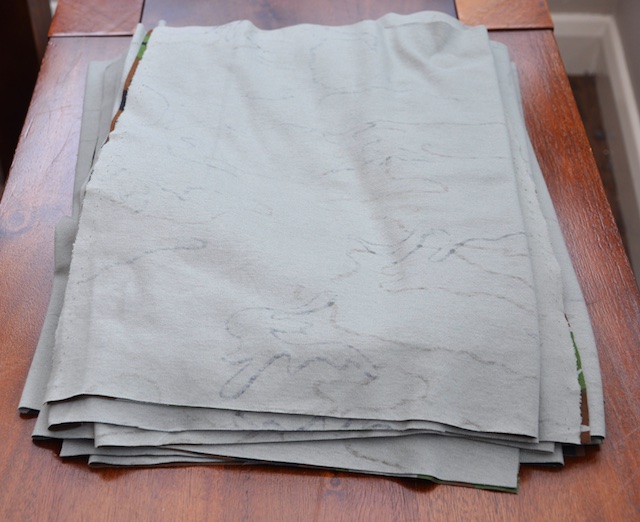
To manage the fabric fold it long ways into half then half again.  I then cut strips with my rotary cutters 15″ and ended up with 14 strips that were the full width of the fabric.

#pumpbagtutorial 6

#pumpbagtutorial 7

From each strip I cut off 28cm which left 122cm.  I then cut each of the 122cm strips in half which was to be become one bag – the easiest way I found to do thing was to fold it in half then slice off close to the fold with the rotary cutter.

#pumpbagtutorial 8

#pumpbagtutorial 9

Each piece was folded in half, right sides together ready to sew.

#pumpbagtutorial 10

After each was sewn, a new neat pile was made – this part was the worst – it was so boring and took about 1 hour 15 minutes!

#pumpbagtutorial 11

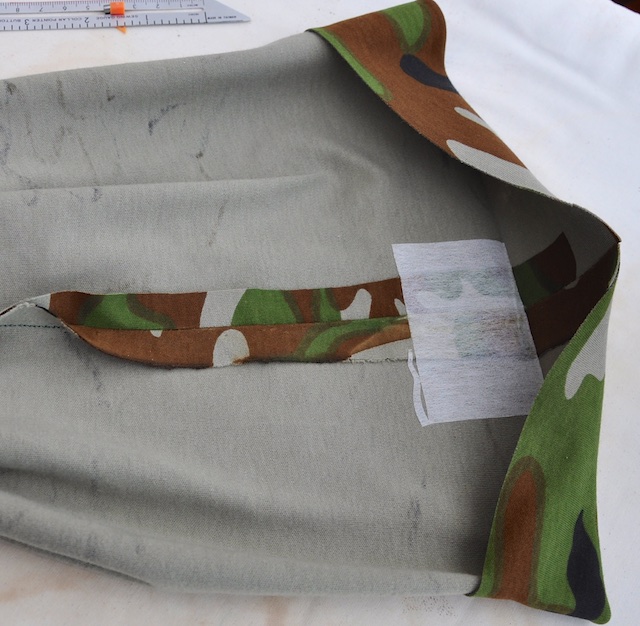
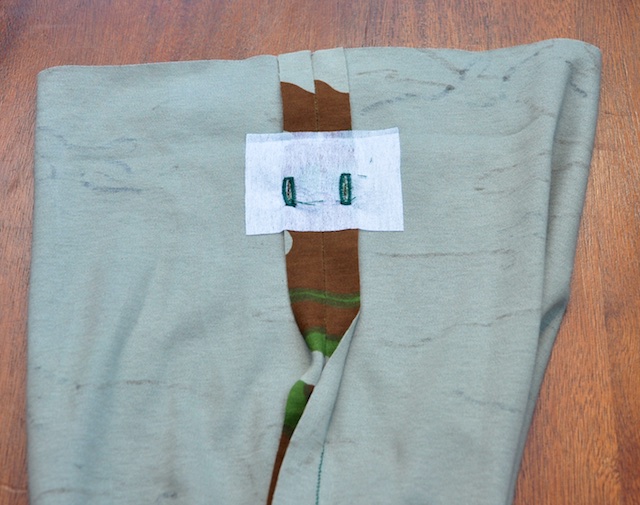
Press open just the top few inches of the bag and add a small piece of iron on interfacing – this is where the button holes will be stitched.My interfacing was 2 inches at the narrowest part and I applied it 2 inches below the top of the bag – this made folding the top over and pressing easier.

#pumpbagtutorial 12

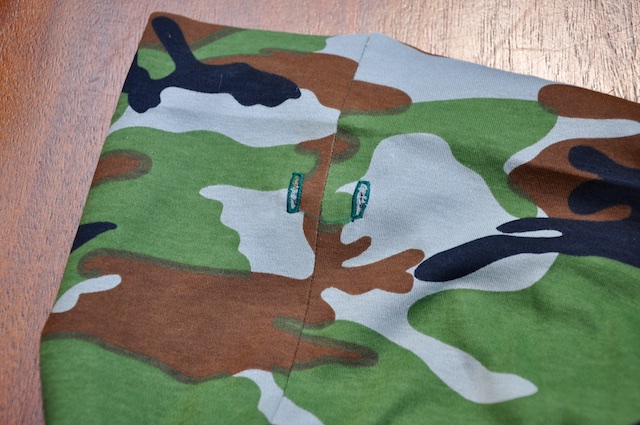
Mark 2 dots where you will place your botton holes. Mine were 1/2 inch from the seam.

#pumpbagtutorial 13

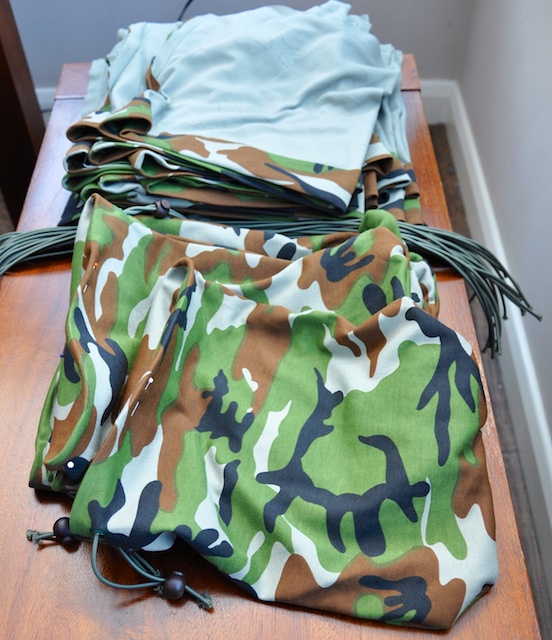
Below are the 30 bags all pressed, interfaced and awaiting buttons holes.

#pumpbagtutorial 14

#pumpbagtutorial 15

#pumpbagtutorial 16

#pumpbagtutorial 17

Onces all the button holes have been added they’re ready for the cord to be added BEFORE sewing the top of the bag down.

#pumpbagtutorial 18

Add the cord, inserting it through the button holes and pin it in 3 places to ensure it doesn’t get in the way of the next part.

#pumpbagtutorial 19

#pumpbagtutorial 20

#pumpbagtutorial 21

Stitch just below the button holes making sure the corn is out of the way.  Add the toggles or tie a knot in the cord before this stage to make sure the corn doesn’t disappear!

#pumpbagtutorial 22

Sew all the way round and tah-dah……. finished!! No need to mess around threading the cord after!

#pumpbagtutorial 23

Me after a very long day……nearly finished!

#pumpbagtutorial 24

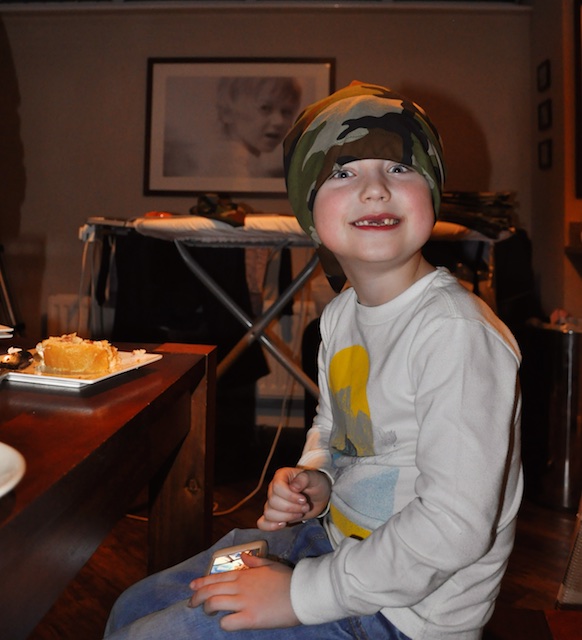
Charlie – the birthday boy – thinks they make good hats too!!

#pumpbagtutorial 25

Hope you find this helpful if your planning on making pump bags!

The Singer Sews & She’s Got A Name!

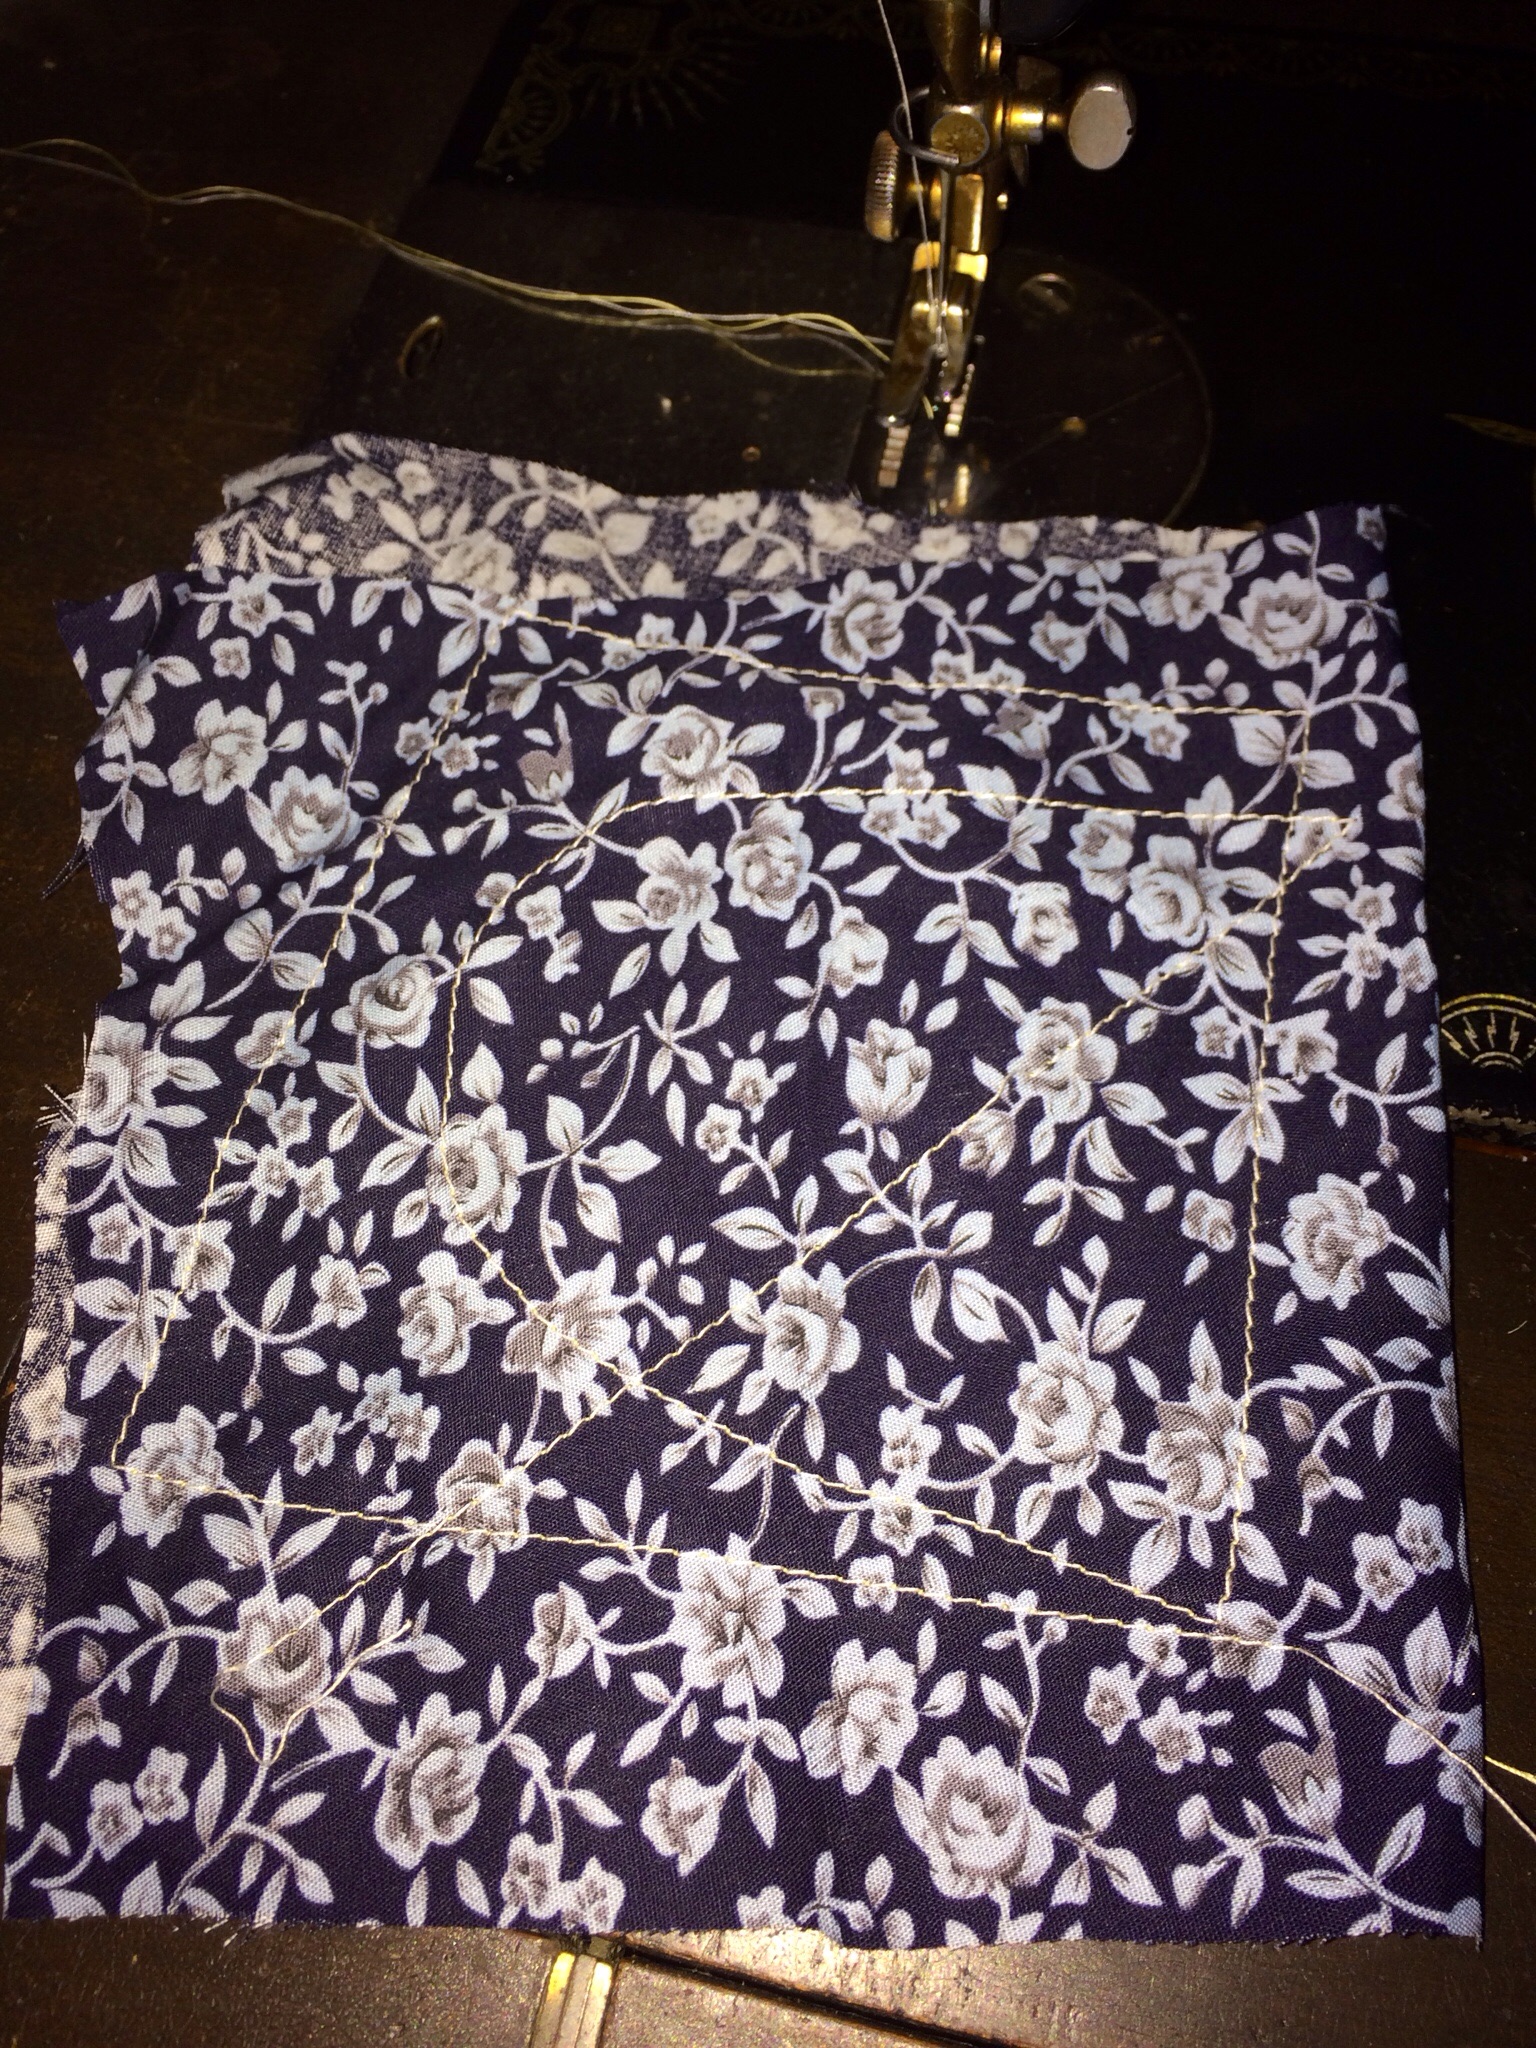
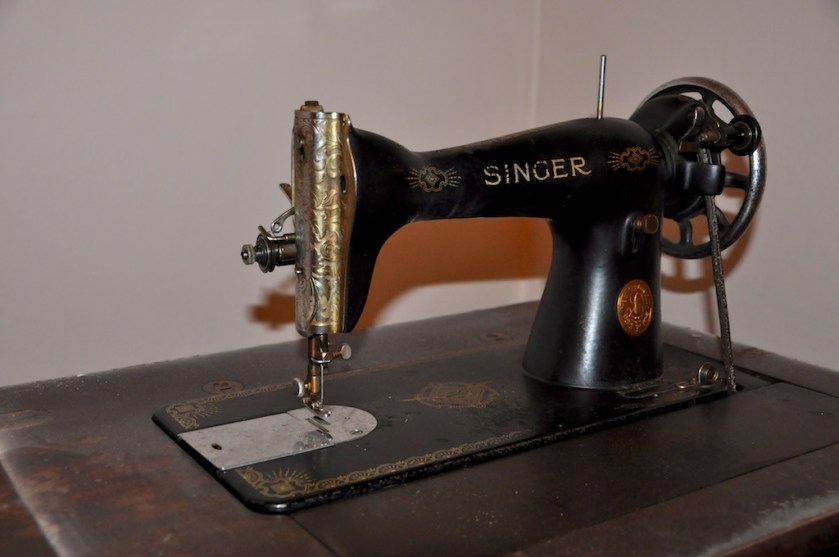
I threaded up my new Vintage Singer (with the help of this tutorial on You Tube) just to see if she would actually sew.   She’s still dirty, a bit smelly, and still has the same needle in as when she was last used.  Unfortunately I’ve no idea when this was. I did remove the fluff from around the feed dogs, but apart from that she’s as she was when I brought her home.

1968 Singer

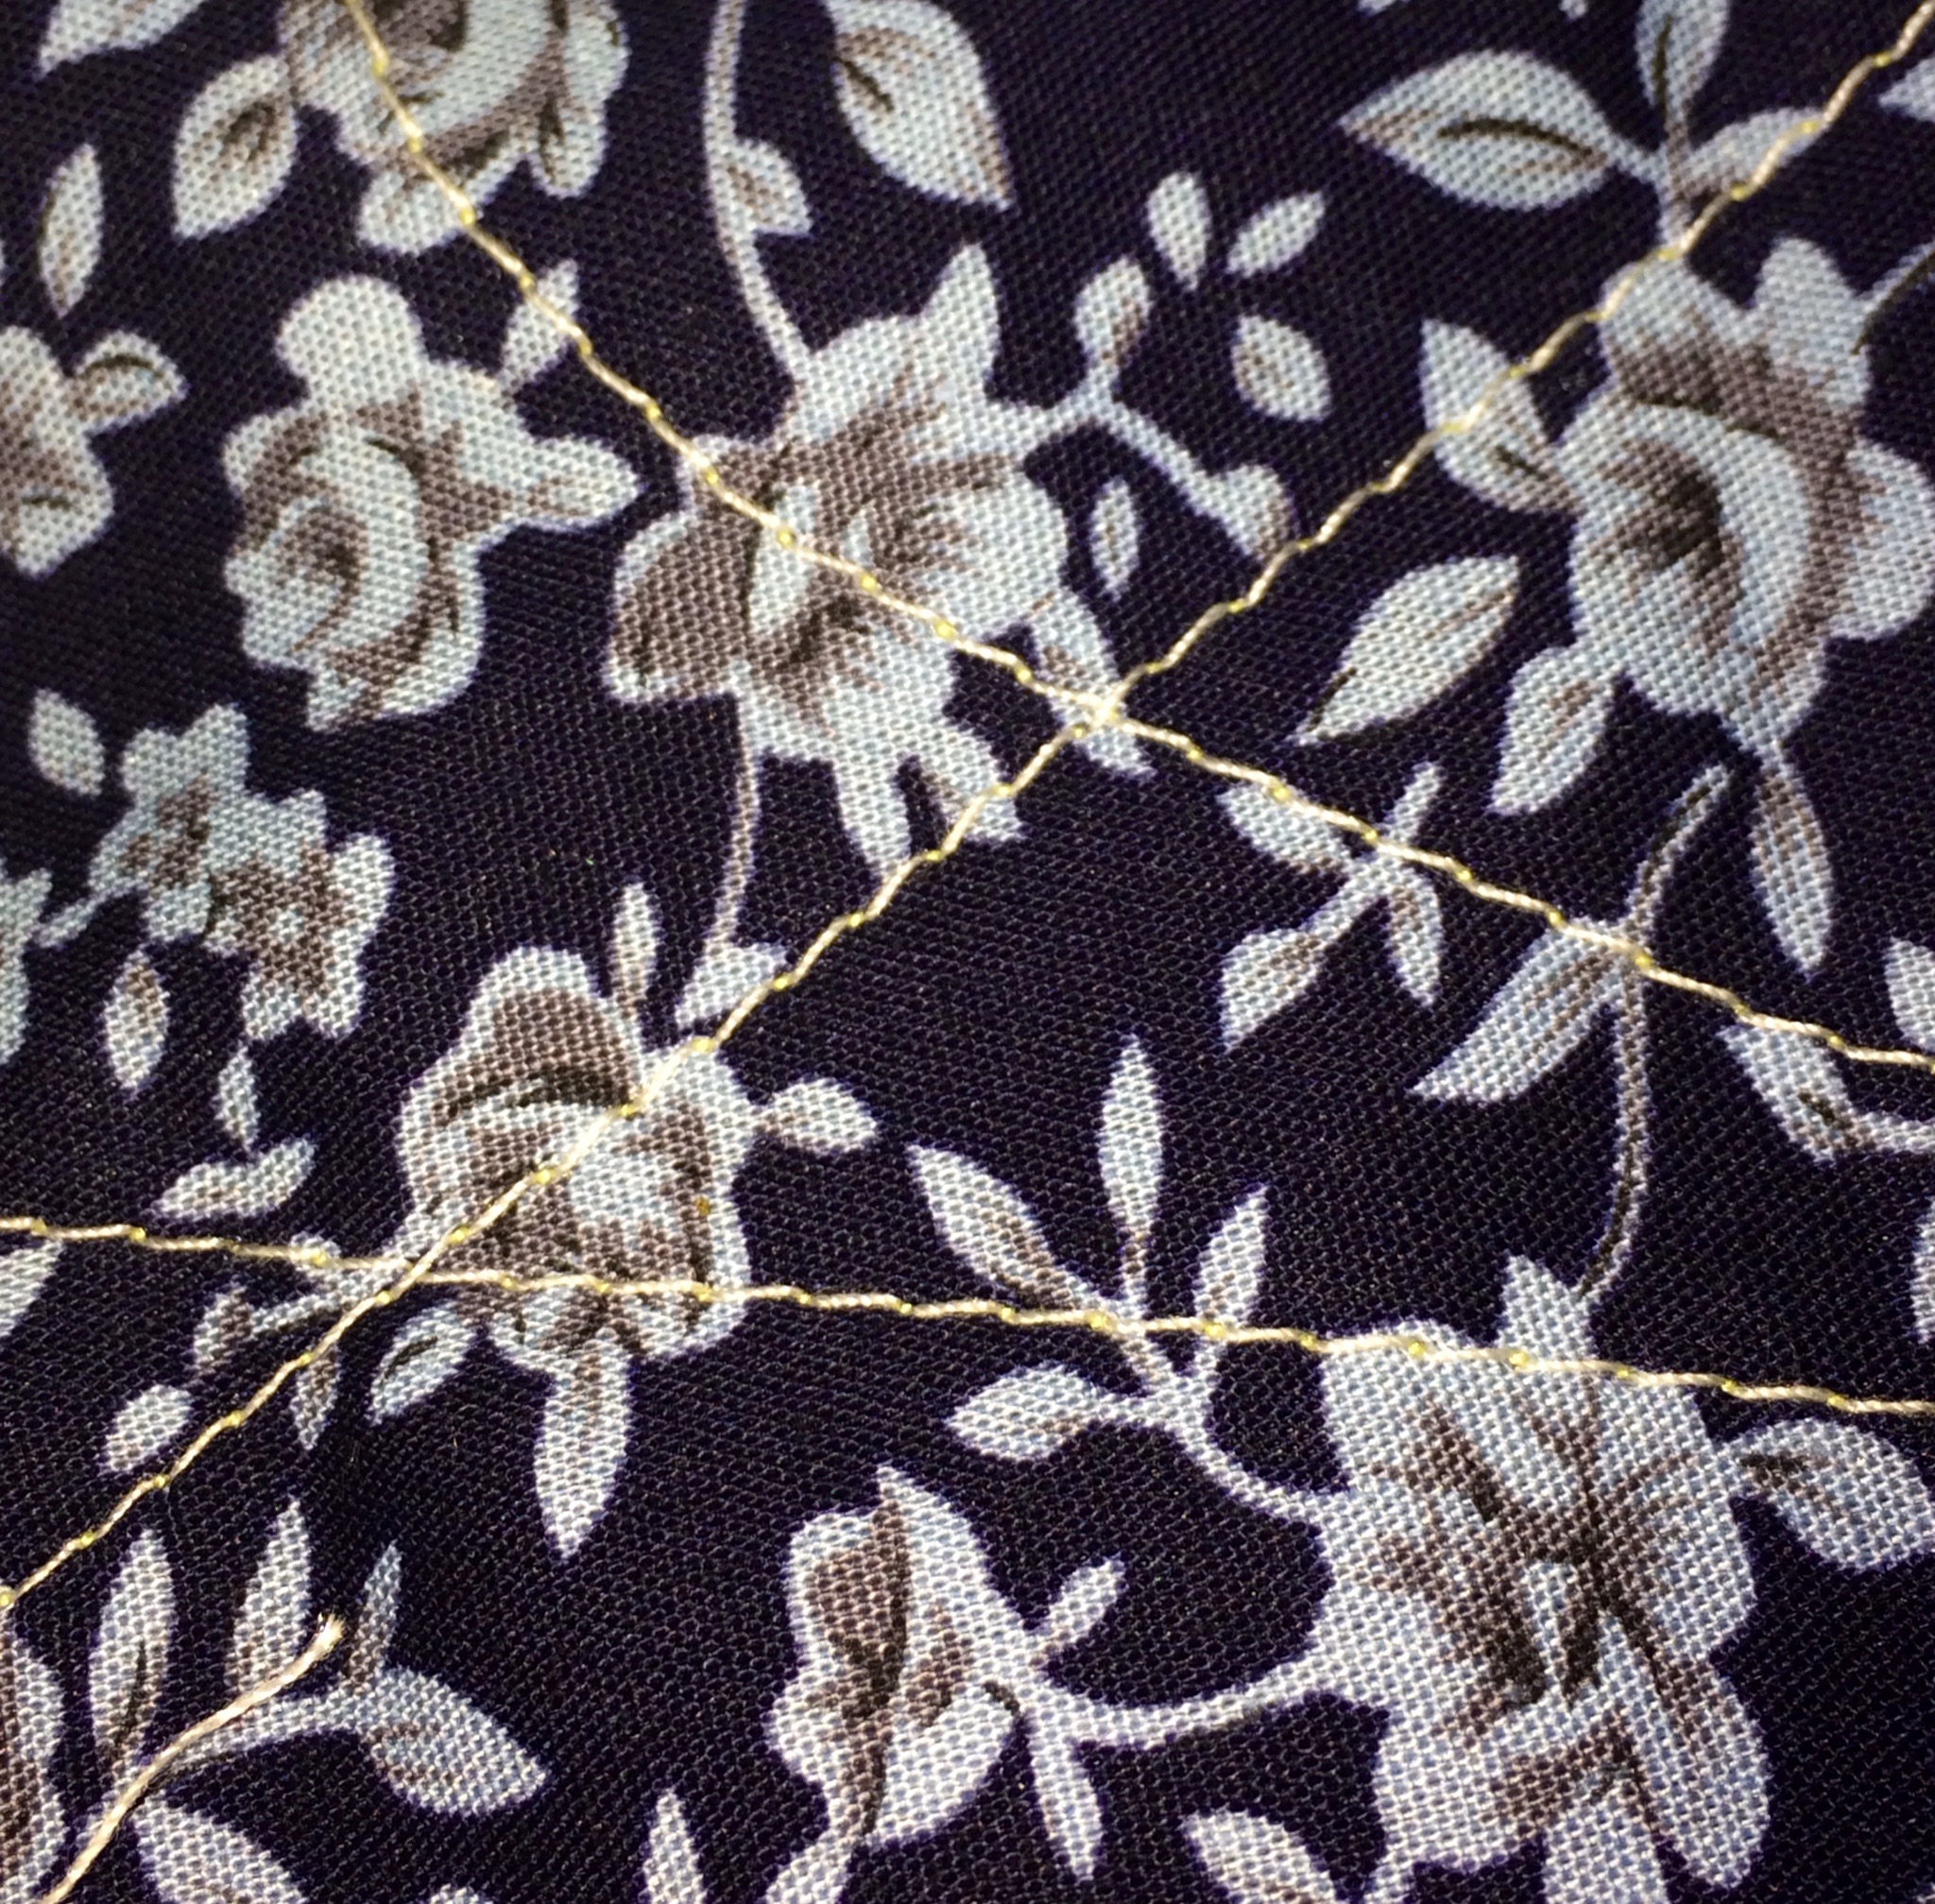
I used a bobbin that was already wound and also brushed the dust off an old spool of thread.  I was stunned to find she sewed beatifully! I wish I’d have chosen some plain fabric so I could show off the stitches, but I didn’t expect this on my first go!

Here’s a close up:

17k singer 1938

I had googled ‘how to treadle’ and found this which was really funny (well, I thought it was, and if you’ve tried to treadle you might too!):

Treadling is a very advanced and intricate procedure, when done properly…. here is a good, basic set of treadling instructions:
1. Place sewing machine on floor… it is best if back of machine is to the wall and front towards open space.
2. Place chair in front of machine.
3. Sit in chair and place feet on treadle (right one slightly ahead of left one)
4. Start hand wheel by turning with hand
5. Wiggle feet
6. Observe what happens… if it doesn’t look right, wiggle feet differently.
7. Curse, rethread needle where thread broke, start hand wheel in opposite direction and try again
8. Try it with one foot
9. Get a kid to work the pedal while you sew :o)

(click any where on the text to be taken to the site)

Then I looked up popular names in 1938, and in the top 5 was Betty.  When I was expecting Harrison (my 12 year old) I was sure I was having a girl and my bump was Betsy all the way through my pregnancy.  So as Betty is close enough to this name, I’ve decided to name my 15K 1938 Singer Betsy, as I think it’s the only girl I’ll ever have!

Introducing my 1938 Singer Sewing Machine

I’m so excited, I feel like all my Christmas’s have come at once!

At the beginning of the week I saw an old Singer on Ebay with a start price of £15.  There wasn’t much information, but the photo showed it in a cabinet and it looked promising and was only in Leeds so I bid £20 then forgot all about it. 

#singer1938

 Last night I received a message to say I’d ‘won’ it for only £18.  

So tonight, armed with some muscle, aka The Husband, I headed off on the 8 mile journey to meet the new love of my life  collect my new sewing machine.  

It was love at first sight!  

She was very heavy, but we managed and my hubby even drove steadily home (this is unusual, I usually have a stiff neck and feel sick even after a short journey! Only kidding darling if you read this!!).

We carried her into the front room.  My newly decorated front room.  Very dirty! But who cares!

Here she is: 

#singer1938

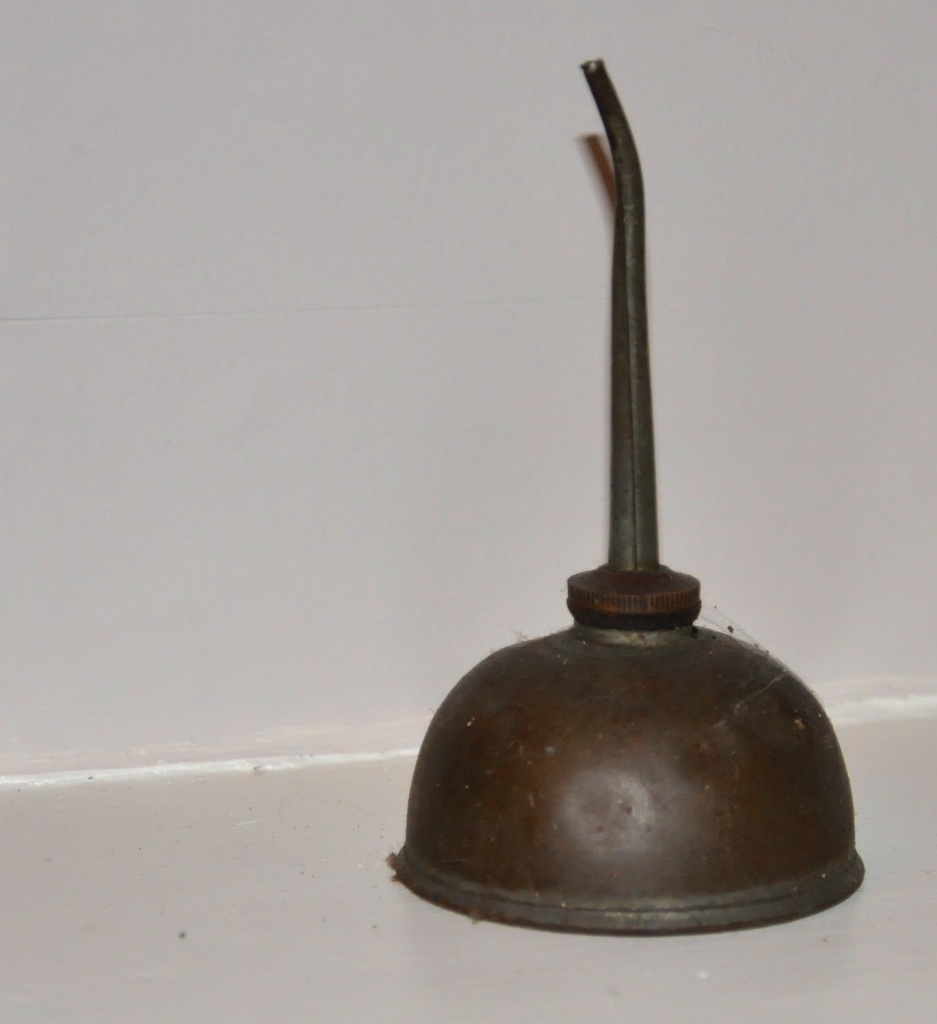
Here’s the original oil can:

#singer1938 3

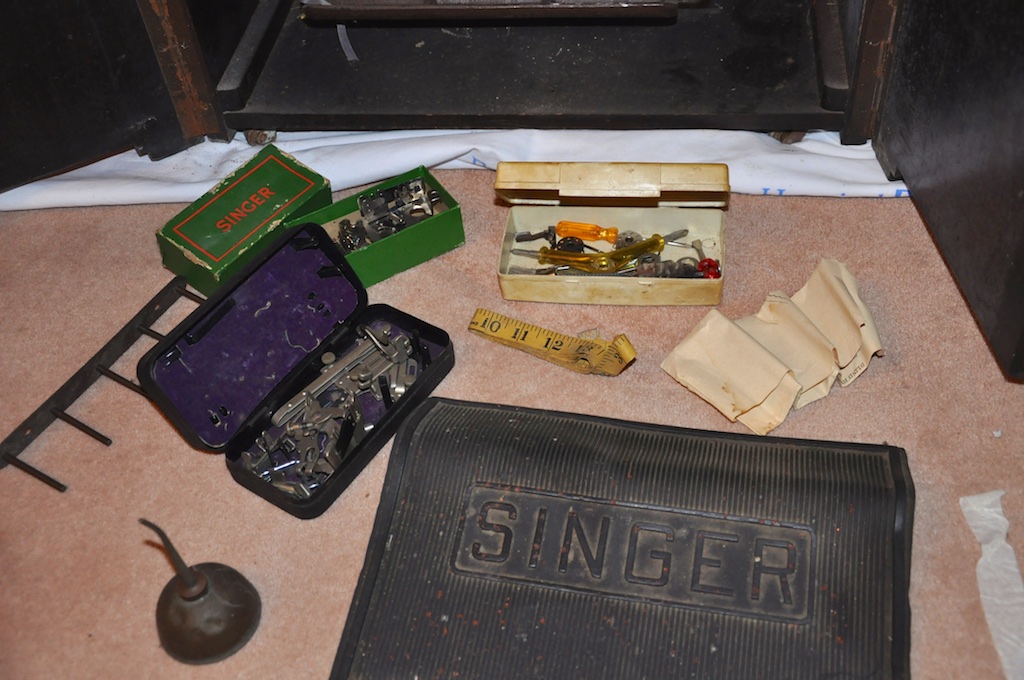
Original Accessories (I think!)

#singer1938 4

#singer1938 5

There’s everything there to go ahead and start sewing!  It’s as if someone closed it up after a days sewing and then it just got forgotten about, or likely a newer shinier model came along.  Maybe a Juki as there’s a Juki accessory box, and some other bits and pieces:

#singer1938 6

Here’s the contents of the swivelling shelf:

#singer1938 7

For now I’m just going to give it a good clean and keep everything where it is.  

#singer1938 8

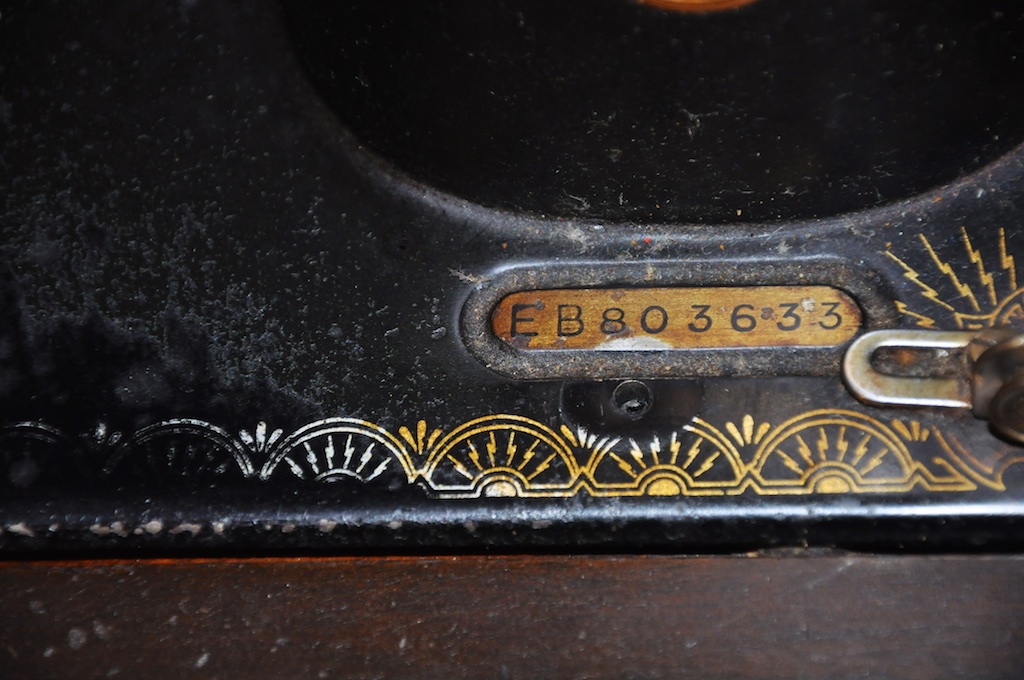
It was exciting to google the serial number and find out when it was ‘born’!  1938!!  Crikey!

#singer1938 9

It really is in amazing condition.  I can’t wait to get her cleaned up and see if she still sews.  The treadle still works.  I got it going straight away once I replaced the cord (not sure if that’s the right word for it).

If anyone has any tips or advice on restoring an old Singer I’d love to hear from you!