Latest Posts

And the winner is……

20140119-122319.jpg
Last Sunday I posted my 1950s outfit I’d made for a themed party I had been invited to. I had some fabric left and made some cute coasters with a pattern from Craftsy.

20140119-122441.jpg
I’d never done a ‘giveaway’ before and decided to give the coasters to one of my fellow bloggers.
Although I know you’re all extremely capable of making them yourselves I still find it nice to receive handmade gifts from others and thought you might too!! Originally I was going to pick the names out of my crocheted hat, but I can’t find it!!
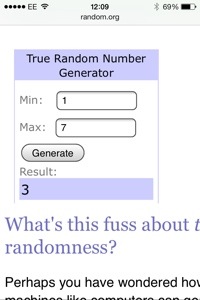
So I’ve used the online random number generator:

20140119-122755.jpg
Congratulations to OurSewingPatch at ‘Sewinlove‘!
Her blog is amazing, full of inspiration!
If you drop me an email
Ali underscore kelly AT me.com
And let me know your address I’ll pop them in the post! X

It’s Only taken me 21 years to have a go!

I received my overlocker as a gift from my parents for my 21st Birthday. It’s taken me another 21 years and 3 months to get around to attaching the roller foot and plate and attempting rolled hems!

I bet we’ve all got extras (optional or otherwise) that came with our machines that we’ve never tried. I’m a sucker for reading instructions, so although I’d never attempted a rolled hem on my overlocker before, in my head I could do it.

Tonight was the night! After being full of sewing enthusiam after last nights welt pocket success I was ready to tackle something else new. Afterall, the Monthly Stitch didn’t say we only had to aquire one new skill in January! And, since i found my sewing mojo last June I’ve not challenged myself properly, I’ve only made fairly straightforward things, mainly in jersey that dont need much fitting or concentration. I’ve previously whizzed up an outfit whilst the kettle boils!

So, with the prospect of not buying any clothes in 2014 (as I’ve joined Goodbye Valentino‘s RTW Fast) I think I will have to sew more quality than quantity, hence the need to brush up on my sewing/finishing techniques.

So, here we are………my new rolled hem sewing skill…..

Think I’ll be making lots of napkins or chiffon scarfs!

 I think it would be useful to finish off a shirt hem, or sew something which would benefit from a very narrow seam.


This is it turned over then stitched on my sewing machine. I didn’t press it, but it’s turnout ok.

On Sunday I made some coasters which I’m giving away in a blog about my 1950s rock n roll outfit. 


Very cute, would be great in the summer sat on the patio with a glass of wine……

Although very pretty on the outside, I’d trimmed the seam allowance to within a millimentre of their spotty life and I think they would have dropped to bits after a couple of washes.  So I turned them inside out and finished the very narrow frayed edges with my overlocked rolled hem.


Before & After

Still not perfect, but much better than they were.  The giveaway is open until Sunday, I might even make 4 napkins to match, lovely for a picnic! (not here in the UK at the moment tho!).

If anyone has any ideas when a overlocked narrow rolled hem might be needed, please let me know, otherwise all my female family and friends will be receiving napkins for their birthdays this year, and the men will get hankies!

My first ever welt pocket!

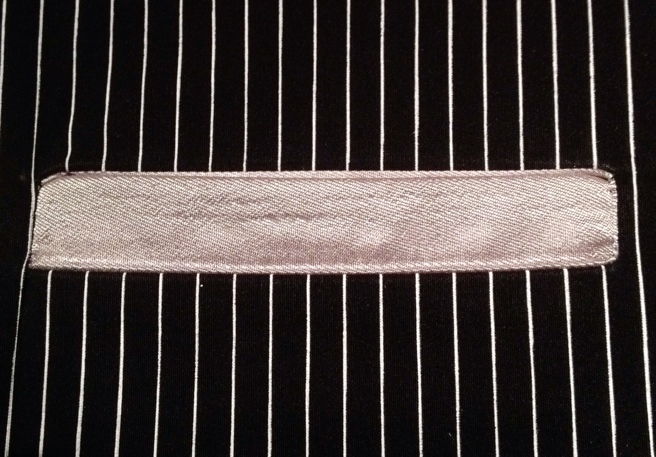
I joined the Monthly Stitch a couple of months ago and this months challenge is a ‘New Year -New Skill’.  I’d decided to challenge myself to learn how to make welt pockets. After much googling and reading countless tutorials I found one over at Oliver and S that seamed easy to follow with clear photos. It took 3 hours but I’m so pleased with the result and would be confident enough to go straight ahead and add one to a garment.

The back is so neat, I wish now I’d taken the time to change my cotton for the final stitches!

And another, I could have taken 100’s of pix as I was so pleased, but I won’t bore you with more than 3!

Now, I’m really not sure what to do with 13″x10″ inch piece of fabric with the most gorgeous welt pocket on. Maybe I’ll just frame it!

One last one, sorry couldn’t resist!

…..the next day…..

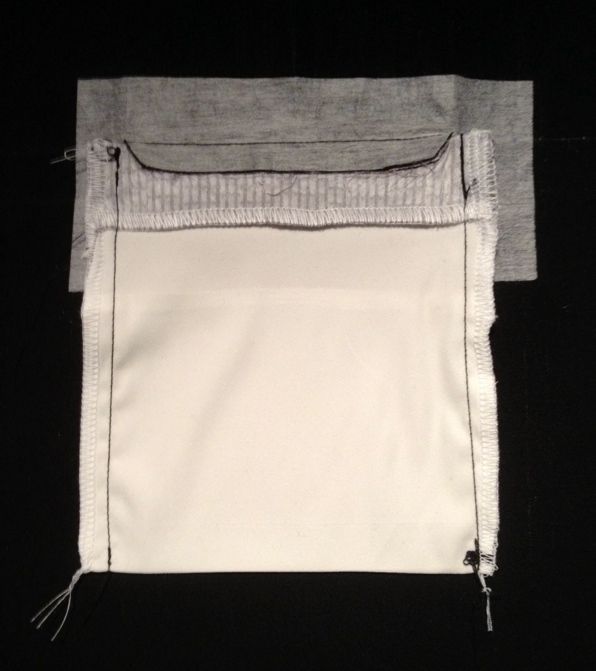
Just one last one, honest! This shows the inside, I woke and swooned over it again!!

20140114-075850.jpg

1950s Finale & A Giveaway!

 Hi Folks, here’s my 1950s outfit and details of a little giveaway in celebration of absolutely nothing, it’s just a thankyou to those of you who take time to read my blog, and especially to those of you who take time to comment. 

 For those of you who’ve seen my Parts One, Two & Three of me putting together my outfit for the 1950s themed party I went to last night, here it is finished.  The above pic was taken at my parents, I called in on the way to the party. Below I’m with my one of my Bestest Friends every – Martin – who I made the Boxy Dopp Kit bag for and have previously blogged about it here.
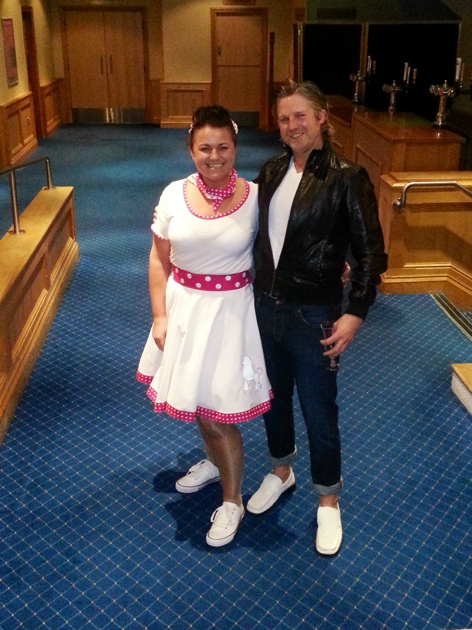
“……lets go to the hop….”


Out of everything I’ve ever sewn I think I’ve enjoyed making this the most, and I’ll probably be wearing it the least! It’s not the sort of thing I’d throw on to nip to the supermarket!!

I eventually opted for the poodle appique as they were all the rage in the 50’s.  I didn’t want anything too ‘in your face’ so I chose a soft cream satin and stitched in sexy pink. Previously I’ve only every used applique to add letters to fabric, the poodle was much trickier, halfway through I was wishing I’d chosen the ice cream.  I couldn’t see the edge of the cream satin against the white as I was sewing so had to continously raise the presser foot. 

Think he needs a name…..any suggestions!? Thanks to sewinlove for helping out……poodles name is now Polka! 

Here’s the template I used….

There’s lots of FREE templates from freeapplique.com

So, about my giveaway!  I wanted to do one not so long ago when I hit 1,000 views but I didn’t know what it should be, I wanted it to be something which I could post world wide but was limited to shipping costs.

This morning I received an email from Craftsy about a free pattern which is available today (not sure how long it is free for).  It was for some coasters which could be made in 3 contrasting fabrics.  “Oooo,” i thought, “I just happened to had 3 contrasting spotty fabrics left from my 1950s outfit which would look fab! So I set to, cut out squares, followed the instructions and here they are:

Aren’t they so cute! They look red and white in the photos but they are definitely sexy pink!
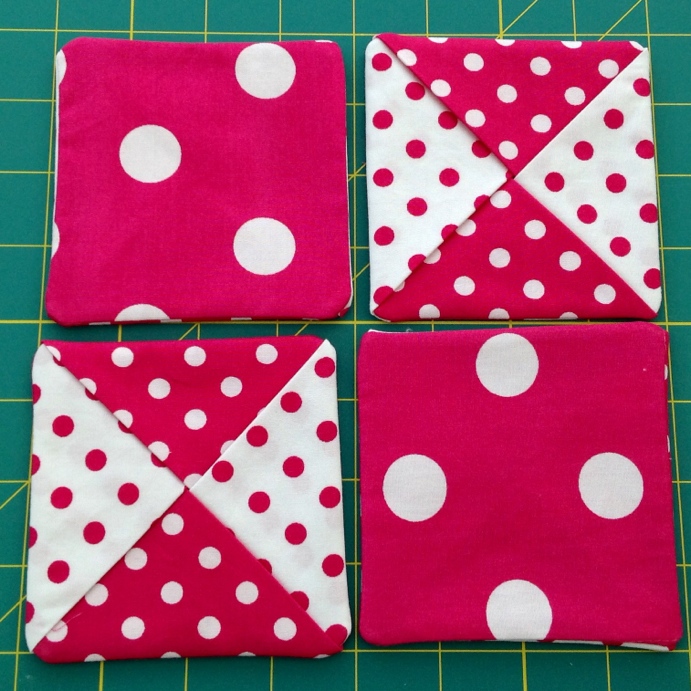
I don’t think they are supposed to reversible but they do look good either way.
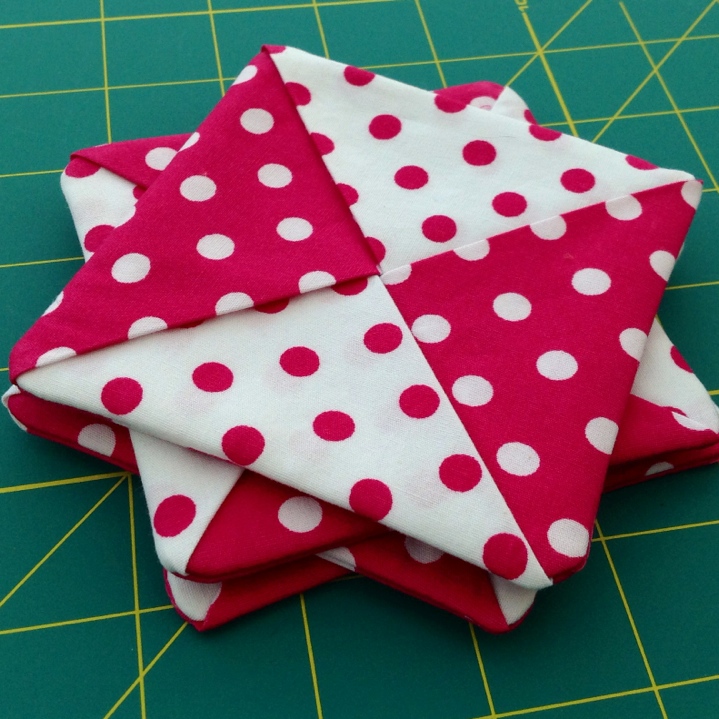
The fabric has been pre-washed, shouldn’t shrink and can be machine washed to freshen them up when needed.

When I’d finished them I loved them instantly, but due to my generous nature having cut enough squares to make 4 more I thought they would make a lovely gift for one of my fellow bloggers and very cheap to post!   I know you’re all more than capable of putting something so simple together but it’s still lovely to receive something handmade from someone else.

So, all you have to do to be in a chance of receiving this little gift from me is leave a comment below, just a simple “hello” will do! 

This is open to anyone in the whole wild world! I will draw a name out of a hat, my crocheted one!, next Sunday, so you have until then to enter.

Good luck, and I hope you all have a very productive week!


1950s theme party – part 3

Hi folks, this is just a quick update, it’s almost 11pm in the UK and I’m ready to hit the sack.

So here’s where I’m at…..

20140110-223855.jpg

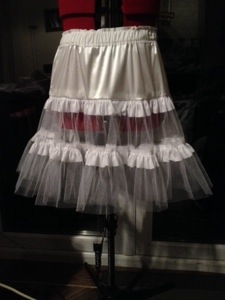
I’ve made the petticoat – hence the puffiness under the skirt! Here’s how it went
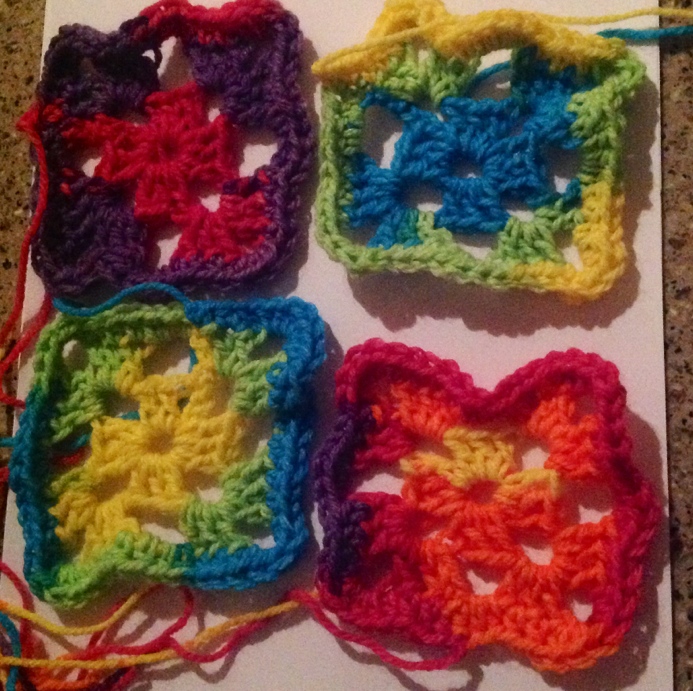
From this….

20140110-224004.jpg

To this…..!

20140110-224040.jpg

I’m so pleased with the petticoat except it’s really itchy so I’m going to have to make a lining.

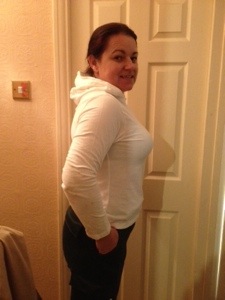
Next job is to refashion this (An old hoodie of Harrison’s) into a T Shirt with spotty bias trim…..

20140110-224254.jpg

Only 20 hours to go before I go the ball! 50s party! There’s nothing like a tight deadline to get you motivated!

1950’s themed party Part 2

This morning I woke at 5:30am, my alarm was set for 6 as I was due to start work at 7. ‘Ooo’ I thought, ‘I could get up and cut out my tulle for my petticoat to go under my full circle skirt’ (which can be seen here).  

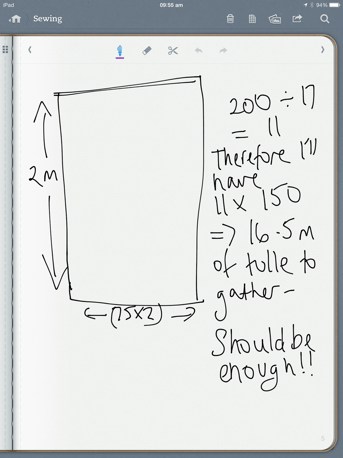
I did some working out on my iPad:


I managed to cut my net out before I went to work so I’m all ready to get sewing when I finish work tonight. 

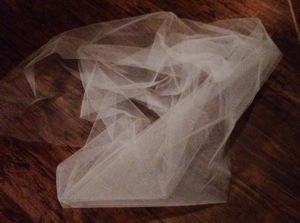
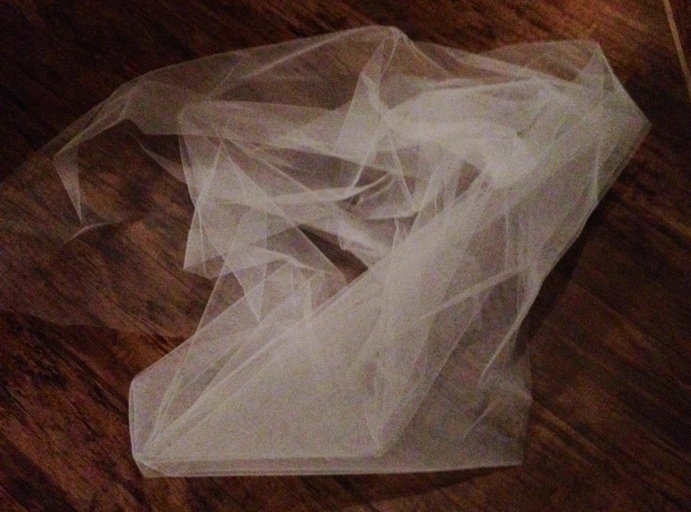
2 metres of netting in a heap on the floor before cutting out – doesn’t look much, hope there’s going to be enough!

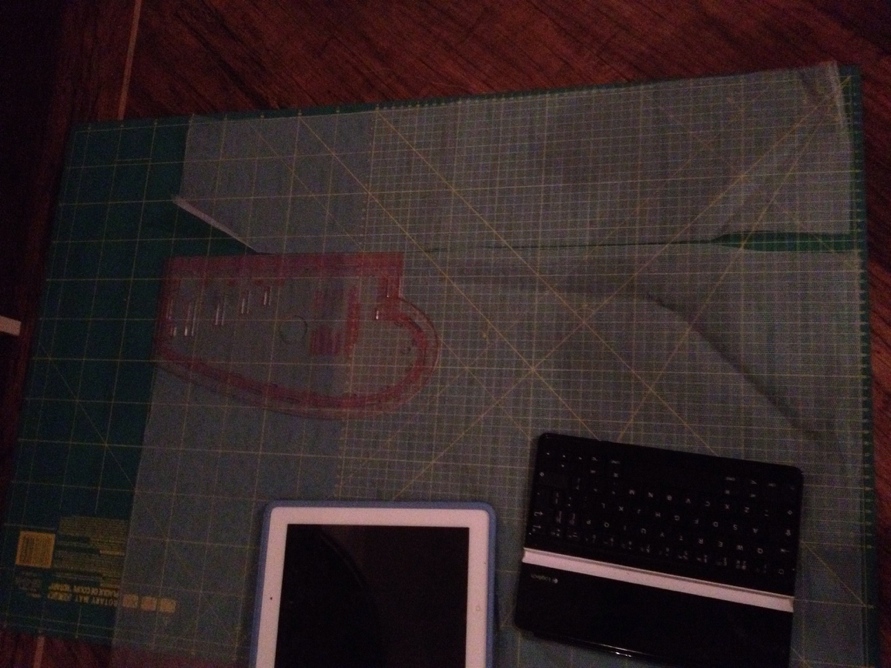
I used my new favourite toy for cutting out. I really don’t know how I managed without it. I never bought one before as I thought they were more suited to quilters. How wrong was I?! I’m using my French curve at the moment as a straight line for cutting, I really need to invest in something longer. (iPad is only being used as weights). 

I’ve been thinking about adding some appliqué to the skirt. I’ve looked on the internet and seen this:

Poodles?!?! What’s all that about?!?! They’re everywhere on the internet when you google the 1950s! Im not sure if poodles are my thing, but I do think the skirt needs something.

I’ve seen this……

“I scream, you scream, we all scream for ice cream!”

And this:

Looks a bit adventurous considering I’ve only ever appliquéd letters in the past!!

So today I am going to attempt drawing appliqué templates. I think ice cream or maybe a single big flower. What do you think? If I do add appliqué then it will mean I probably won’t be able to wear the skirt for anything other than dressing up. But hey oh, it hasn’t cost much to make it. 

1950s themed party Part 1

On Saturday (only 2 days away – yikes) I’ve been invited to a 60th birthday party with 1950s theme.  I planned to make a dress but as I’m running out of time I’ve now decided to make a skirt and top.  The main reason I’ve left this until the last minute is due to my current addiction/obsession with crocheting. (More here about that.)

At the end of December I went shopping to Harrogate and bought 2m of each of the following fabric:

Actual colour is sexy pink and white – poor photography, Iphones make me lazy, sorry!

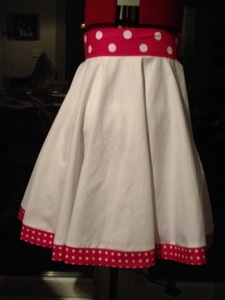
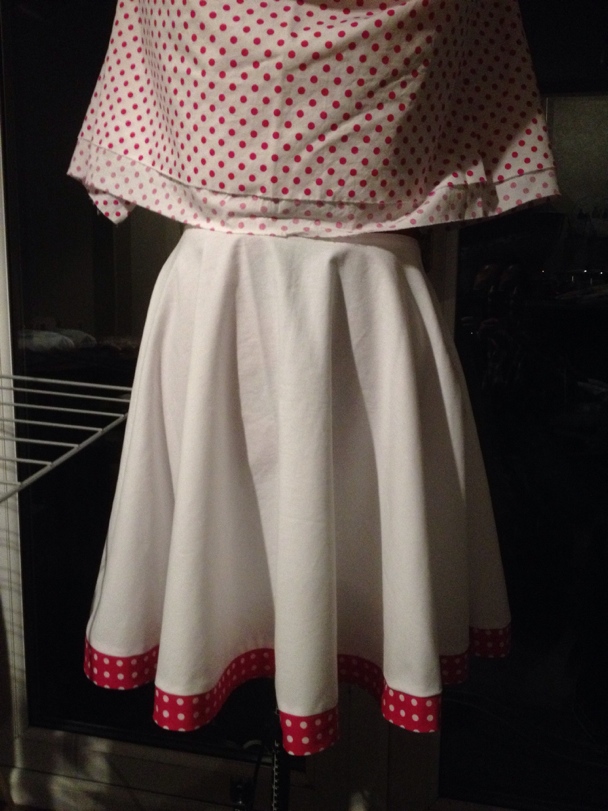
The fabric is only 45″ wide so not wide enough to make a full circle skirt (well not for my waist size!).  I had a re-think and rather than make a less full skirt I used some white 100% cotton sheet and made some bias trim for the bottom.  I used my new rotary cutter – whoppee – super easy to make 157″ of it! I love it!  I think one rainy day I’m going to have a full day making all sorts of different bias binding!

I’m not sure how I’m going to make my top.  I’ll sleep on it and more to follow tomorrow.  Any ideas would be greatly appreciated! 

Also, what did they wear on their feet in the 50s?  Shoes I know! but was it ballerina type pumps??

Crochet: my new addiction

As if sewing, and the odd bit of knitting, wasn’t enough to fill all my spare time.  Thanks to Emmely over at Infectious Stitches I now have a new addiction!  This is all very good and positive – it gives me something to do when I sit down on an evening with the family and watch TV.  Usually I’ll get bored and sneak off to my sewing sanctuary, which my hubby thinks is unsociable (he’s never said but i just know!).

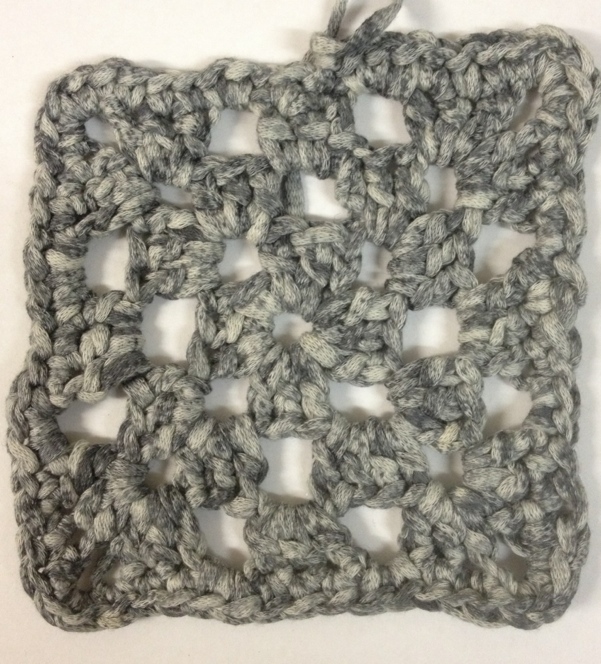
First of all I enrolled on the Craftsy course that Emmely did, and by the end of the evening (in front of the TV with the family!) I’d learnt to chain, single crochet, double crochet and made a granny square – from now on referred to as Nanny squares as my mum’s a Nanny not a Granny.  I used a ball of yarn which was cotton with no loose fibres, and a 7mm crochet hook.

Here’s what i managed to make in my first evening:

Single Crochet ‘square’ – not very square, I lost some stitches at each end when I was turning, but pleased with my first attempt.

Double crochet ‘Square’ – a little bit neater on the edges, and grows a bit faster than the single crochet.

My first ‘Nanny Square’ – I loved making this, it was like magic how it came together!

The next day, though only less than 24 hours into my crochet adventure I felt I needed to stretch myself and have a go at putting my new knowledge together and try something new.  I found a website call New Stitch A Day which shows how to create hundreds of different stitches, all with video tutorials.  The video tutorials are really easy to follow and go at a steady pace.

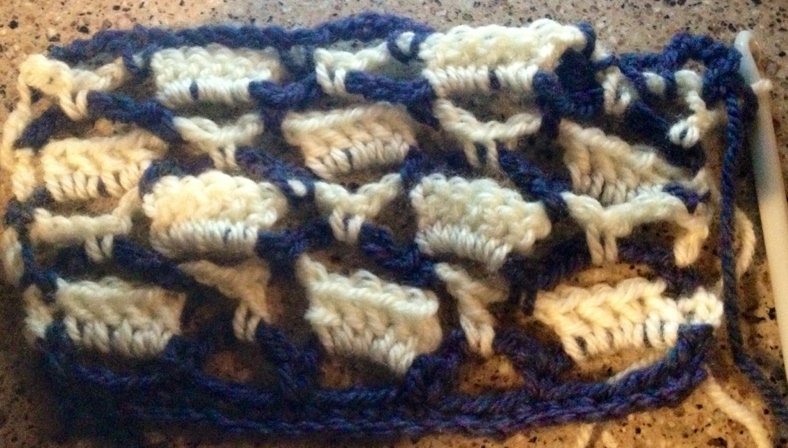
Here’s what I created on Day 2 of my crochet adventure:

2 colours – really easy, just uses chain stitches, single and double crochet. It’s really easy to change colours.

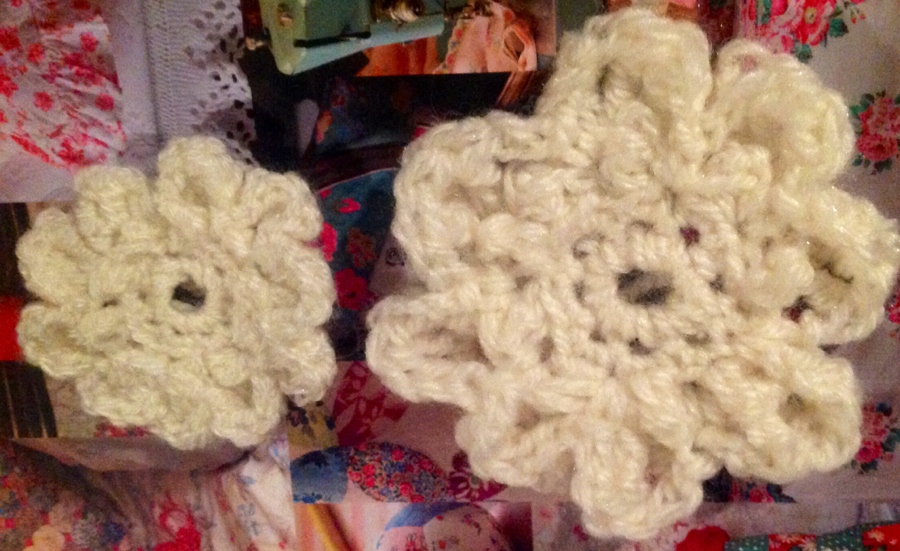
These flowers didn’t quite turn out like the picture (below) but they still look good – they’re both the same pattern but turned out different sizes – the small one was made with a 4mm hook and the big one a 7mm hook.

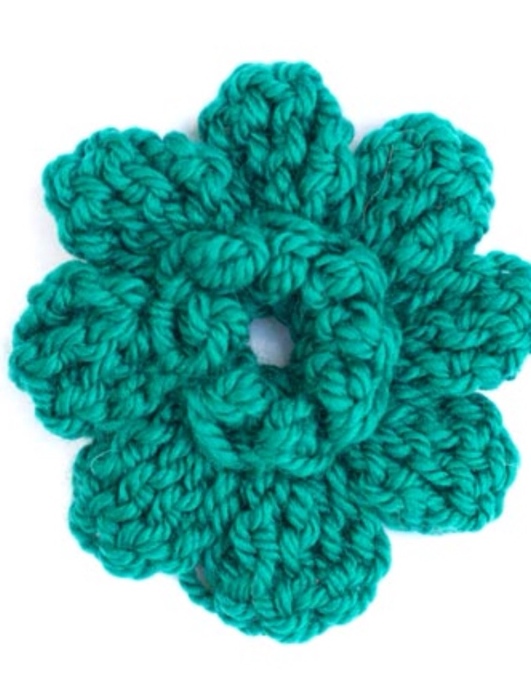
Here’s what it should have looked like – this is from the New Stitch a Day website.

More Nanny Squares!!! not really sure what i’m going to do with these!!

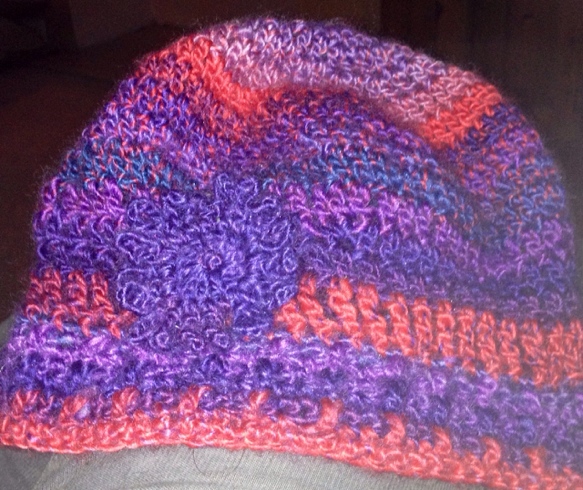
I was running out of wool and had this which was going to be a jumper last year. Although I loved the colours I didn’t think it was me and wouldn’t wear it much. I unravelled it and decided to try and make a hat. After sewing round in circles for the cream flowers, I thought this would be easier than making anything square as I found it had to keep the edges straight. I used the stitch a day website to find out how to increase and decrease stitches and practiced double and treble crochet. I also made some rib for round the bottom.

At first my hat looked like a place mat – this is when I knew i needed to learn to decrease!

I managed to decrease and the bottom red row is my first line of rib. I wanted it to keep my ears warm when i’m played golf so kept going…..

I’d finished the hat in no time – on day 4 and 5 of my crochet adventure. I made a flower for the side and added a heart shaped button from my stash.

Here’s some more views of my hat:

another…..

and another……. can be worn in different ways – this is a mash up of a beret and a flat cap! Probably not a look i’d want to show in public!

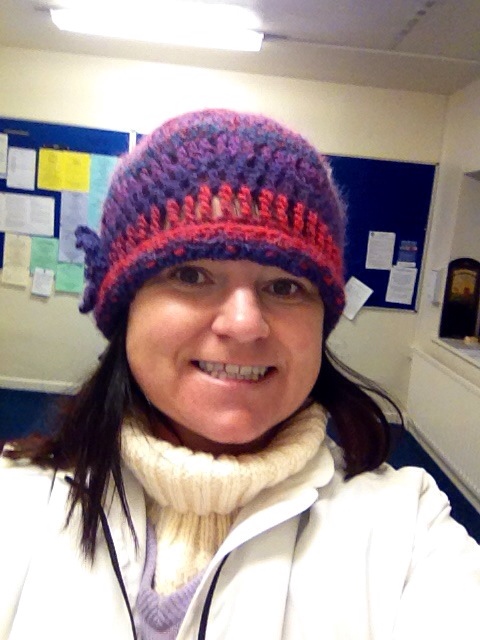
Today I went to play golf, the first time I’ve hit a ball in about 3 weeks.  It was a bit chilly but I had my new hat to keep me warm and cosy!

My first ever proper ‘selfie’, after playing golf today! 

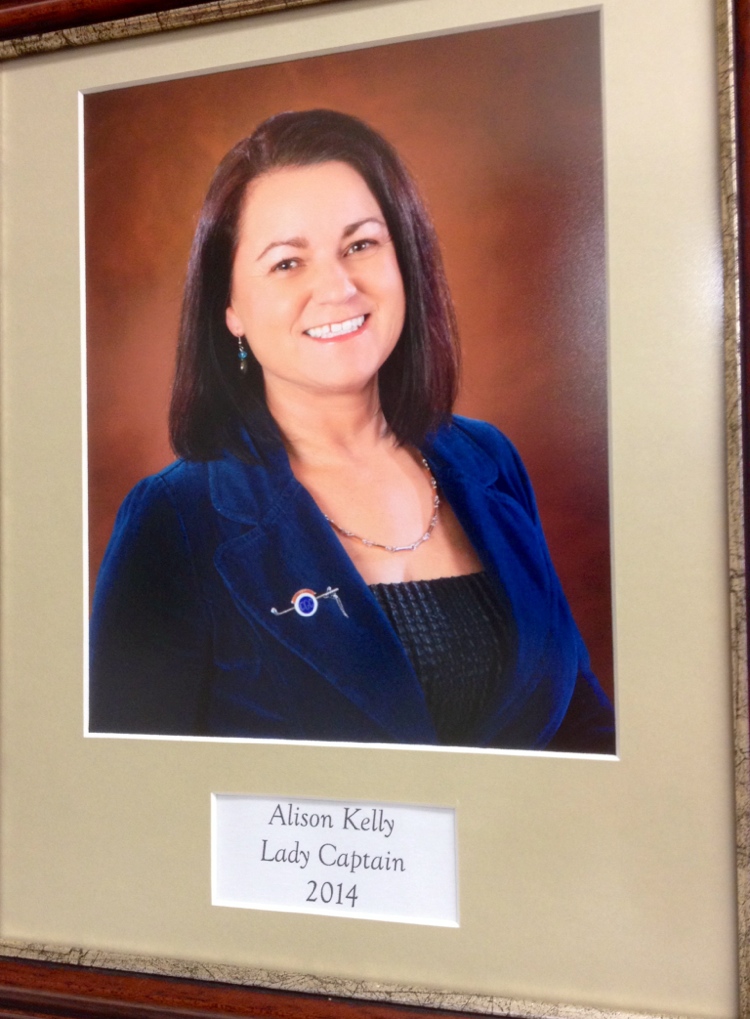
Here’s my official Lady Captain Photo

A bit different to my selfie, mainly due to make-up and hair brushed!

 Well, that’s it for now!  No doubt I’ll be blogging soon about further adventures from Crochet Land.  Thanks so much to Emmely for writing her blog and getting me ‘hooked’!

How come my rotary cutter doesn’t spin round?!?!

On Sunday I treated myself to a rotary cutter and mat, today was the first chance I had to try it out. I decided to make a simple A-line skirt that I’d seen in Sew magazine.
I was all ready with my measurements, fabric, rotary cutter and mat but couldn’t understand why my cutter didn’t rotate. After much googling and watching You Tube I discovered much to my surprise how to use it. It wasn’t like a circular saw after all!!

But, I love it!!! Loads!!!

I made my skirt in an hour and here it is, modelled by Gertrude….

20131231-181949.jpg

20131231-182005.jpg

20131231-182022.jpg

20131231-182033.jpg

My first Polly Top from By Hand London

Just a quick short post to introduce you to my first Polly Top from By Hand London.  It’s their first free pattern and can be found here.

Here’s some more pix:

This photo shoes the colour best

It was really simple to make, the instructions are well written and there’s even a video tutorial.

I usually buy a 14 top (uk) but had to cut an 18. It was too big so I needed to take the seam allowances in another 1.5 cm.

the patterned fabric is a peachy poly, and the black is a crepe.  It looks lovely on, and I’m sure I’ll be wearing this loads.

Happy New Year Folks!