I thought it was about time I wrote a post about something I’ve made. Lately it’s all just been about what I’ve been up to in my Sunday Sevens and what I’ve got planned for the 6th February!
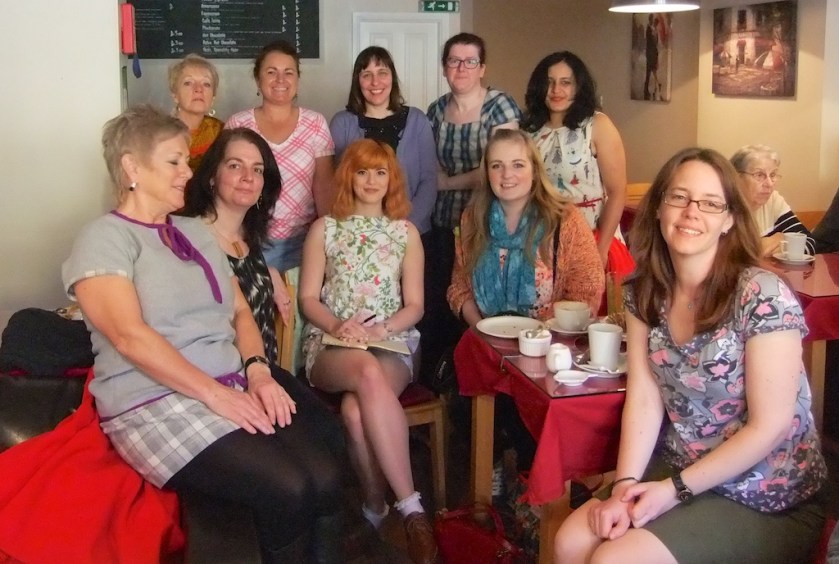
Before I waffle on about my new trousers (which are almost jeans), I need to let you into a little secret!! As Fabworks are now online I asked them if they would like to sponsor a little giveaway/competition on my blog for those of you who won’t be able to come to the Yorkshire Spoolette Meet Up.

And they said YES!! So it’s not all doom and gloom for those who can’t make it! Watch out for a post all about it soon!
So what’s all this about? Jeans January? Last January I rushed out and bought a pair. Well 2 pairs actually. They were the first things I bought when my 2014 RTW Fast was over. And now a year later I’m considering making a pair.
All thanks to Chris over at Said & Done – Handmade my Chris . It started off as just a comment to her blog, a bit like Jumping Into June, and before long there was a few of us agreeing to jump into the world of sewing Jeans. If you’re thinking of making a pair Chris has a post “My Top Tips for Jeans In January“. A must read for would jeans sewists!
Last year I bought the Ginger Jeans pattern and also the Misty Pull on Jeans pattern.
I decided for my first foray into parallel top stitching I’d go easy on myself and avoid rivets and front flies and chose to make the pull on style.

Oh, and to cheat even more I chose not to use denim either. So are they Jeans? I s’pose not, but they’ve spurred me onto wanting to make some more in denim and also to make some proper jeans.
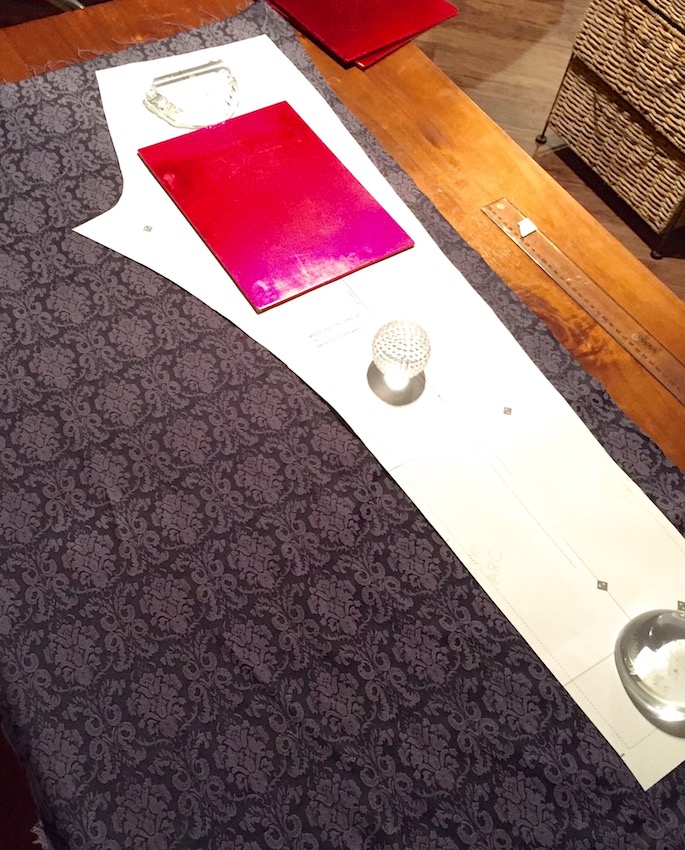
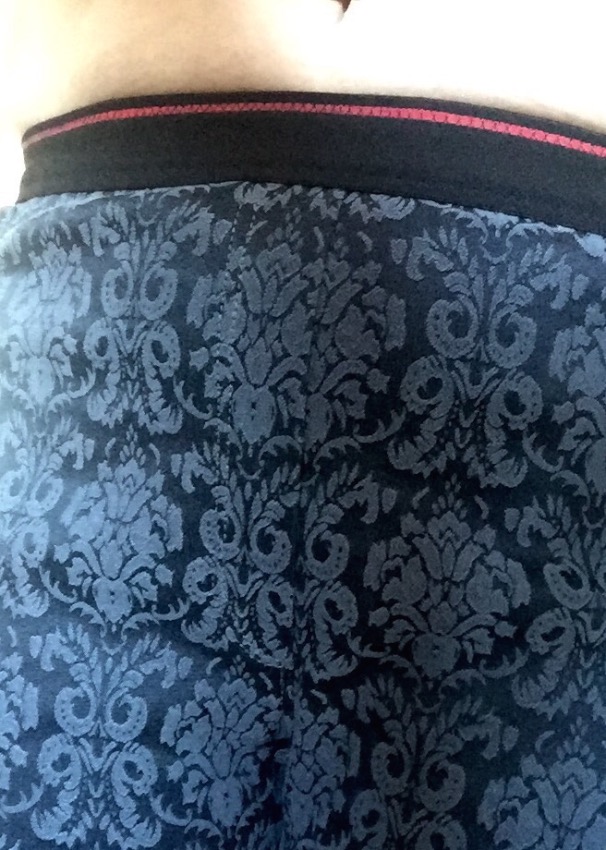
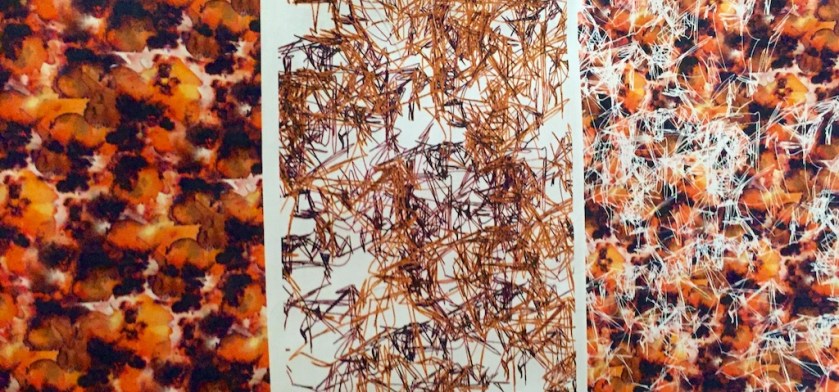
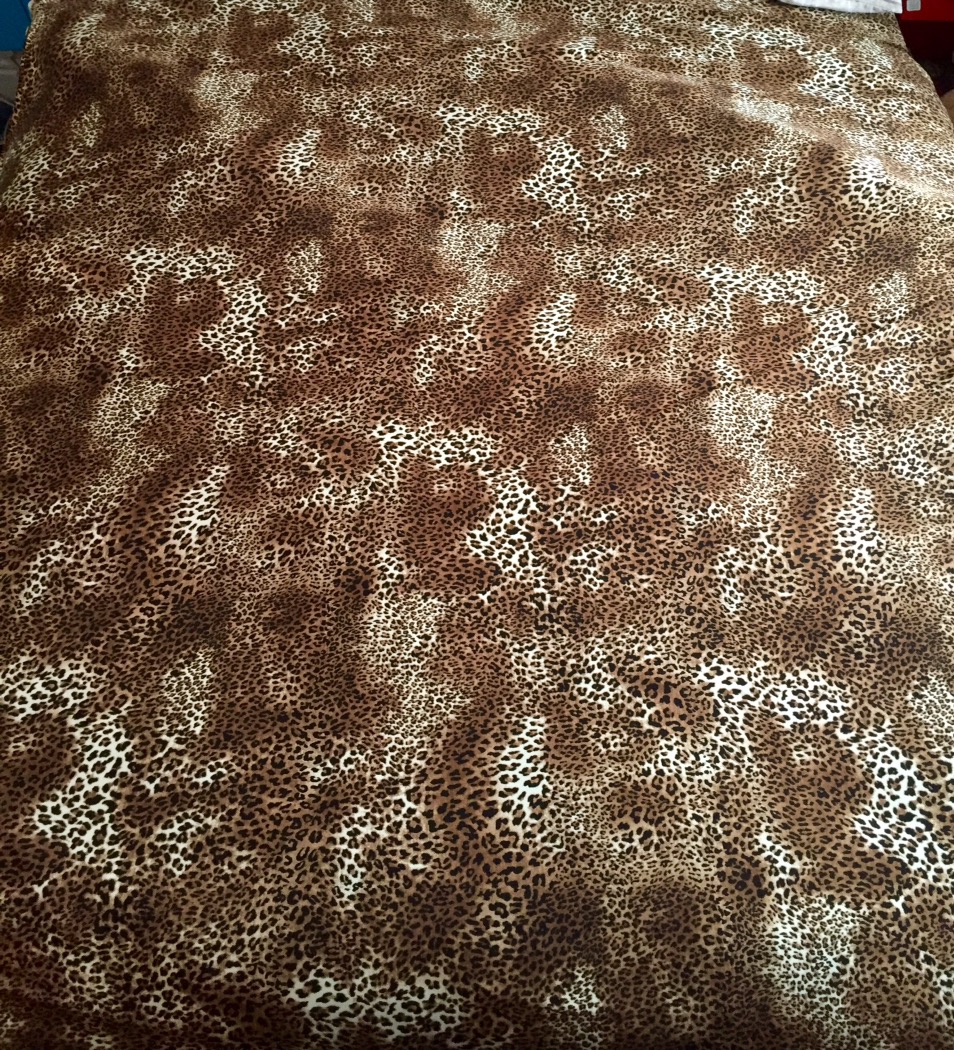
I didn’t make life so easy in the end as I chose a patterned fabric that could have looked quite disastrous if I hadn’t done some careful pattern matching.
And what was really strange was only having one size at once to be able to print off. With Style Arc you don’t buy a complete range of sizes. My hips size is always 1 to 2 sizes smaller than my waist. I think that sounds better than my waist being 1 to 2 sizes bigger than my hips! Maybe I should eat less cake!
I opted for the size 14. My waist was nearer 16 and my hips measured a 12. As the fabric had a fair amount of lycra content I thought it would be ok. And the fabric was only about £8 so it wouldn’t be the end of the world if they didn’t fit.
The cutting took a whole evening. With a plain fabric I’d have probably done it in around an hour as there weren’t too many pieces, but I spent ages matching the pockets. I took quite a few pics of how I got it “spot on”.
Mark the whole area of the pocket placement not just the top part.

Choose a piece of fabric that will easily fit the pocket piece onto. Fold over the top, matching the fold line with the marking of the top of the pocket. Pin the fold so you don’t loose it!

Using the outline of the pocket as a guide, draw the pocket outline onto the piece of fabric that you’ve just bent over and pinned.

Use the pattern on the fabric to help you.

Cut out the pocket – but remember you’ve already accounted for the seam allowance on the top edge. Once cut out you should be able to put it in position and it will be camouflaged!

When I came to press the sides of the pockets I just eyeballed the seam allowances.

Although they were a tiny bit smaller than they should have been the 2 were the same, and they matched, so all was ok.
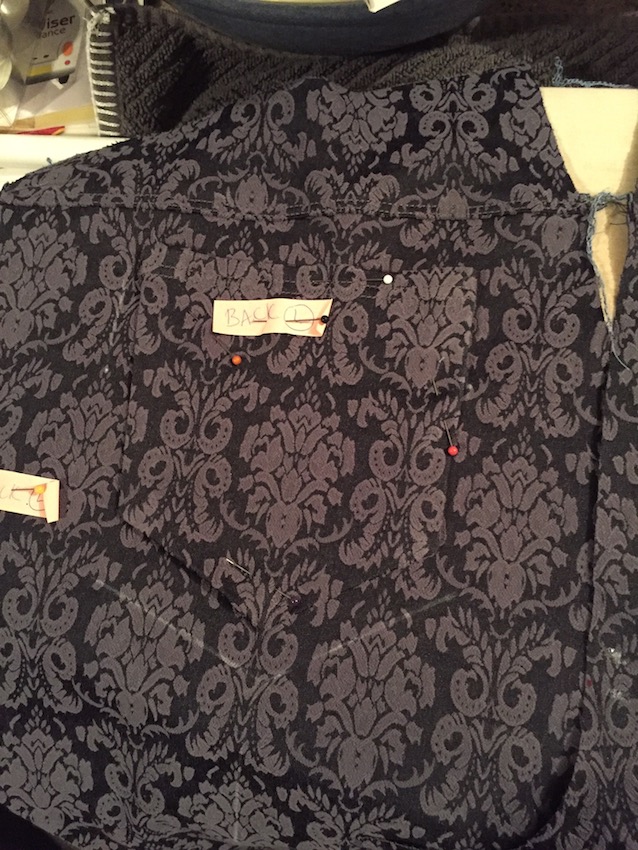
I even got carried away and did some hand basting. After all the effort of pattern matching I didn’t want they to move as I was sewing them.

Once all the faffing about with the pockets was over it was down to the nitty gritty of sewing and topstitching. I could’ve dug out my old machine and had a separate one for sewing and one for topstitching but I didn’t bother. It wasn’t such a big deal swapping over the top thread, the hard bit was remembering to alter the stitch length!
I machine basted the side seams to check the fit.
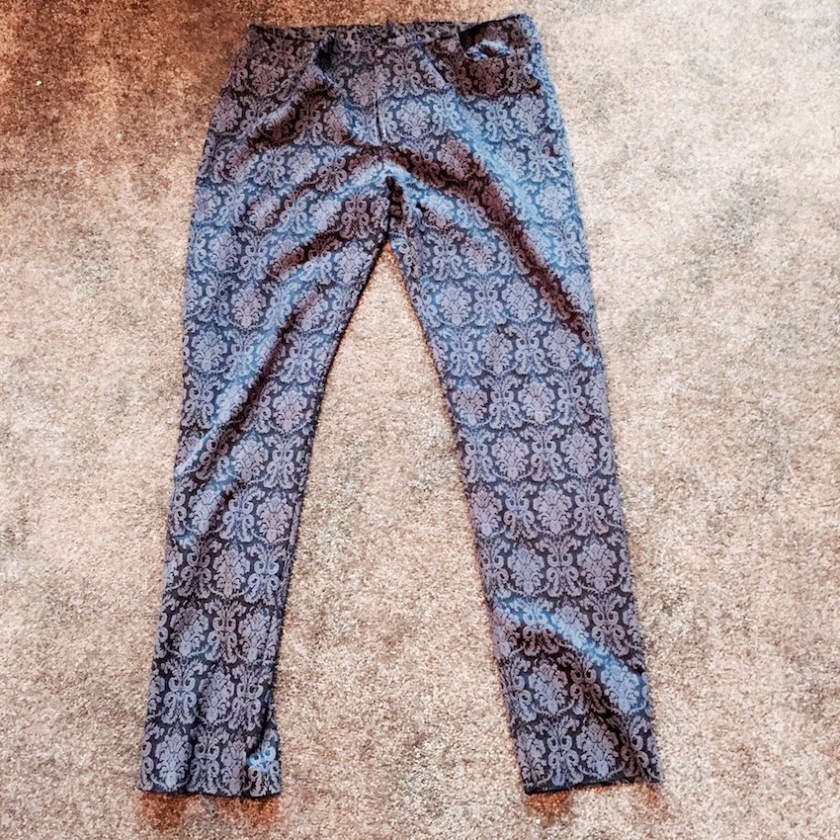
All was well so I unpicked, restitched and added the waist band. And smiled!! A big beam actually! I was so pleased with the fit and how they turned out.
Here’s some close up of the finer details of my “Jeans”:
Coin pocket and pocket…….

Other front pocket, and a sneak peak of the mock front fly……
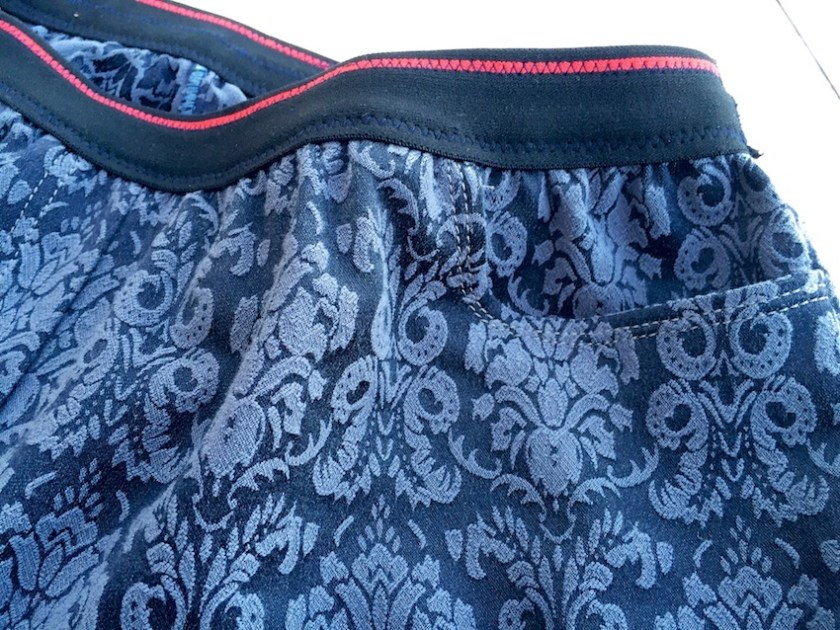
The rear!! I thought a close up without me in them might be better! Check out those invisible pockets! I wish now that I’d have thought to add some dark blue piping as they do disappear when I’m wearing them.

Inner seam…..

Double stitched hem. I used a single needle everywhere as I’ve not had much success with twin needles. I’d also say the colour on this picture is fairly true to the real colour of the fabric.

And now for some 3D real life photos! Wish this modelling lark would get easier!

I had a bit of a strange thing going on when I first put them on. I think it’s known as a camels hoof or something. Anyway, avert your eyes if you wish, but here is them pulled up. I could have done with cropping off the belly but then it would be hard to see where they were pulled up to.. The elastic is only tight as I’m planning to eat less cake, run more and loose an inch at least.

If I wear them slightly lower, about 1 1/2 inch below my navel then the camel miraculously disappears! Phew! You can just about make out the mock fly too. I’d say this is a great pattern to do before embarking on proper jeans. Especially if you choose a patterned fabric that would hide any wobbly stitching.
Warming my butt in front of the fire!

See what I meant about the pockets not been noticeable? By the way it was freezing outside but I needed to take my jumper off otherwise you’d not have seen the jeans properly.
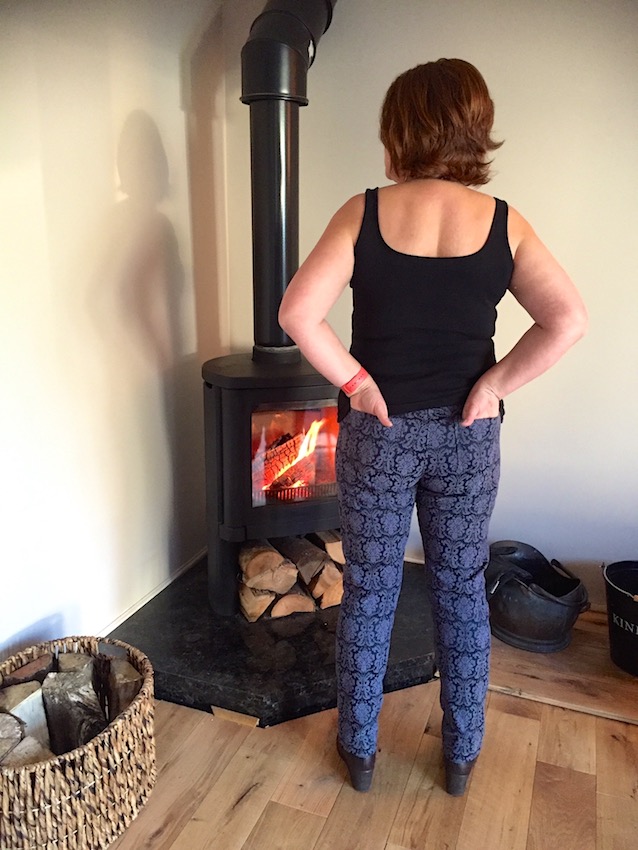
Thanks Mum for taking the pics!

So that’s it! A tentative dabble into making Jeans.
VERDICT:
Love them!! Only draw back is the fabric – they hardly match any of my tops as I don’t have many solid colour ones. The elasticated waist is ingenious. It has you using 2 pieces of elastic which are sewn together to give a strong waist band that doesn’t fall down. I don’t think I’ll make any alterations to the pattern for my next pair. This stretch woven has a lot of lycra in it, but I think a pair in a denim with only 2% lycra would still fit ok as they’re not too tight.
So next stop proper Jeans. But not before I crack on with my Jungle January Sewing! Even if you’re not planning on making any animal print clothes you want to head over to Pretty Grievances blog to read all about it and see her funny captions – she cracks me up!
Here’s one of my favourites (she doesn’t mind us Jungle folk borrowing them!):






















 T H I M B E R L I N A