I thought I’d share with you the fitting dilemmas of my most recent make – the Vogue 9082, view C. And also how I omitted the facing and fully lined this special dress when I joined in the BIG Vintage Sewalong.

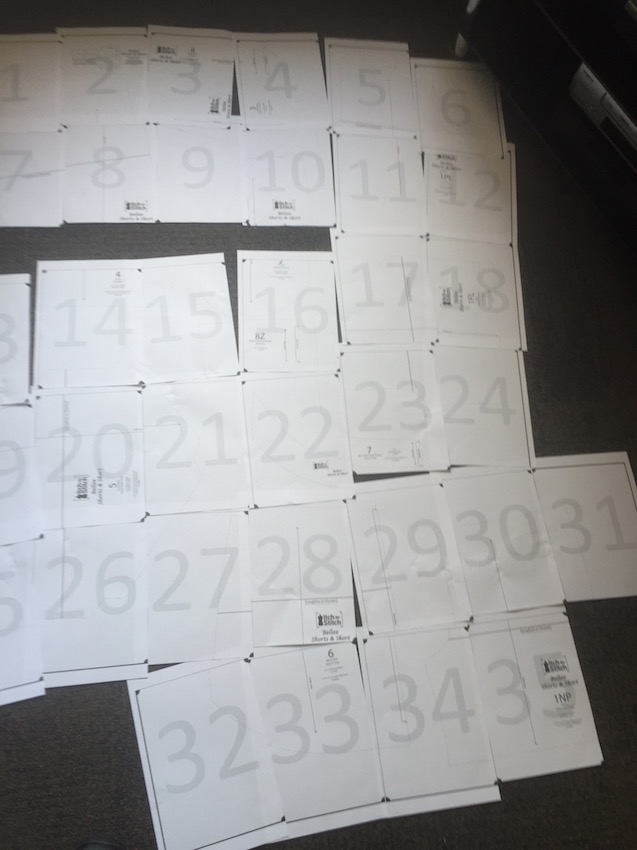
As I eventually intend to make all three views, I traced all views in one big sitting to get it out of the way!
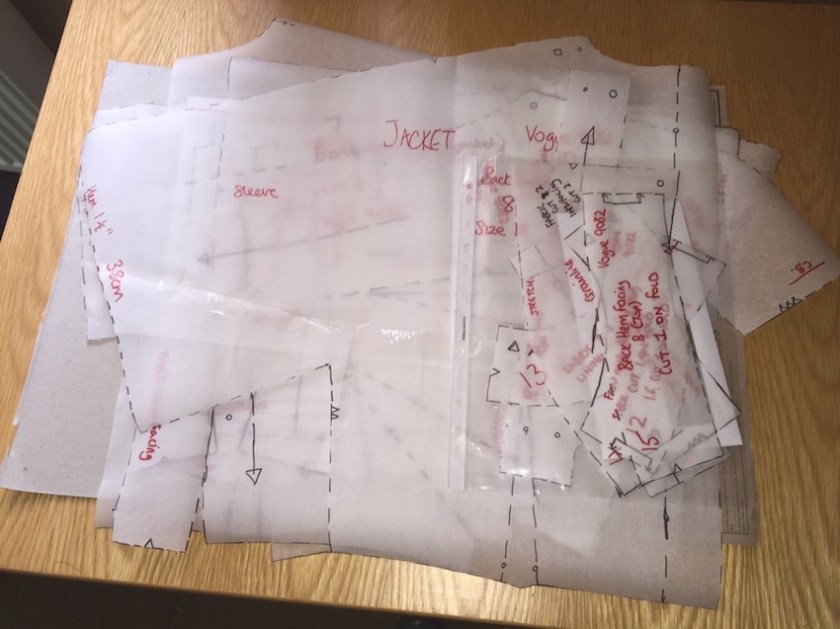
Whilst some sewers find the tracing process rather tedious I love it! Before tracing off I read the instructions all the way through, again. I say again as I’ve usually already read them as soon as I’ve brought a pattern home, or received it in the post.
By reading the instructions and then tracing the individual pieces you can learnt so much about the construction process before you even begin to piece the garment together. Or you notice things which you’ve not come across before.
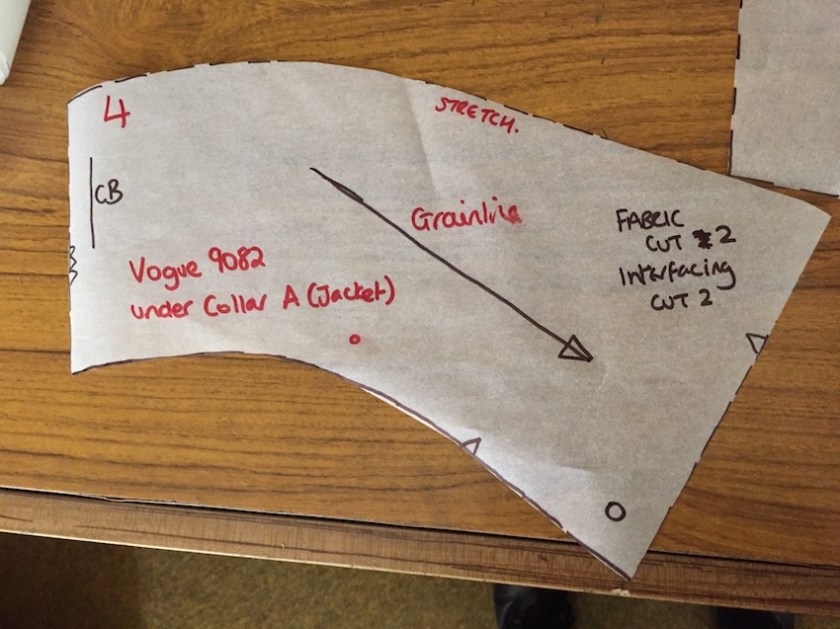
Such as this piece here…..
This is the under collar of the jacket, and it is marked ‘stretch’ along the top piece. Not sure what that means but at least I’m thinking about it before i get to the making up stage.
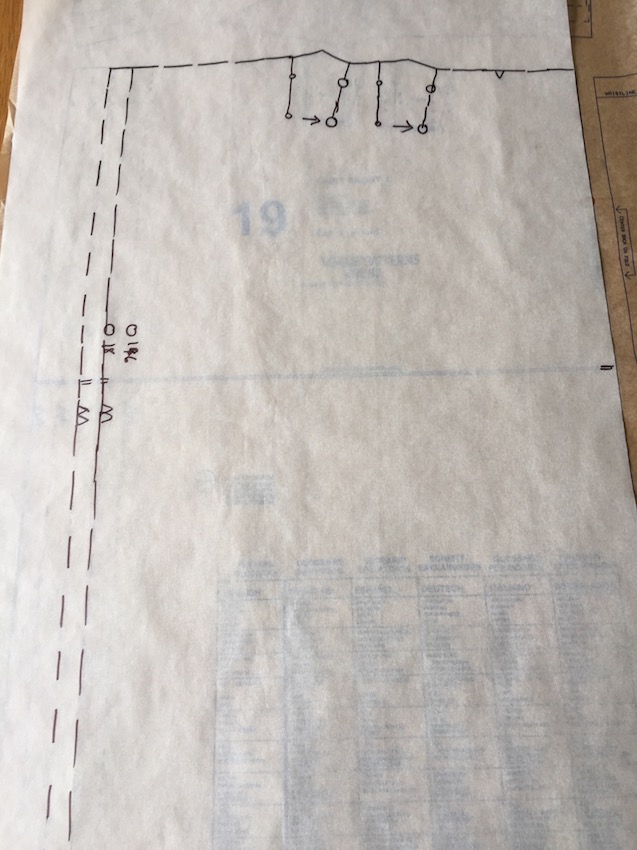
And then I noticed these wonky pleats, and the straightness of the none existent hip curve…. When sewn up the pleats give the hip the required curve, only mine will be less as I need to grade in a size at the hip. But when I started graded down a size at the waist when tracing this piece i did look rather strange to me.
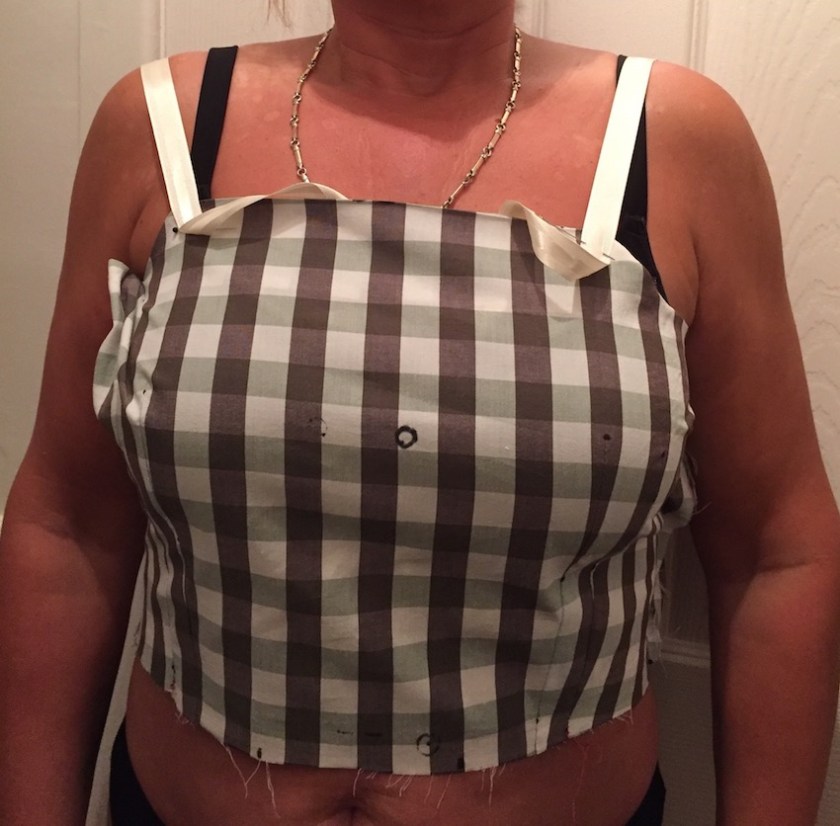
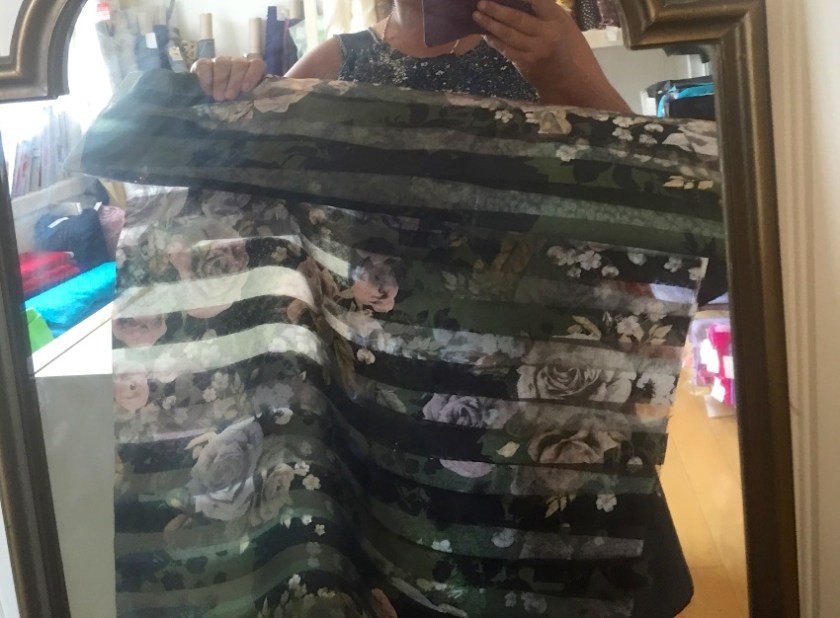
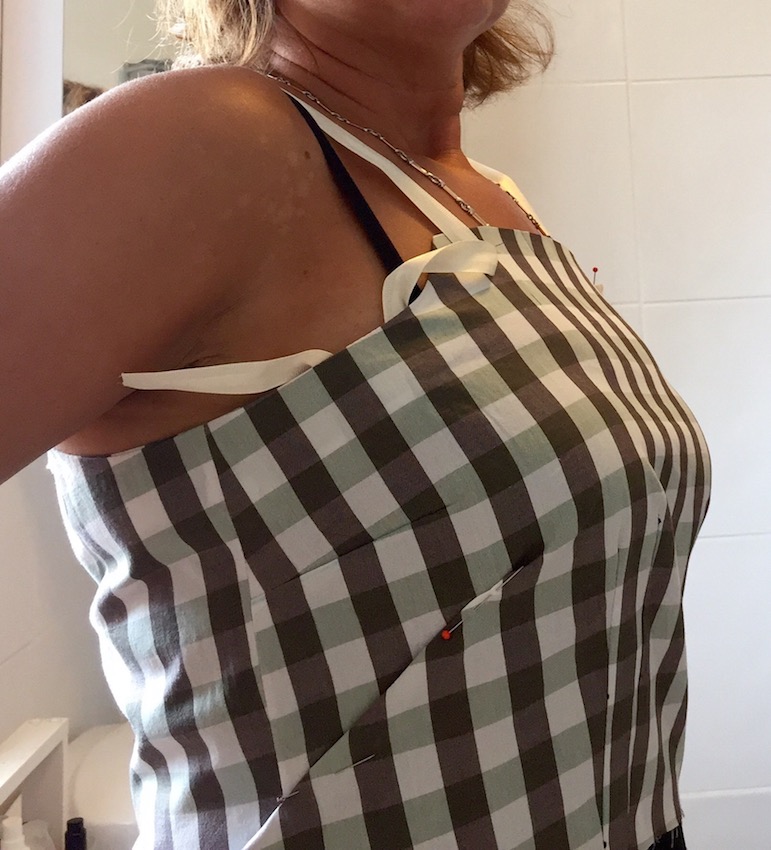
I made up the bodice in a straight size 18 using some cotton bought for £2/yd from Dewsbury market. I thought the squares would help me out when marking the fabric as I didn’t have a fitting pal.
MUSLIN NUMBER 1
As usual for me the bodice was too short at the front
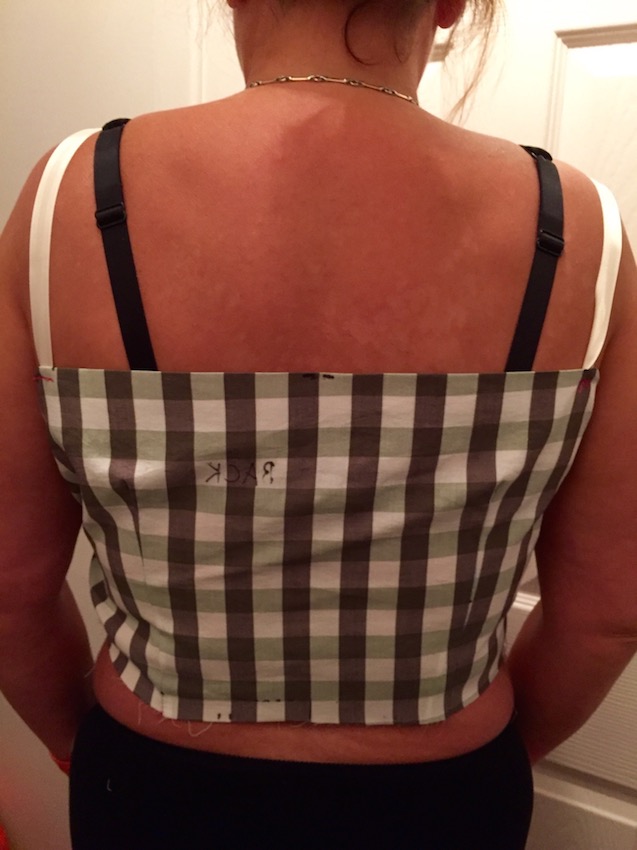
The back too, but not as much
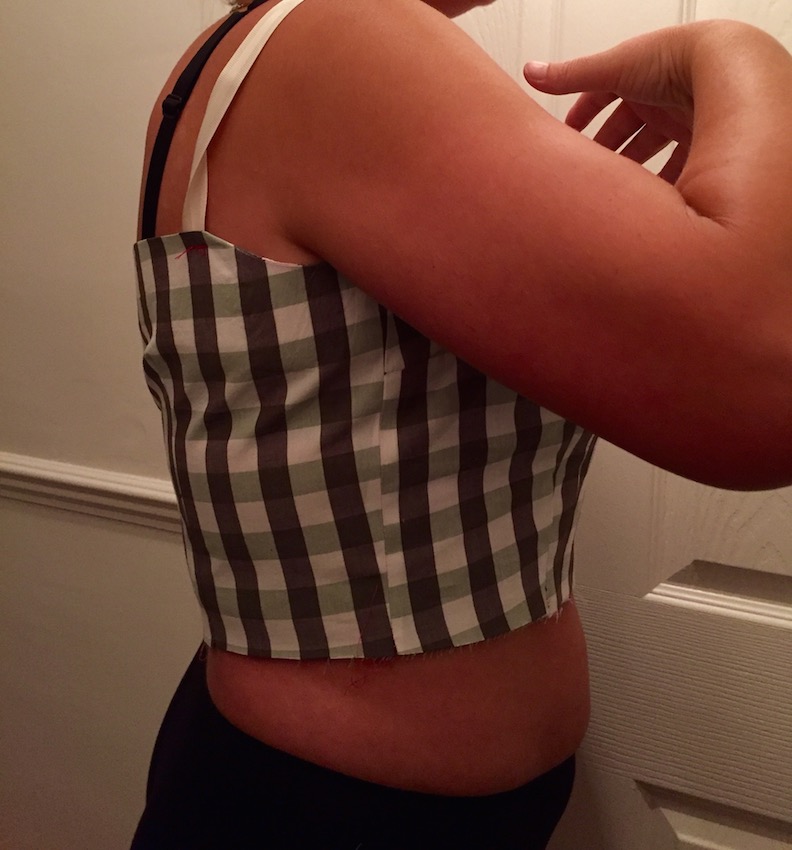
The width across the back seemed ok at this point.
I marked my bust points – definitely lower than on the pattern, must be gravity setting in!

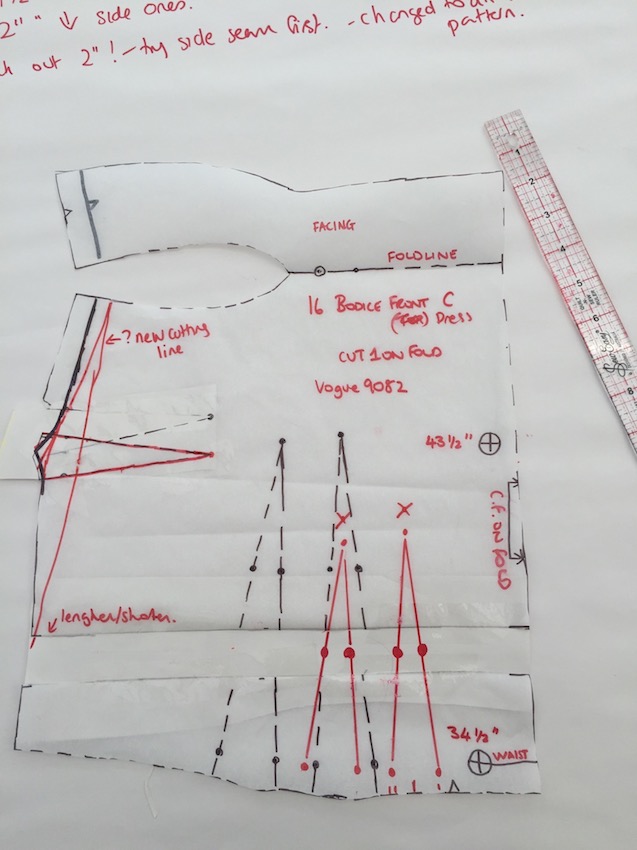
I lengthened the bodice by 1 inch, and moved the front lower bust darts 1 1/2 inch towards the centre – my bust points where miles away from the ones on the pattern. I also lowered the side bust dart, and reduced some of the armscye – see the marking for the new cutting line.
I have an A1 size flip chart so I kept a note of my changes on there as I went along.
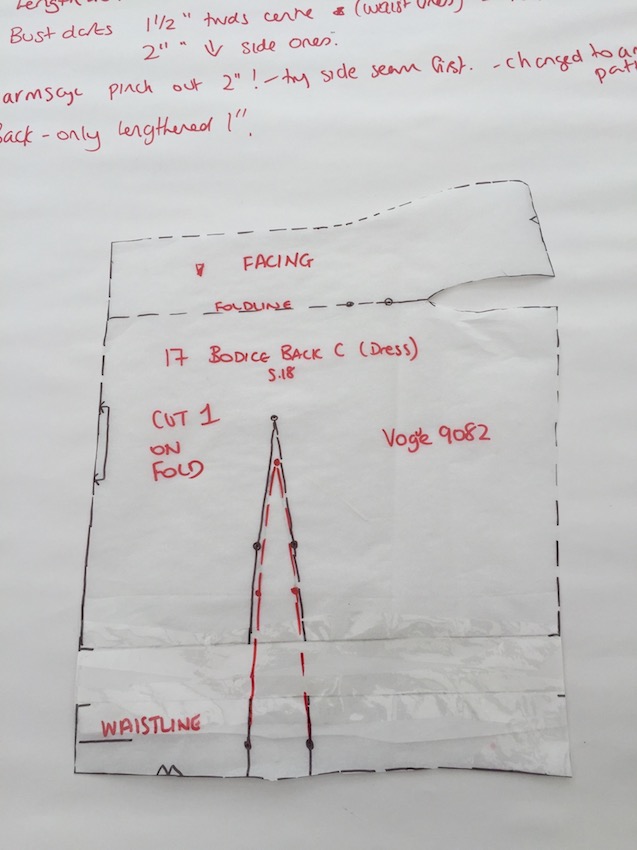
I added 1 inch to the length of the back, but lowered the finishing point of the dart by 1 inch so it was still the same size as the original dart…
MUSLIN NUMBER 2
The back looks huge – too long and too wide.
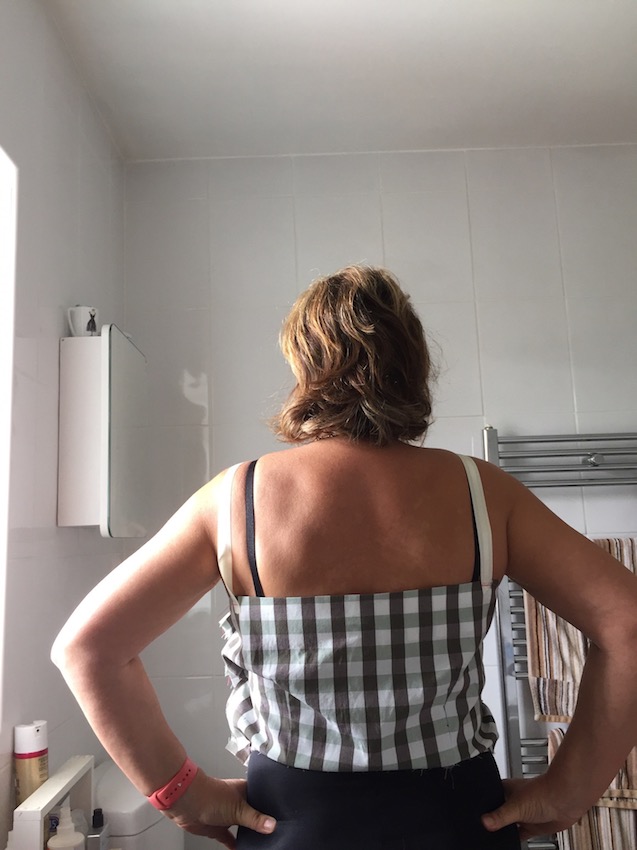
The side needed another dart to eliminate the excess fabric, and fit my shape…

I was happy with the length at the front.
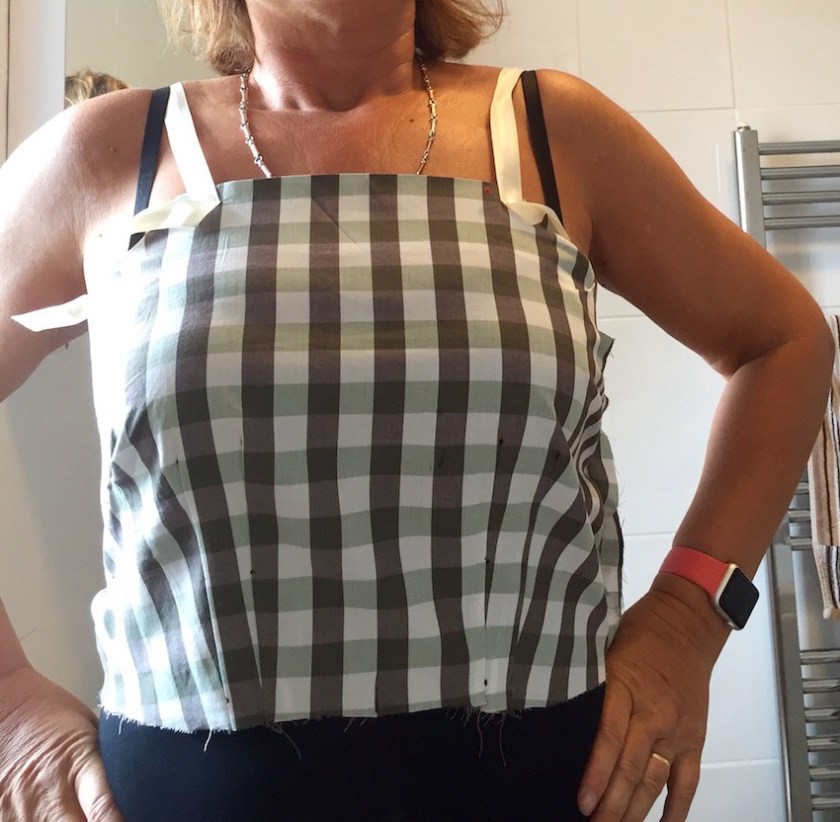
I pinched out a full inch from the top of the bodice, grading to nothing at the waist (still on muslin no 2)

And needed to pinch out some of the length too – sway back adjustment needed.

Here’s the notes so far….

New side bust dart marked on the pattern:

Sway back adjustment on the back piece, and also taking out a ‘wedge’ from the centre back.
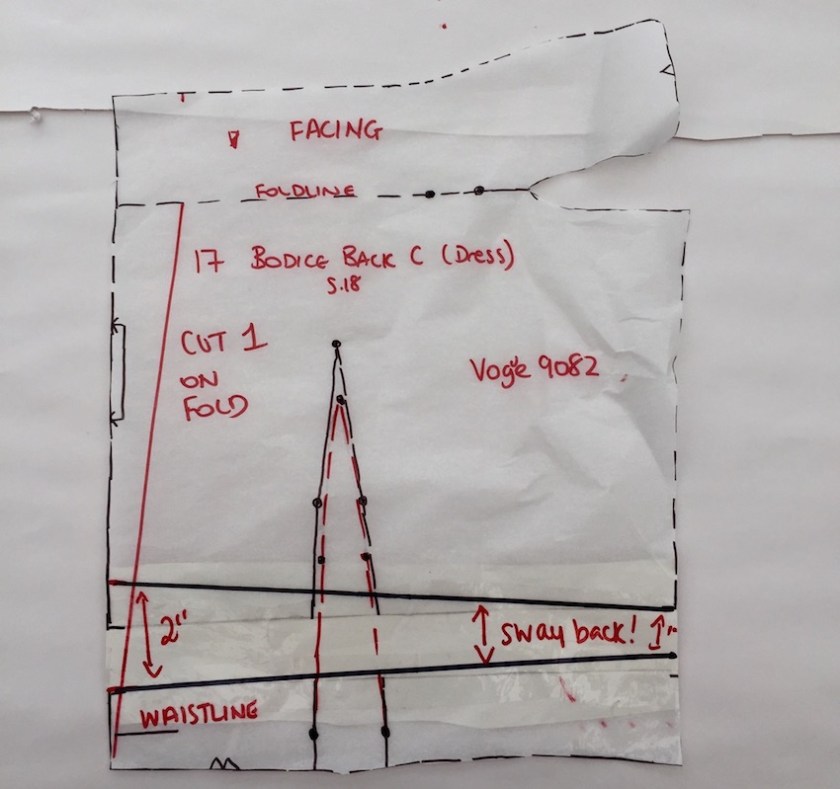
I chopped off the wedge from the CB and the chunk for the sway back. If there’s anyone cringing who has pattern making, drafting or fitting expertise I’m sorry. I’ve not had lessons in that department and make it up as I go along!! (I have read a lot of blogs though!)

excess removed from length of back bodice

And width. I squared of the bottom of the centre back seam


And the bit I had to chop off I added it to the side seam, thinking otherwise the waist would be too small to fit the skirt of the dress. NOTE TO SELF, I SHOULD ALSO HAVE MOVED THE DARTS THE SAME AMOUNT TOWARDS THE SIDE SEAMS AS ON THE FINISHED DRESS THEY WERE SLIGHTLY OUT OF LINE WITH THE DARTS OF ON BACK OF THE SKIRT!
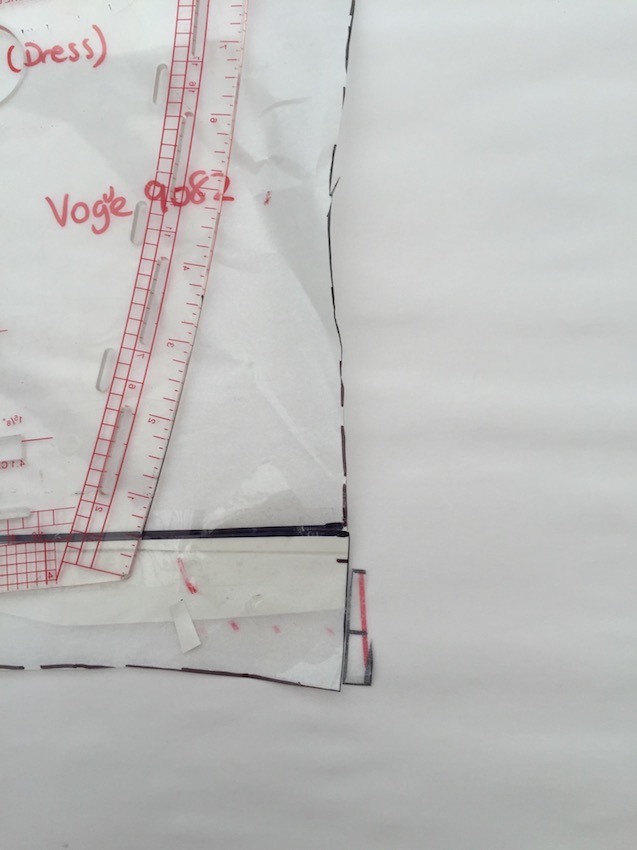
Squaring up the top was a bit trickier because of the facings.

The facing were going to be chopped off and seam allowances added as I was fully lining the dress.

I removed the facing and left the top for muslin no 3 Burda style with no seam allowances so I’d get a better idea of the fit. The darts look a bit wonky here but I did true them up, honest!

MUSLIN NO 3, WITH SKIRT ATTACHED.
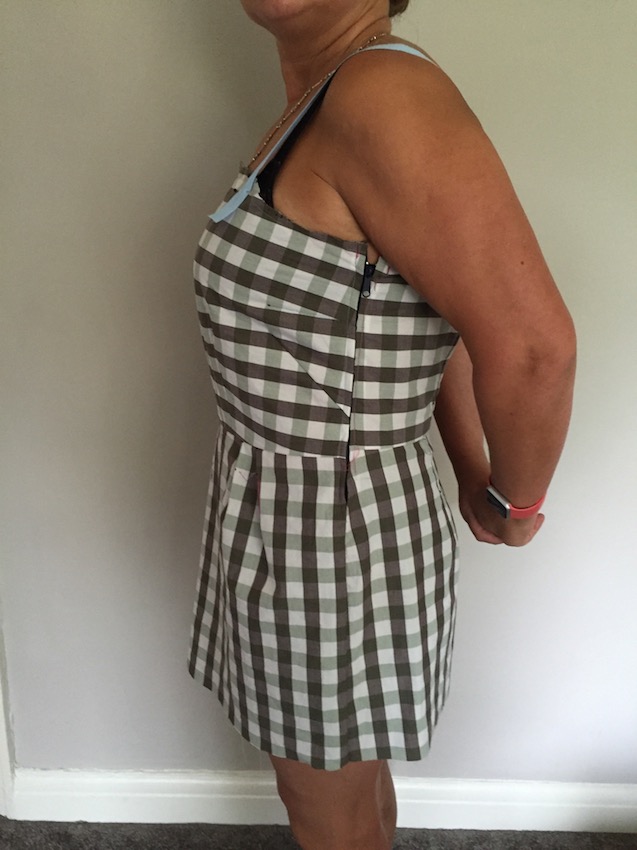
Unfortunately the photo looks worse than the fit was. It fit pretty well, as you’ll see in the next 2 photos.

there still looked to be a tiny bit of excess fabric in the length of the back bodice, but the make-do straps we’re much use and I thought this would improve in the final garment.
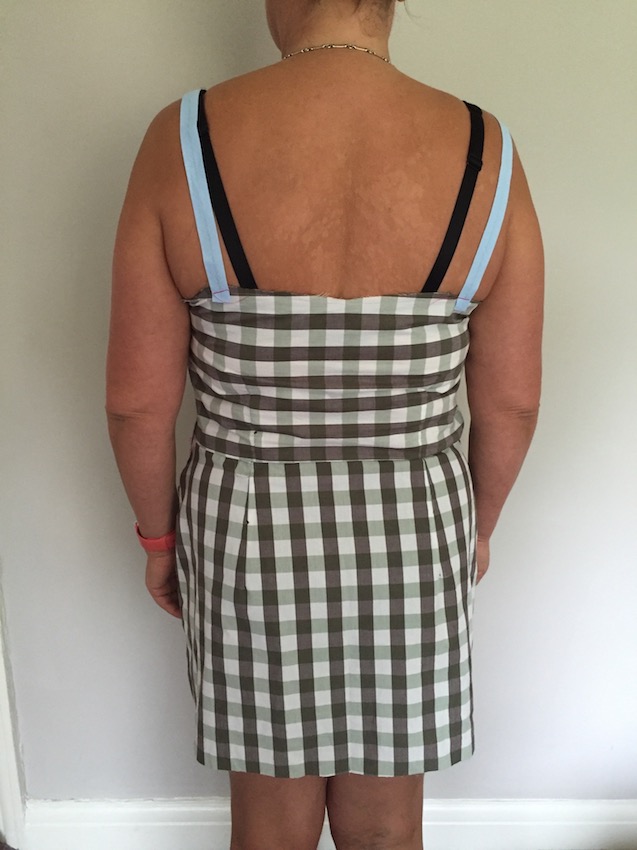
I was really happy with how the additional side bust dart improved the fit on the front. As I only added a short skirt to the bodice it hung a bit weird and forward. After tracing 21 pieces and making 3 muslins I was at this point happy to go full steam ahead and keep my fingers crossed that the skirt would fit.
The pattern piece of the top was looking rather messy to say the least!
Oh, at this point I also decided to move the waist bust darts back to their original position as the pleats on the front skirt were in a good position and I didn’t want to alter them.
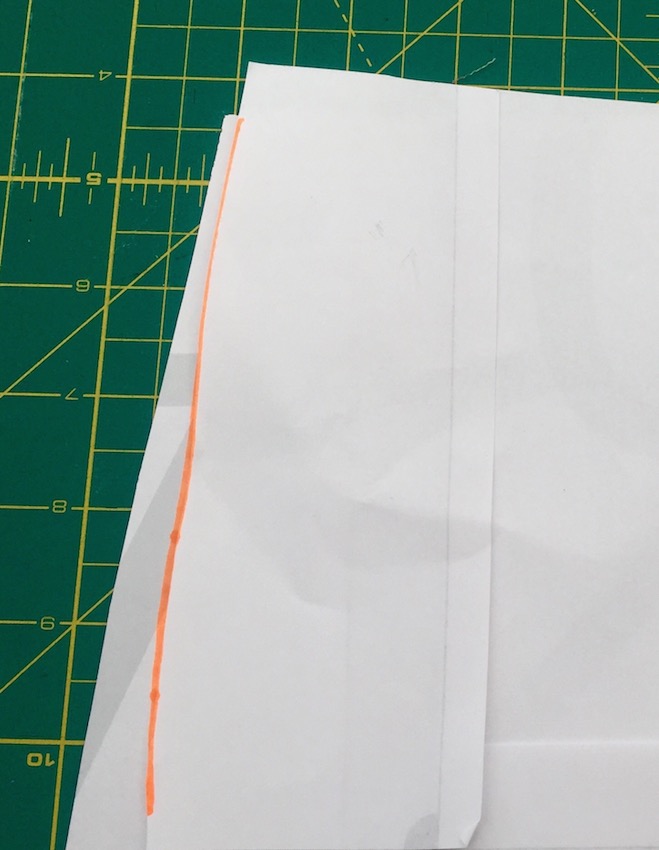
I bent over the top facing, placed this piece against the crease of the paper and traced it off:

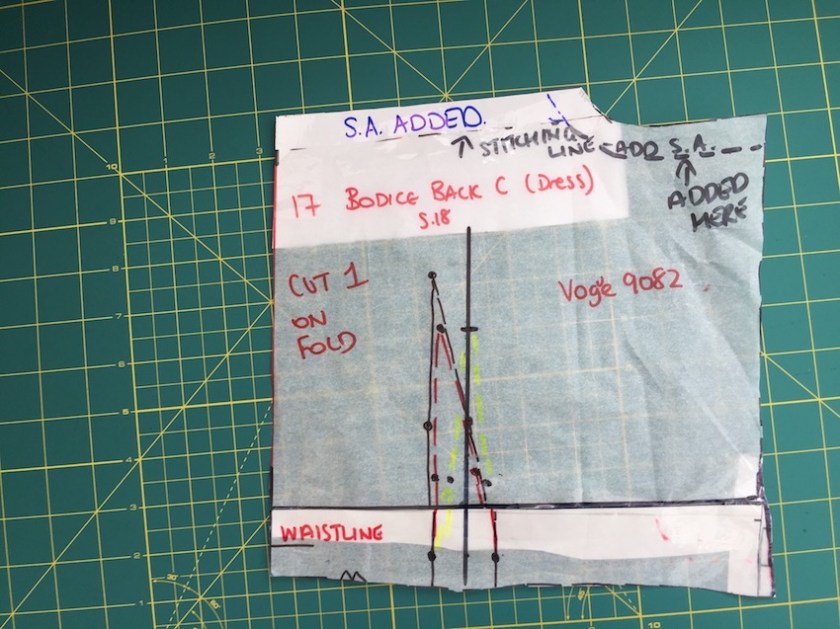
Adding seam allowances to the top:

Once it was opened up I had a full size piece which would making it easier to cut out the bodice front and choose the positions of the flowers.
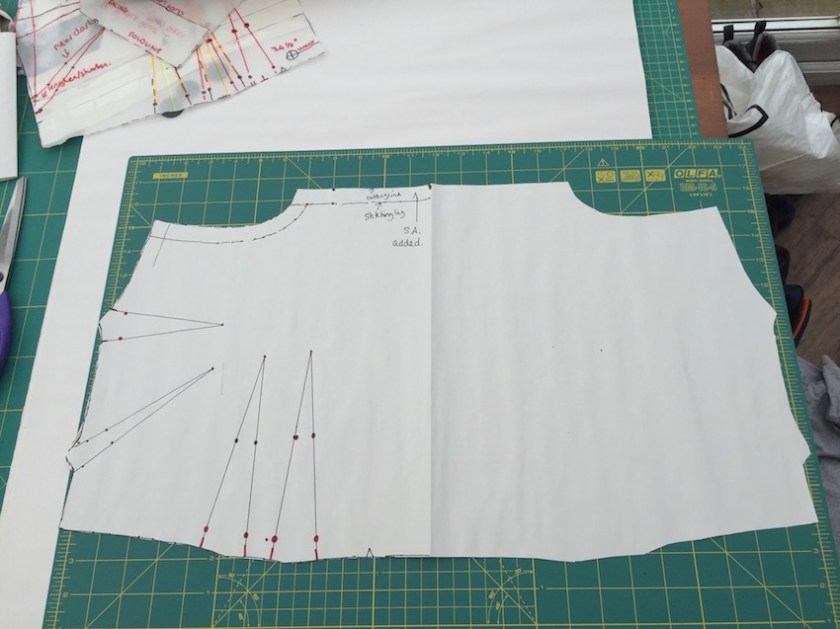
Ta dah………….!!
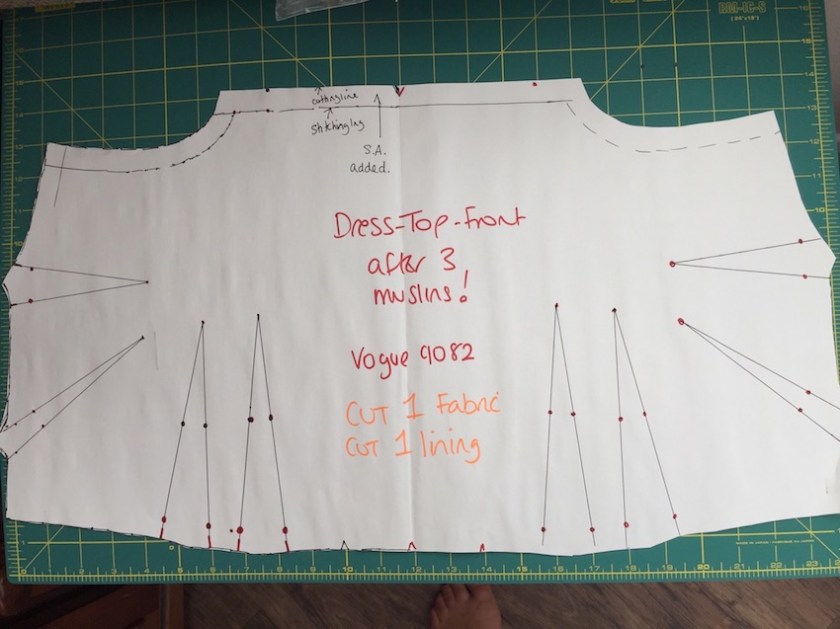
I then made a pattern piece for interfacing which I thought would be needed to give some substance to the top of the dress. I traced to top of the dress identically and 2-3 inches down the sides.

And added a seam allowance to the back piece – I didn’t redraw as it wasn’t in such a state. I also make a pattern piece for interfacing too in the same way as the top above – sorry no photo!
For some reason the skirt of this dress is lined but not the bodice. As you already know I had decided I wanted to fully line my version of this dress.
I cut out front bodice and skirt pieces (front and back) in both the fashion fabric and lining. This mean 12 darts and 2 pleats for the fashion fabric and the same for the lining. OMG!!
Oh, well I soldiered on, but before adding all these darts I stay stitched all sides of the front and back bodice pieces and the waists of the skirt pieces. After all the fitting polava I’d gone through I wasn’t going to risk this fabric stretching out of shape!
I made up the dress in a slightly different order than the instructions. As I was going to be inserting an invisible zip (instead of a leaped zip) I wanted the front and back pieces complete before the zip was inserted.
After inserting it with a basting stitch and it not being quite so invisible (on ourpose) I basted the other side to check the fit. I needed to let out the side seams at the waist be 0.5 cm at each side, but then was able to steam ahead and stitch the side seams ‘for real’, and make the zip invisible! I don’t use an invisible foot, just a regular zipper foot and push the coils away with my fingers as I sew.
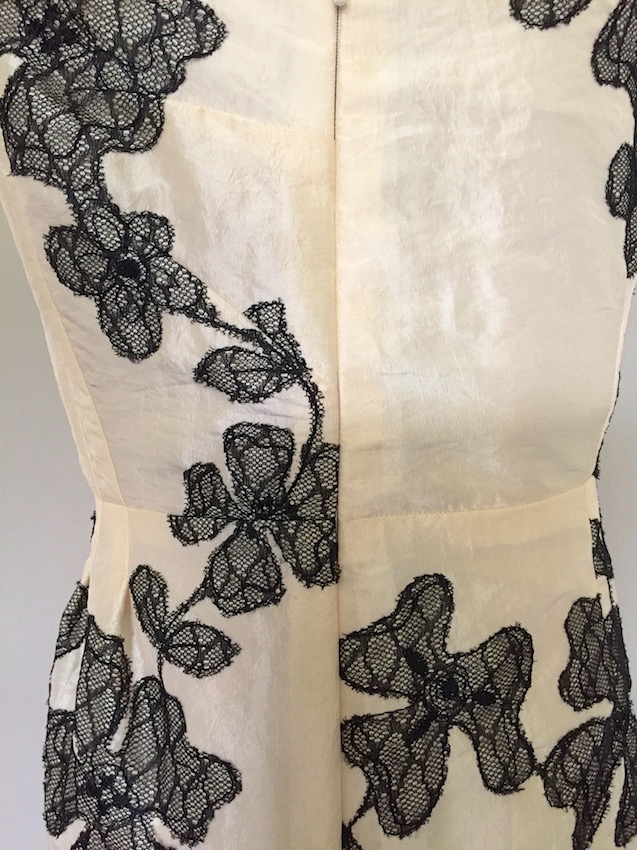
The lining was made up identical to the fashion fabric, except i wasn’t so fussy with the darts, and didn’t press them either.
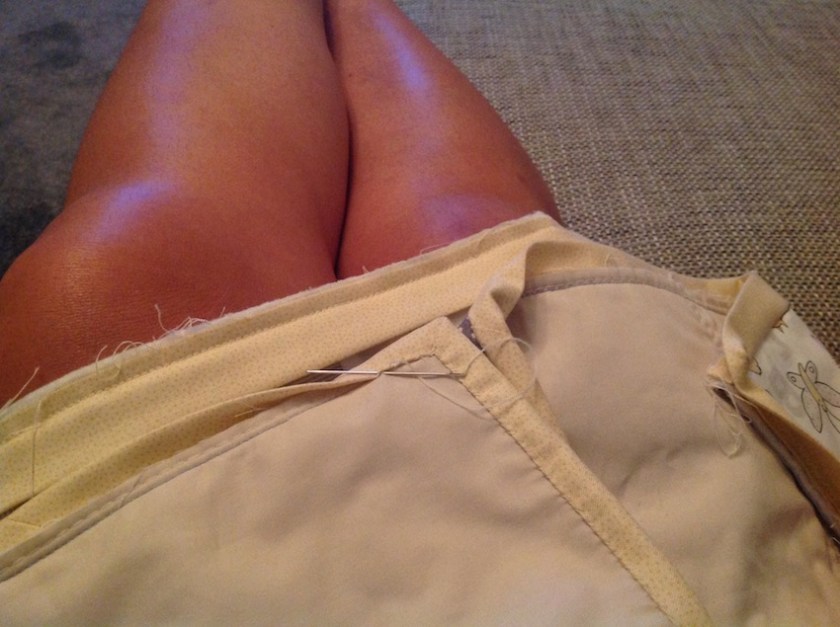
Then comes the interesting part – sewing the lining to the dress, whilst adding interfacing to strengthen the top of the dress.
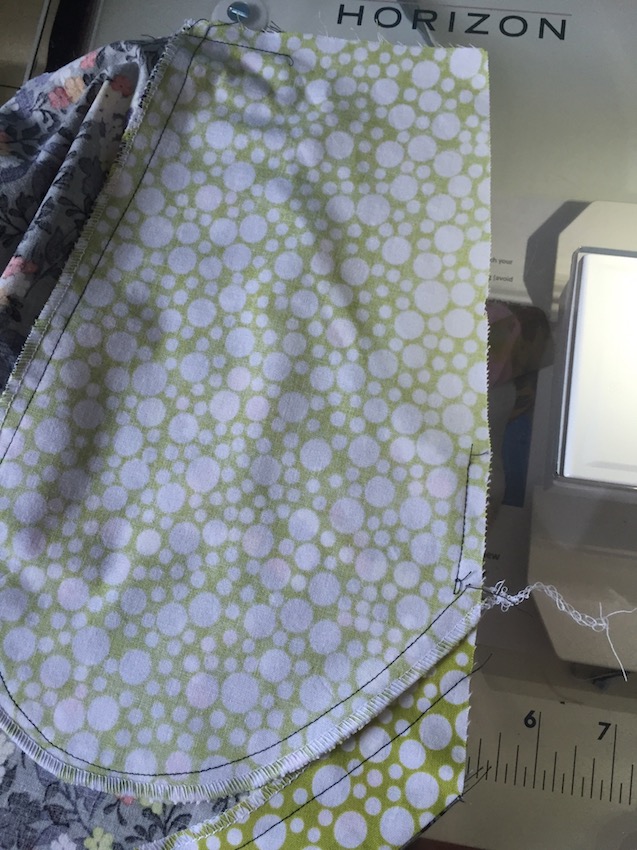
I sewed the front of interfacing to the back on one side, pressed the seam open and trimmed it to barely nothing.
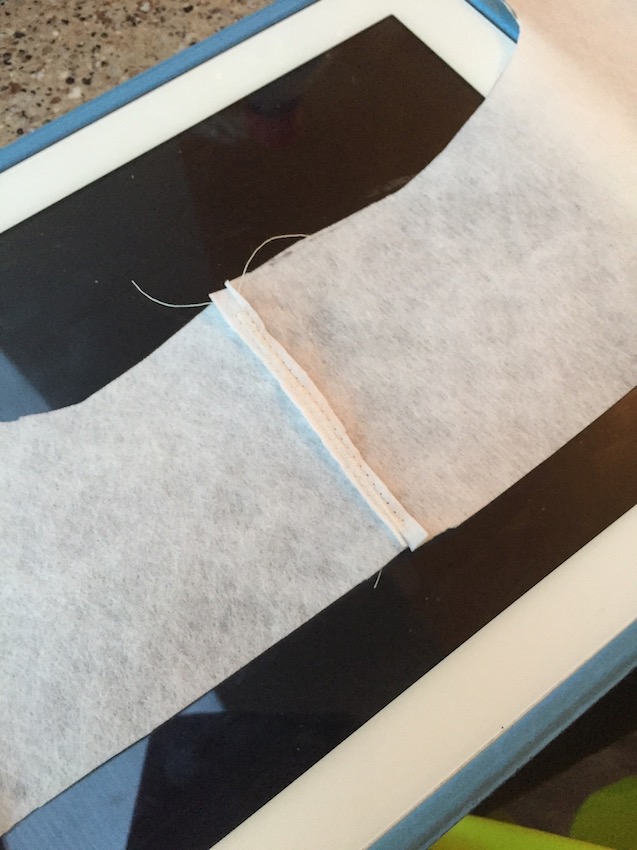
I then pinned it to the wrong side of the dress, and trimmed away 1.5 cm (the seam allowance) off the side seams than weren’t stitched – this would make it less bulky for the invisible zip.

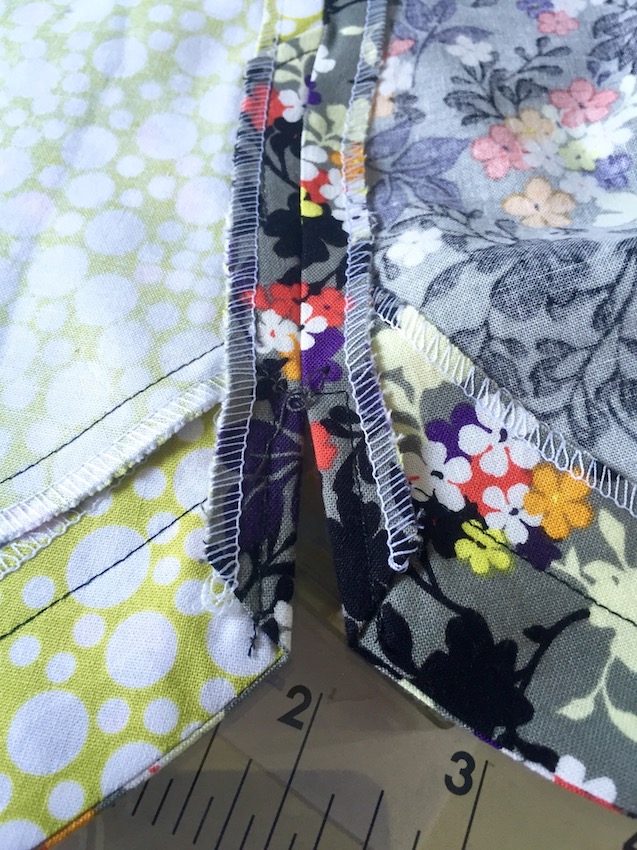
From here on I followed the tutorial for inserting an invisible zip with a lining from Paprika Patterns. I’d used it when I recently made their Amber Trousers and it worked a treat!
And it did this time too!

I wasn’t sure what to do with the lining beyond where the zip finished. Suggestions welcome!

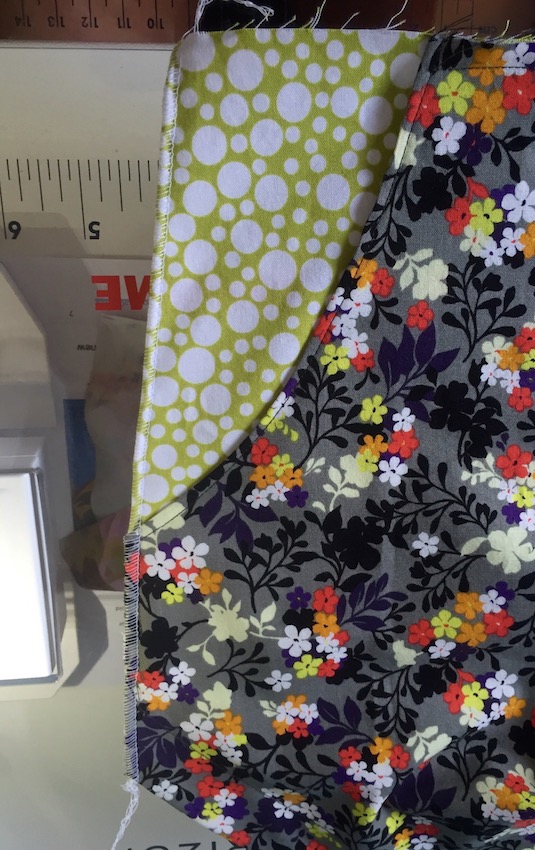
Want to check out my pattern matching…?
Unfortunately I could only match up one side seam because of the size of the pattern repeat. I released this when I was cutting out and lost no sleep and ploughed ahead. It didn’t turn out too bad, and I’ve seen designer dresses in the shops with much worse matching problems. I don’t think anyone would notice except me.

So that’s it! My new best dress!
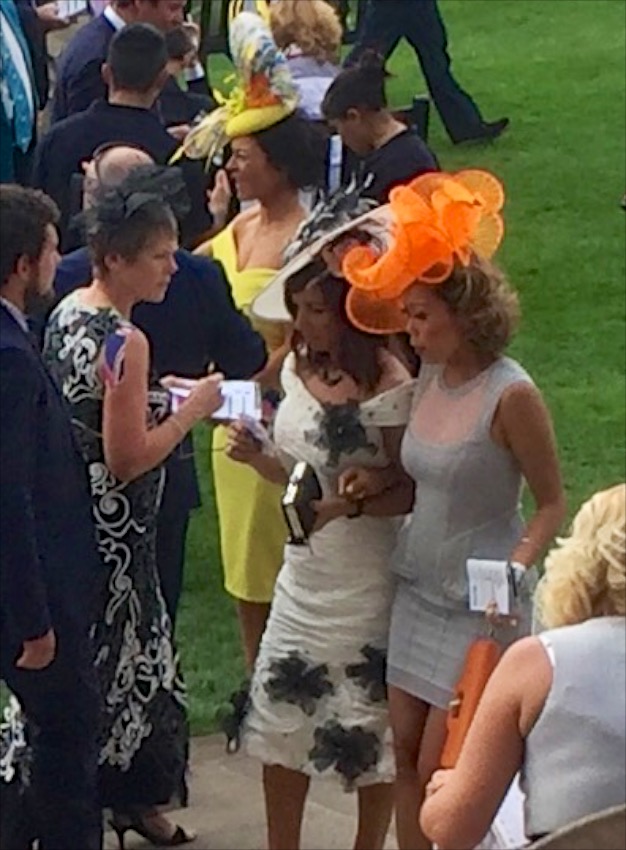
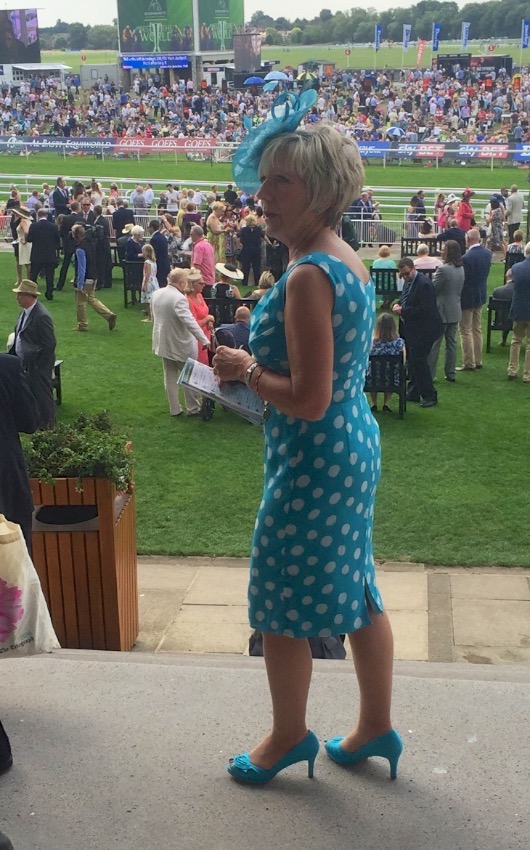
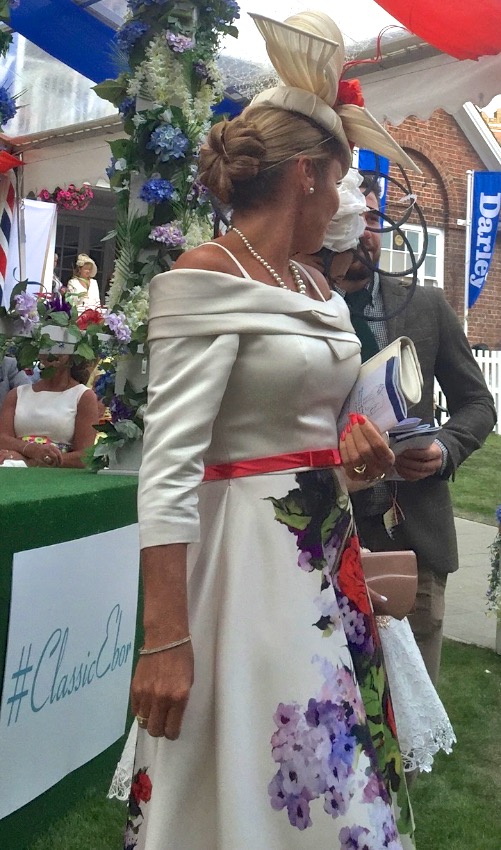
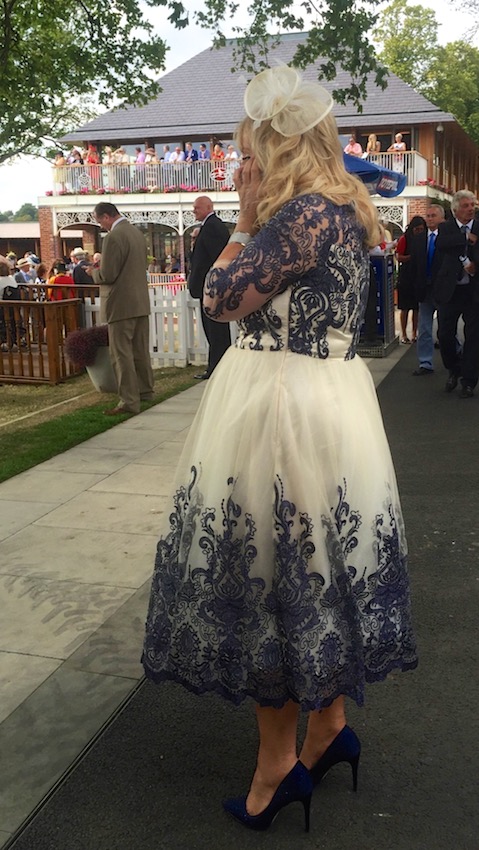
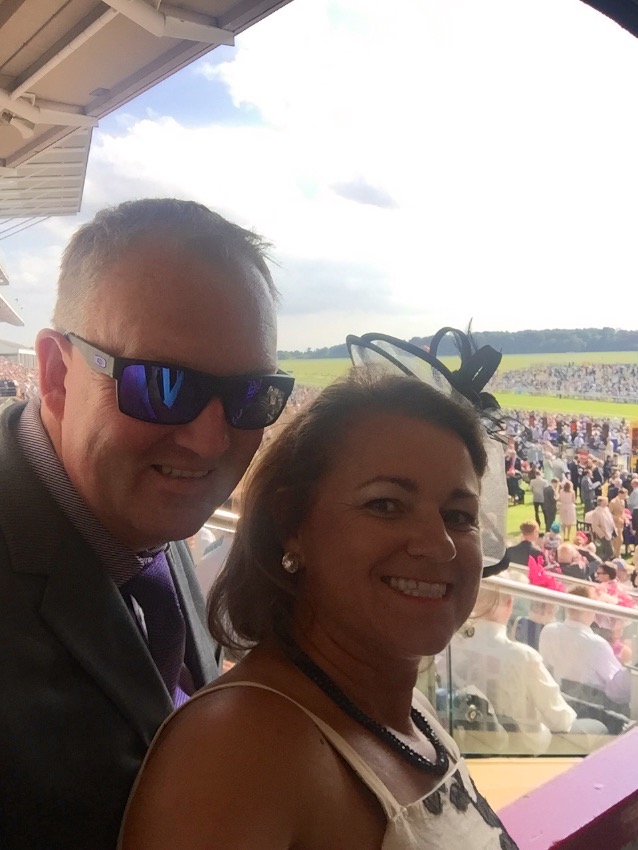
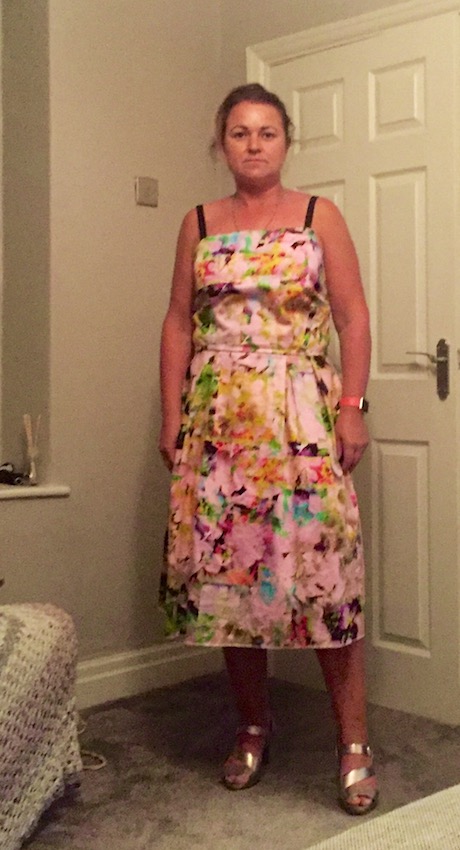
But before i go I’ll share with you a photo of me in it incase you’ve not read the original post.

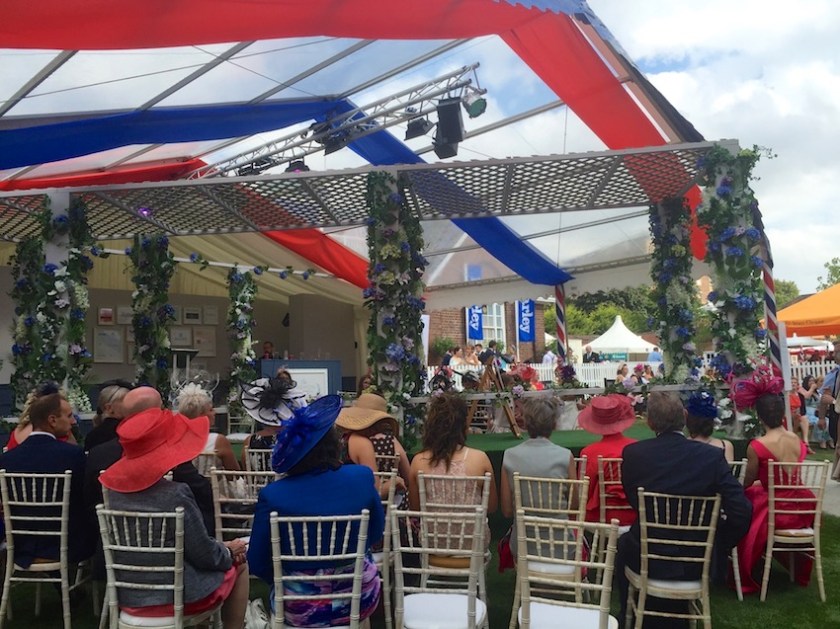
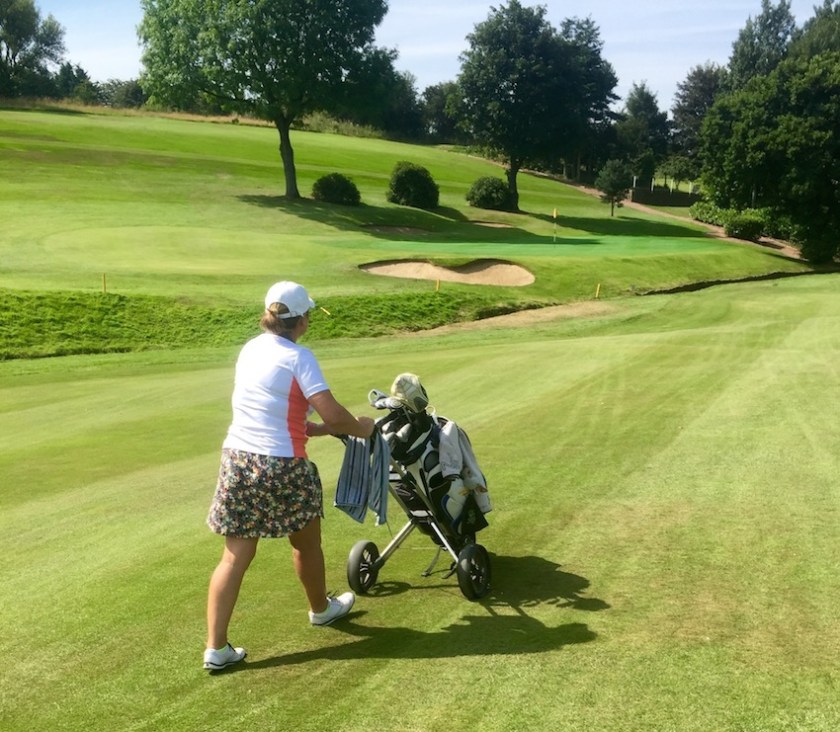
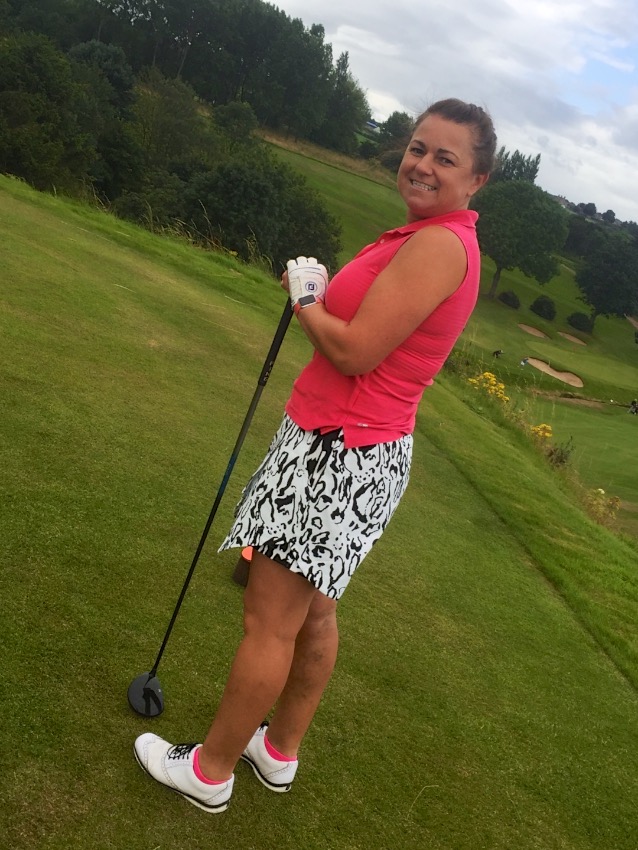
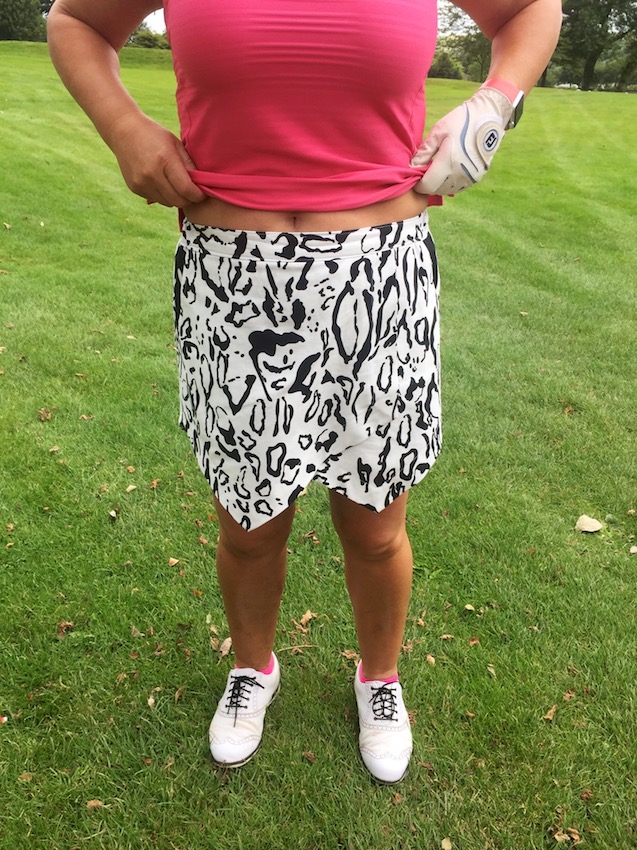
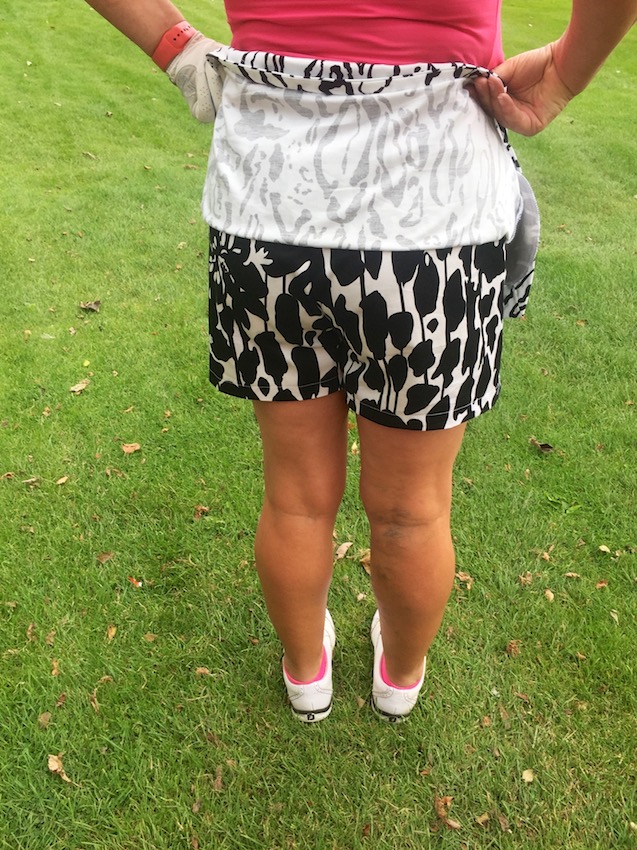
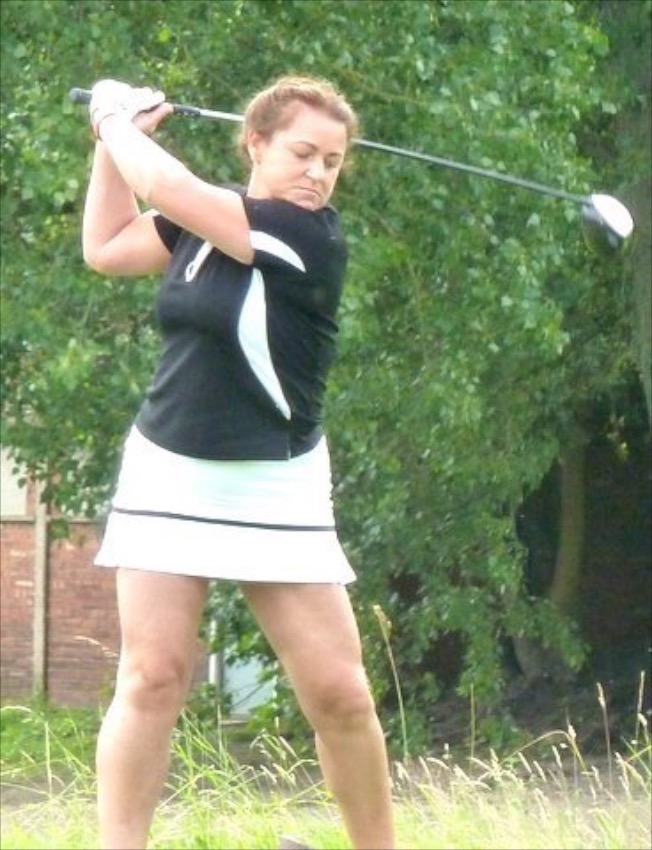
On Sunday at the golf club I got into a conversation with one of my playing partners (a bloke) who didn’t believe I was into sewing.
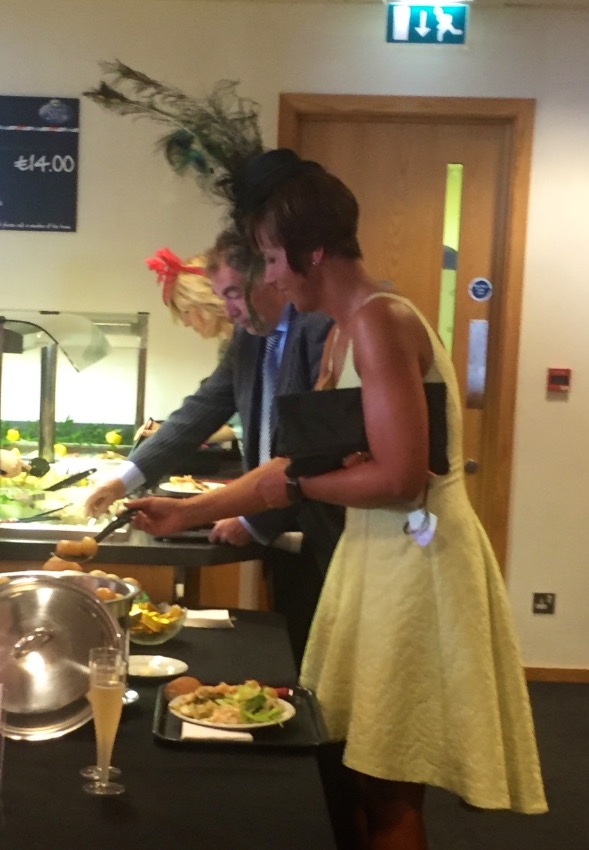
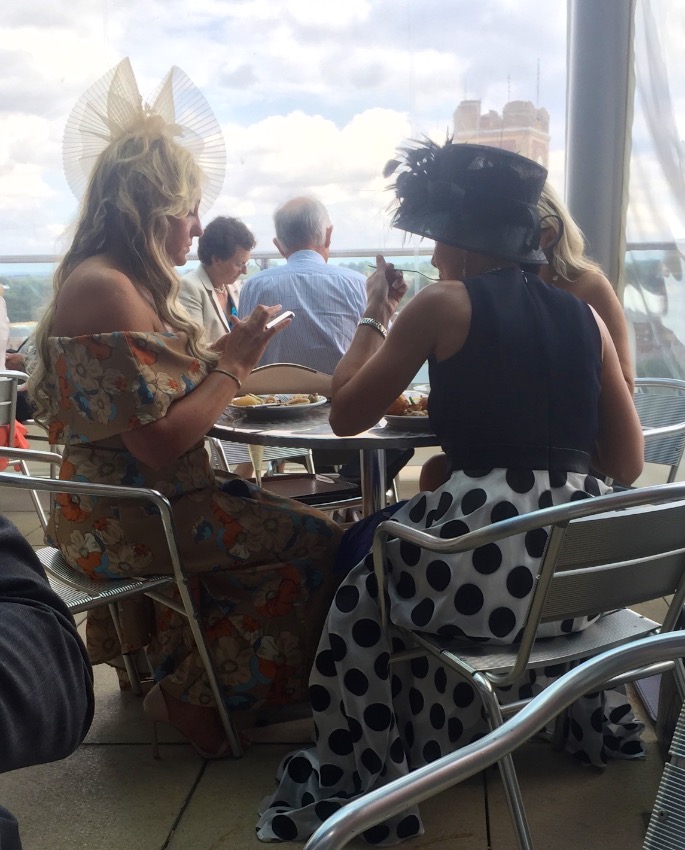
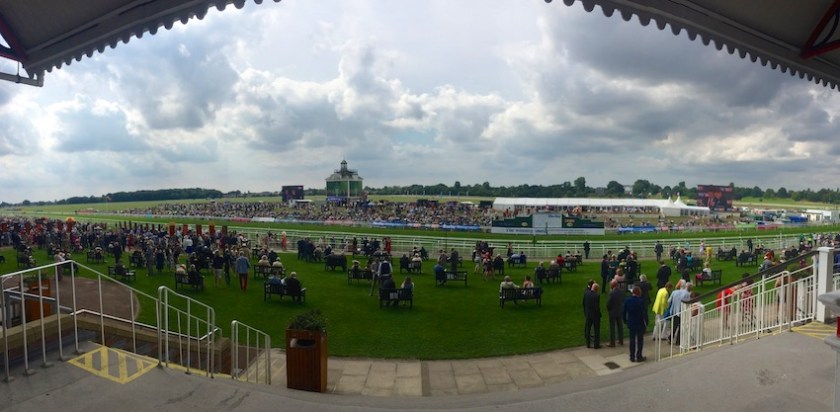
I told him I’d just made a new dress to wear to Ripon races and I showed him the picture above, and he said “yea, as if, you never made that!”
i said I did and that it was me wearing it,
He then said “in your dreams, that’s not you!!”
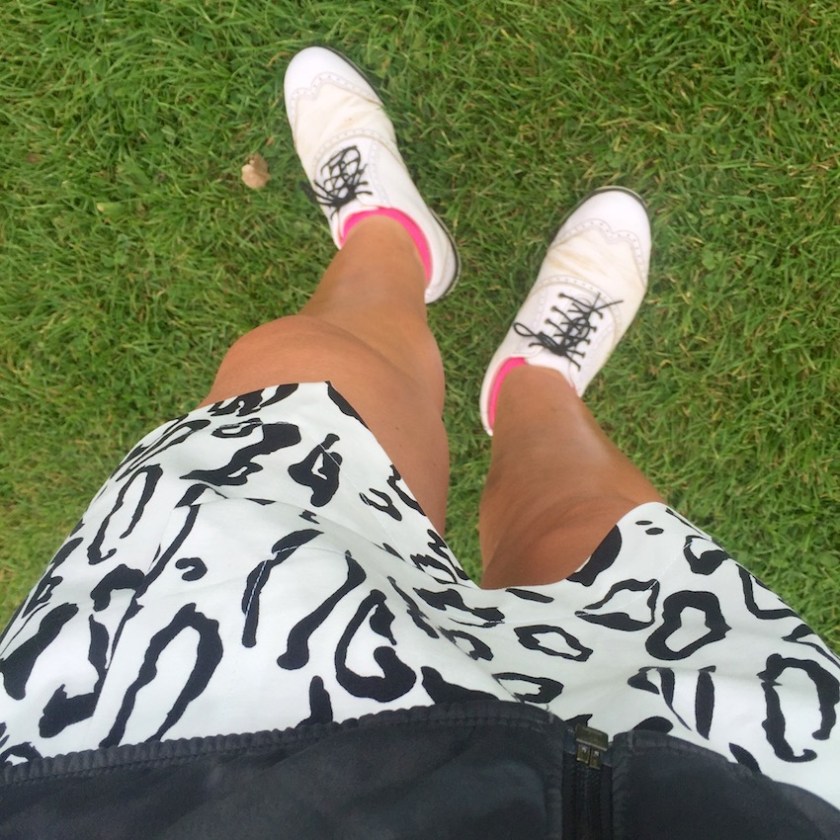
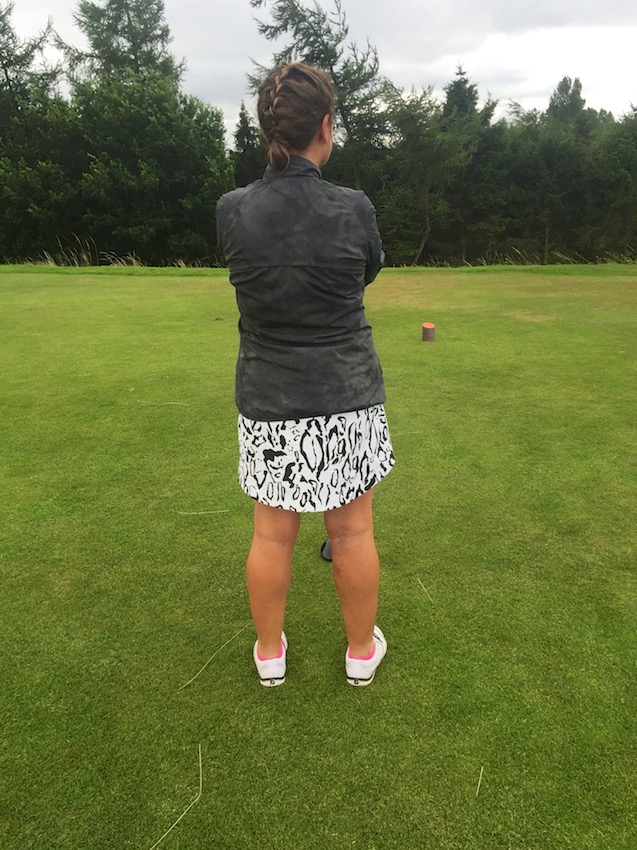
I mean, I don’t wear a lot of make up at the golf club, but i didn’t think I looked that bad without my lipstick on, wearing my golf gear!
I took it as a compliment though, and had a big glow on the inside!





































































 T H I M B E R L I N A